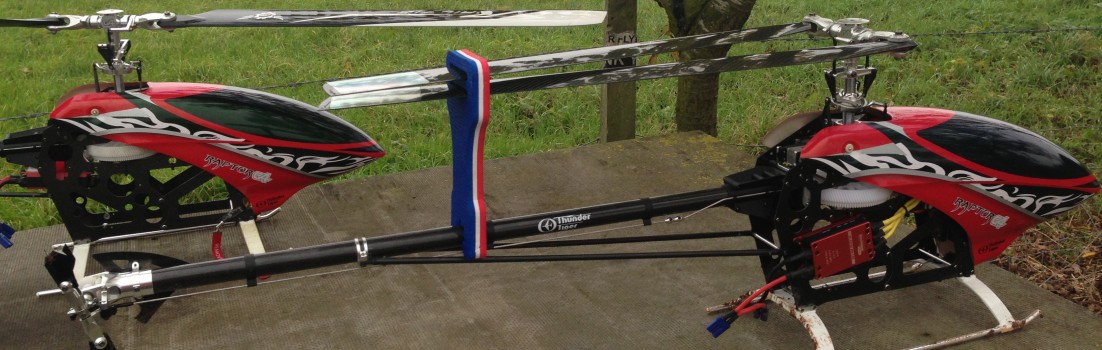
As I mentioned in my earlier post I bought my X4 2 purely on looks not knowing what to expect having never seen a Gaui kit before. I was very pleased with the initial appearance of the kit that I spent some time during assembly taking photos with the intention of writing a build thread on RC heliaddicts, now I’ve got my own space I thought I should write it up here for anyone to chance across.
I’ll get straight to it, the kit comes as standard for kits these days, individually labeled bags that correspond to the build stages in the manual. If you like doing things slowly this is great as you can just build a bag a night. The manual is clear with no large manufacturers banners plastered over the images so the diagrams are easy to read. One touch I liked was the life size screw pictures on the steps, if your unsure of the fixing size you can just place it over the manual and get the right one easily.
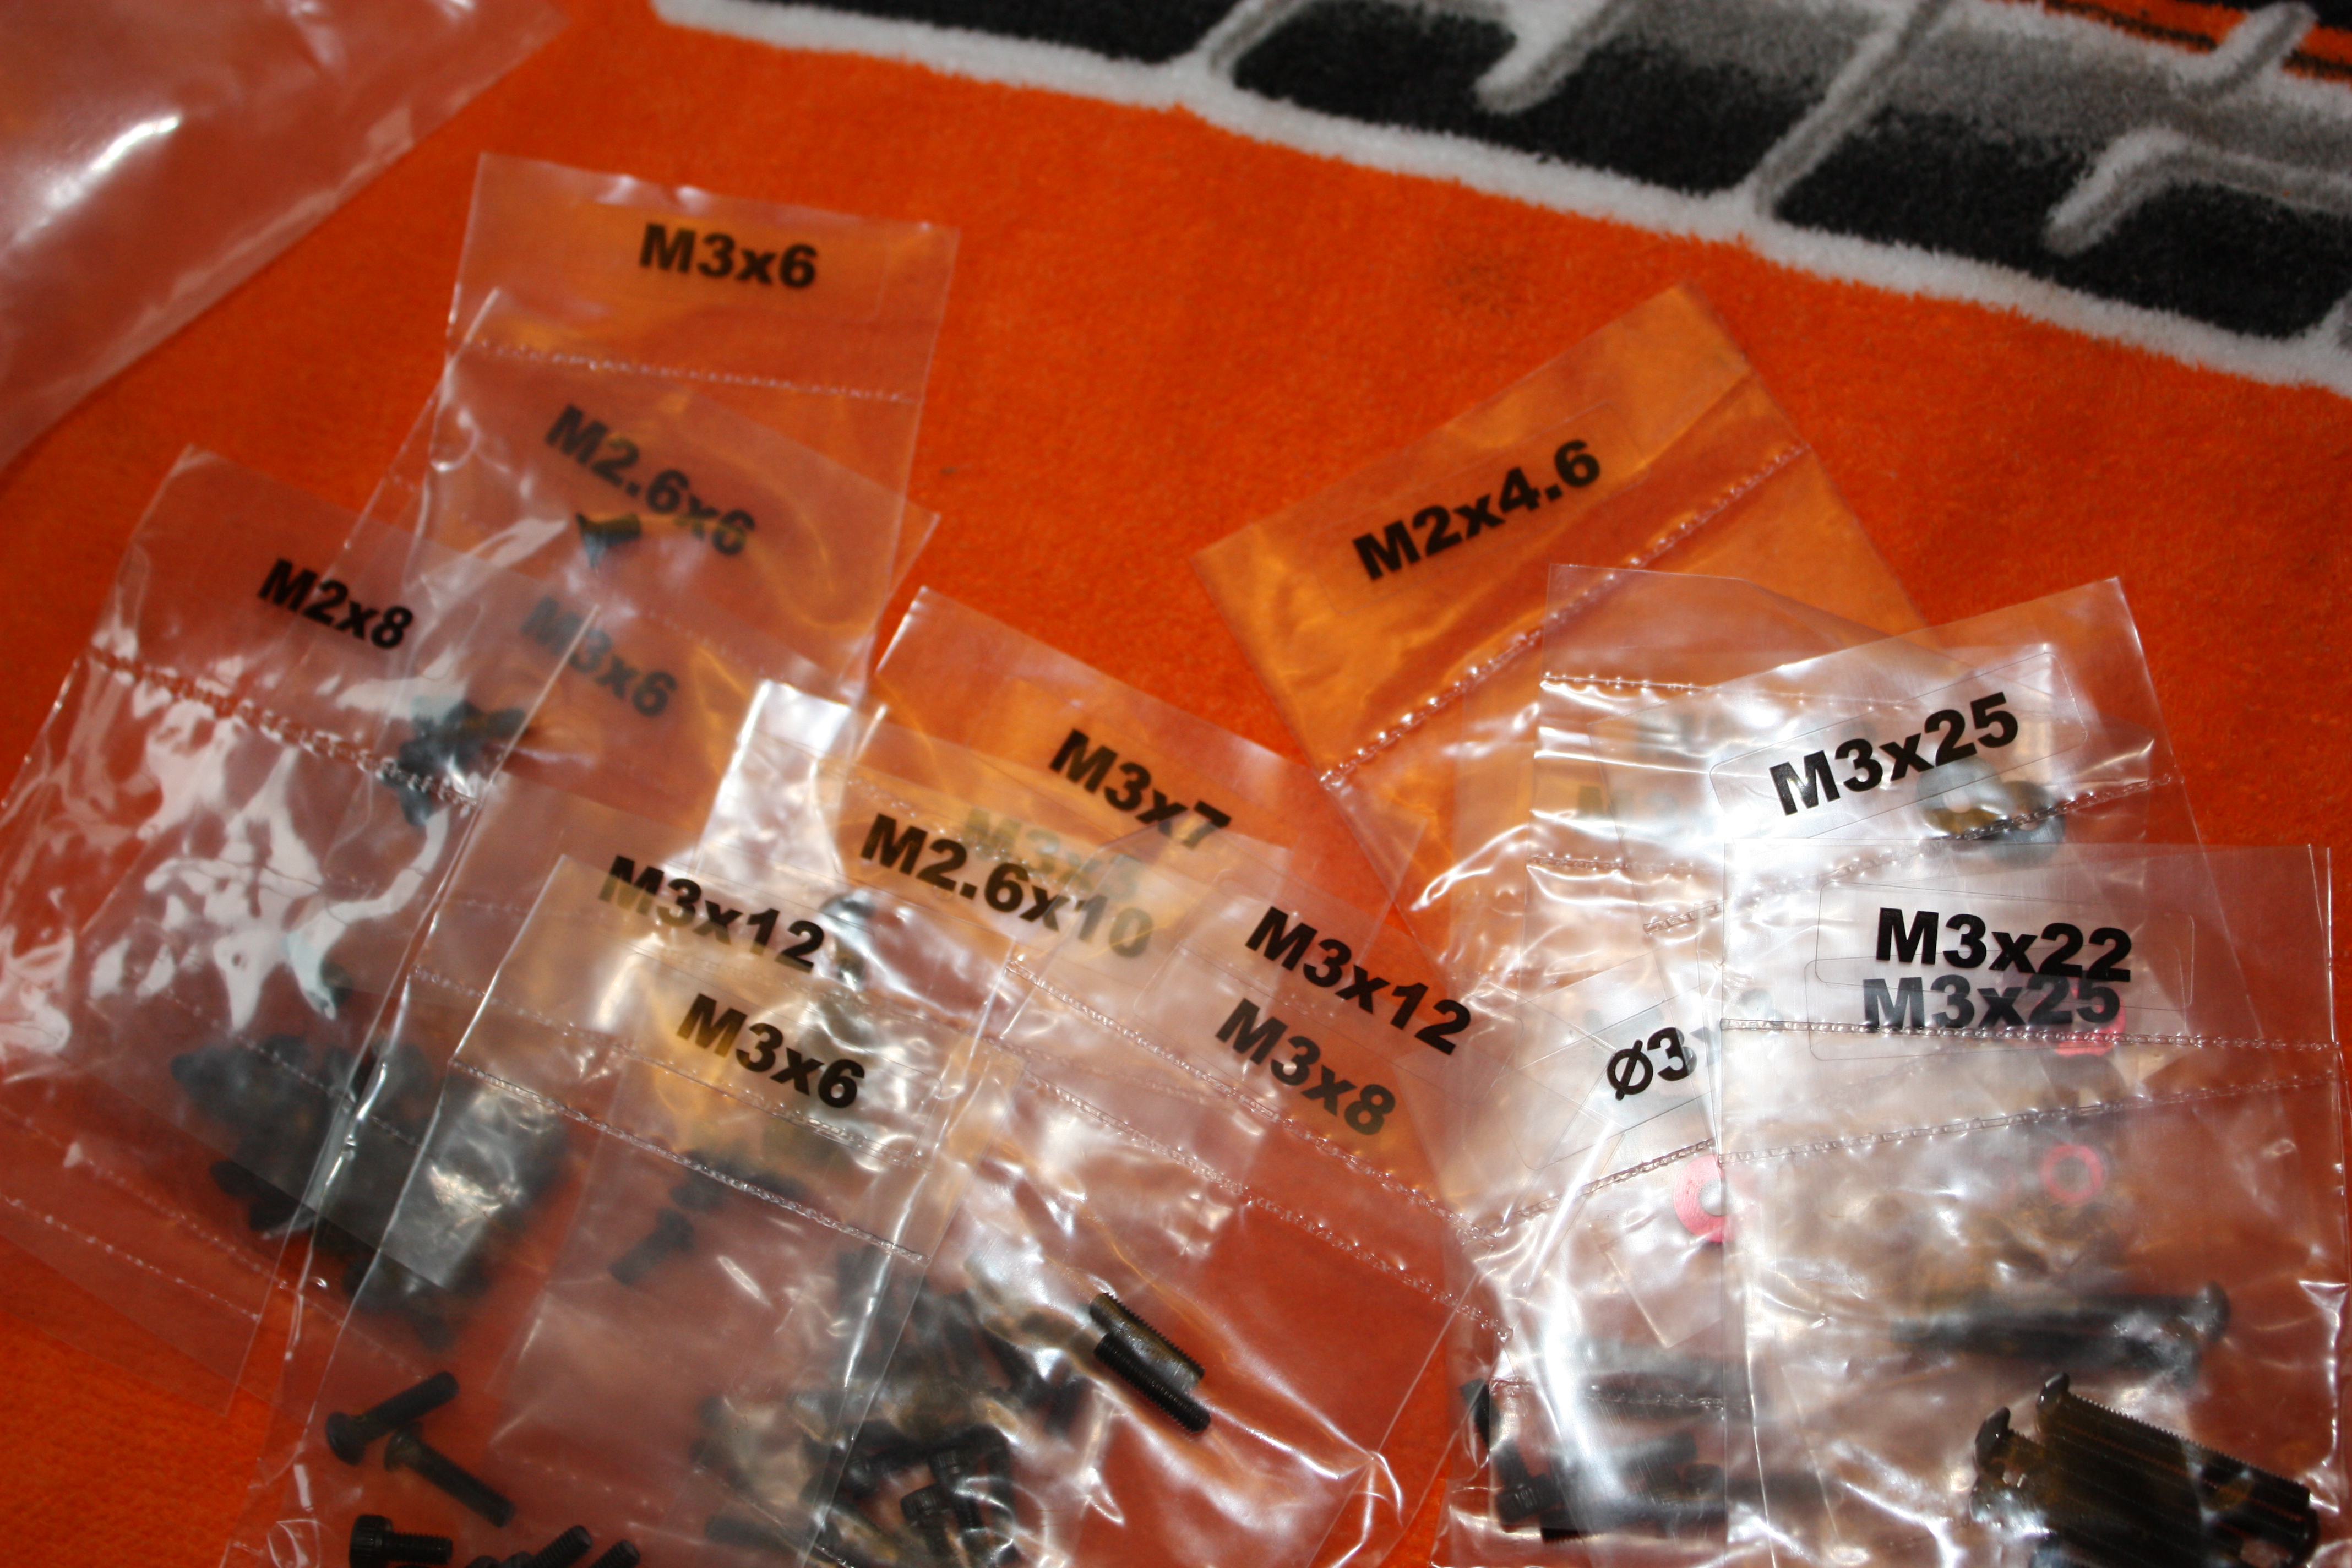
Individually wrapped fixings, even easier to find the right size. This is the first time I’ve seen this done in a kit before. It may not sound like much but it really helps the build along.
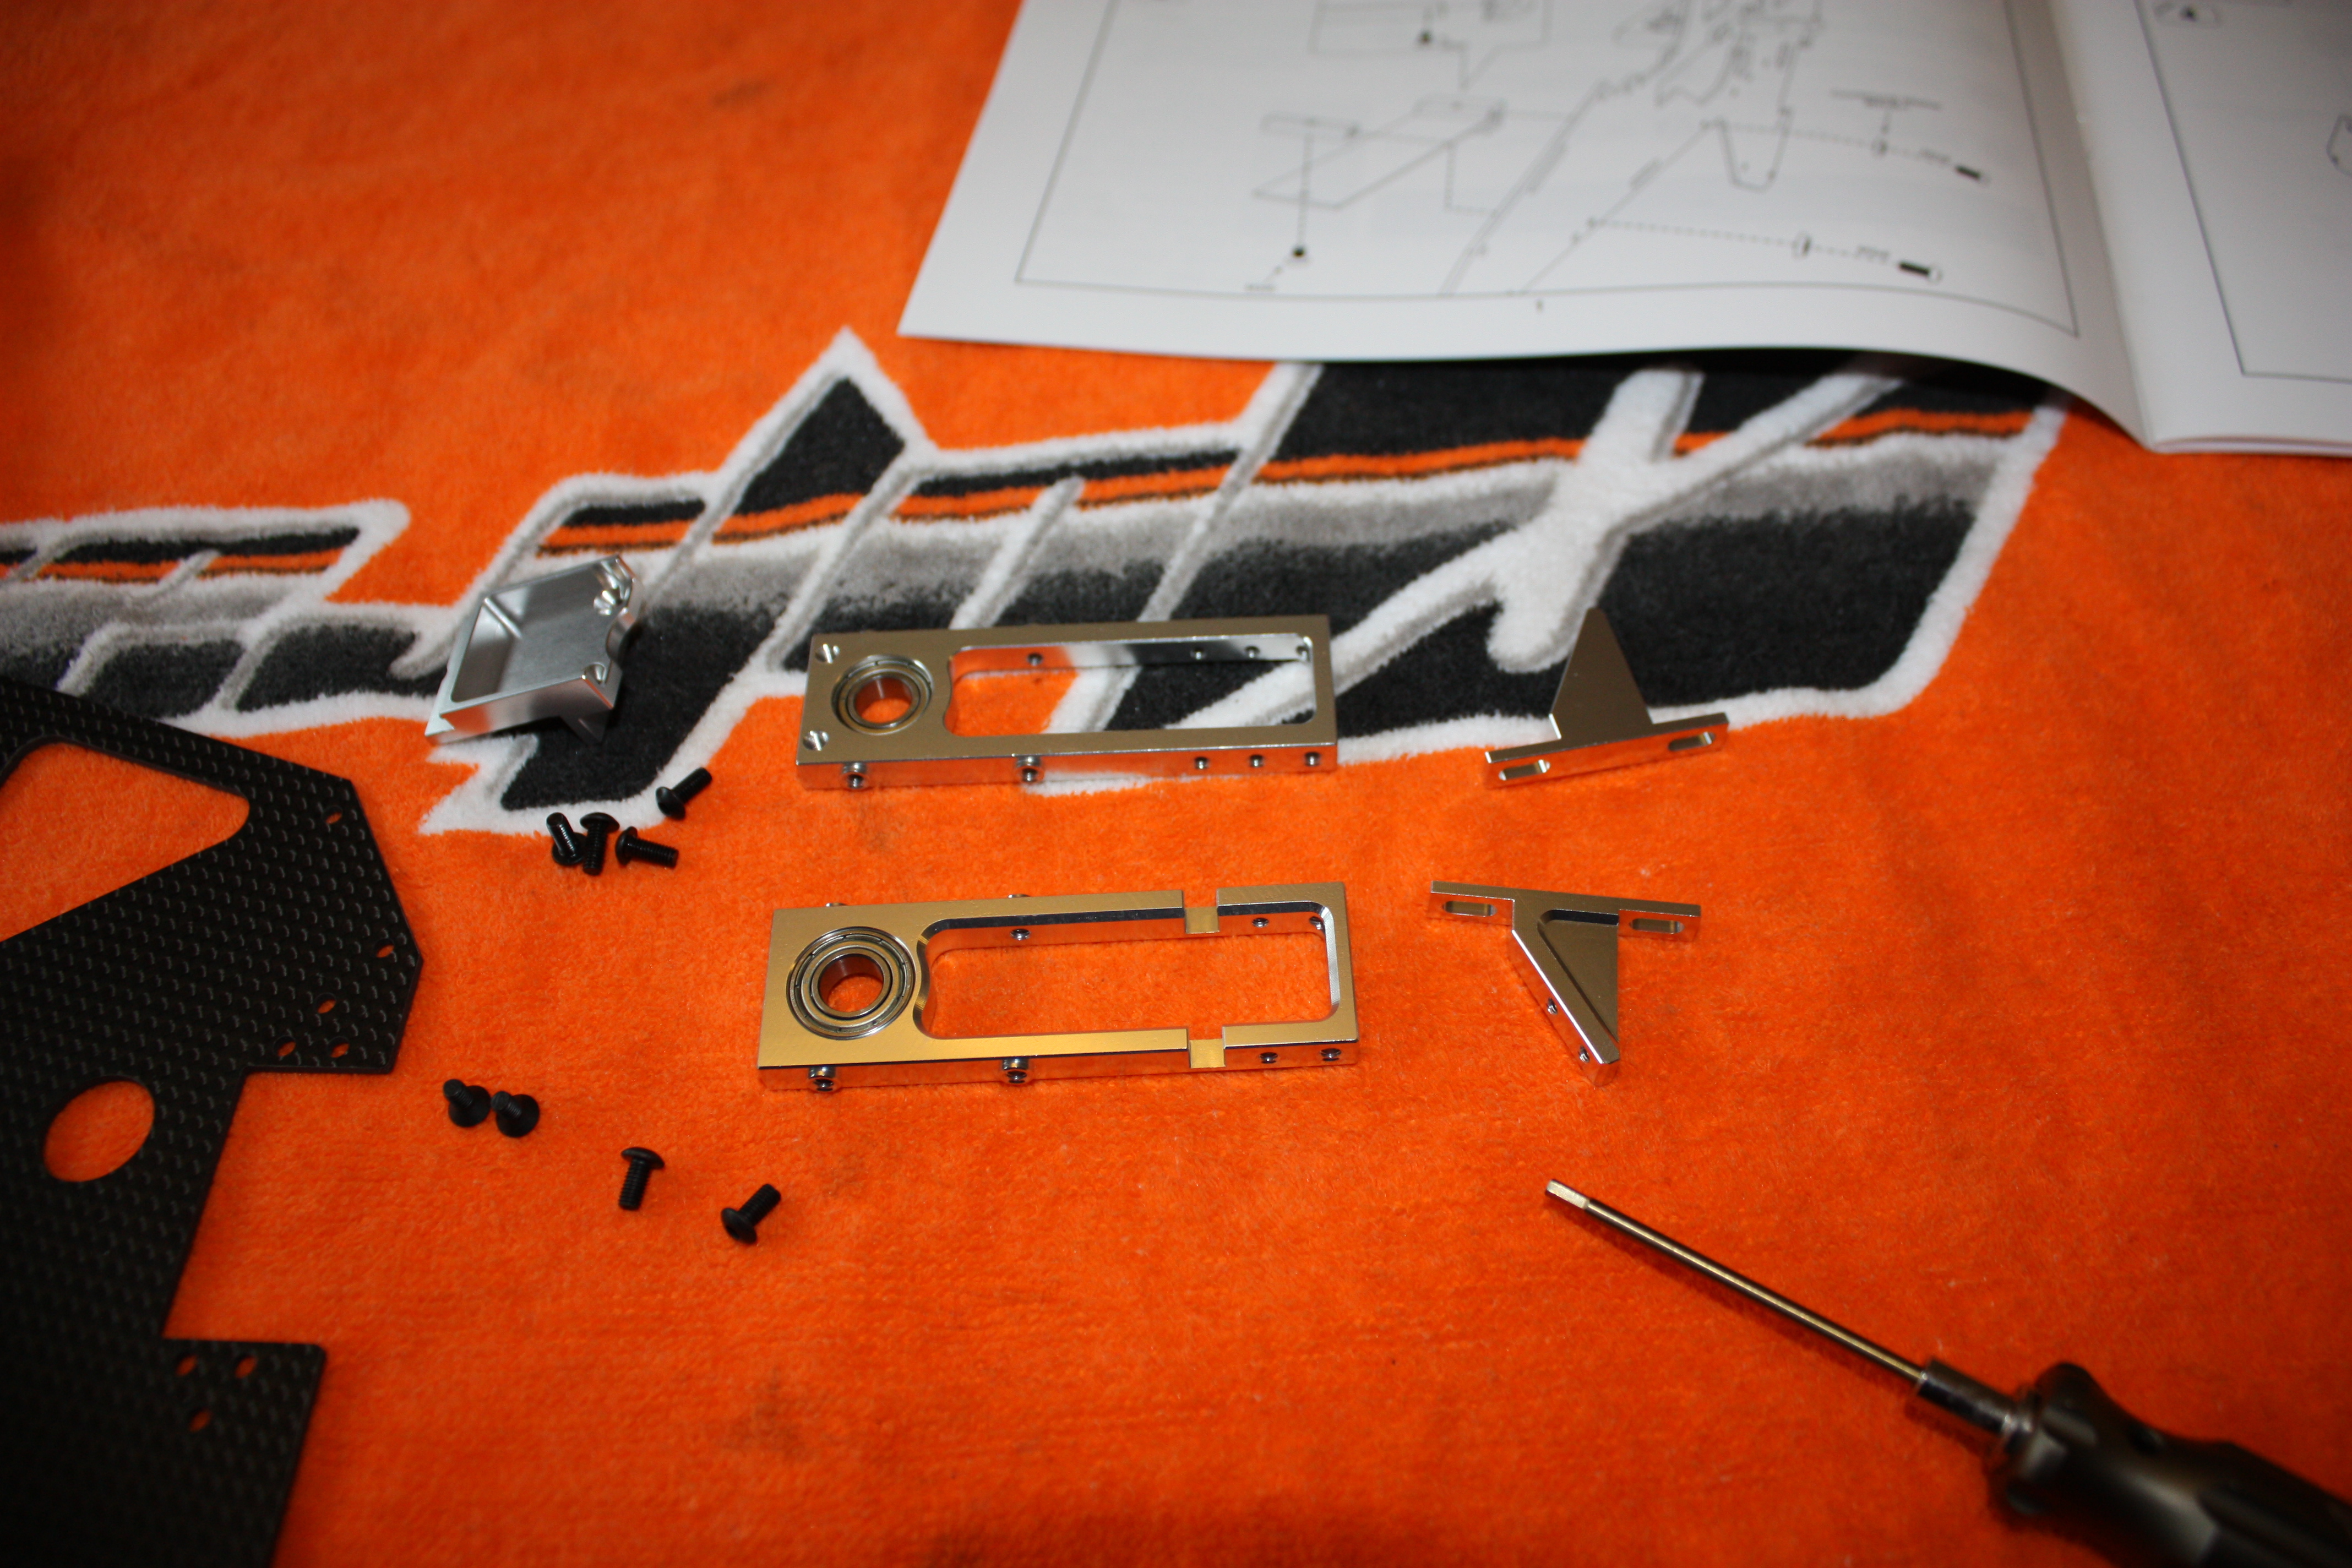

Step one is to fit the upper and lower main shaft bearing blocks, these also double as the elevator servo support and aileron servo mounting point. All the holes were perfect, no filing or pre-fitting of screws to open out the holes was needed at any point on the build. I like the clear anodized aluminum supplied in kits it looks great and finishes of models fantastically.
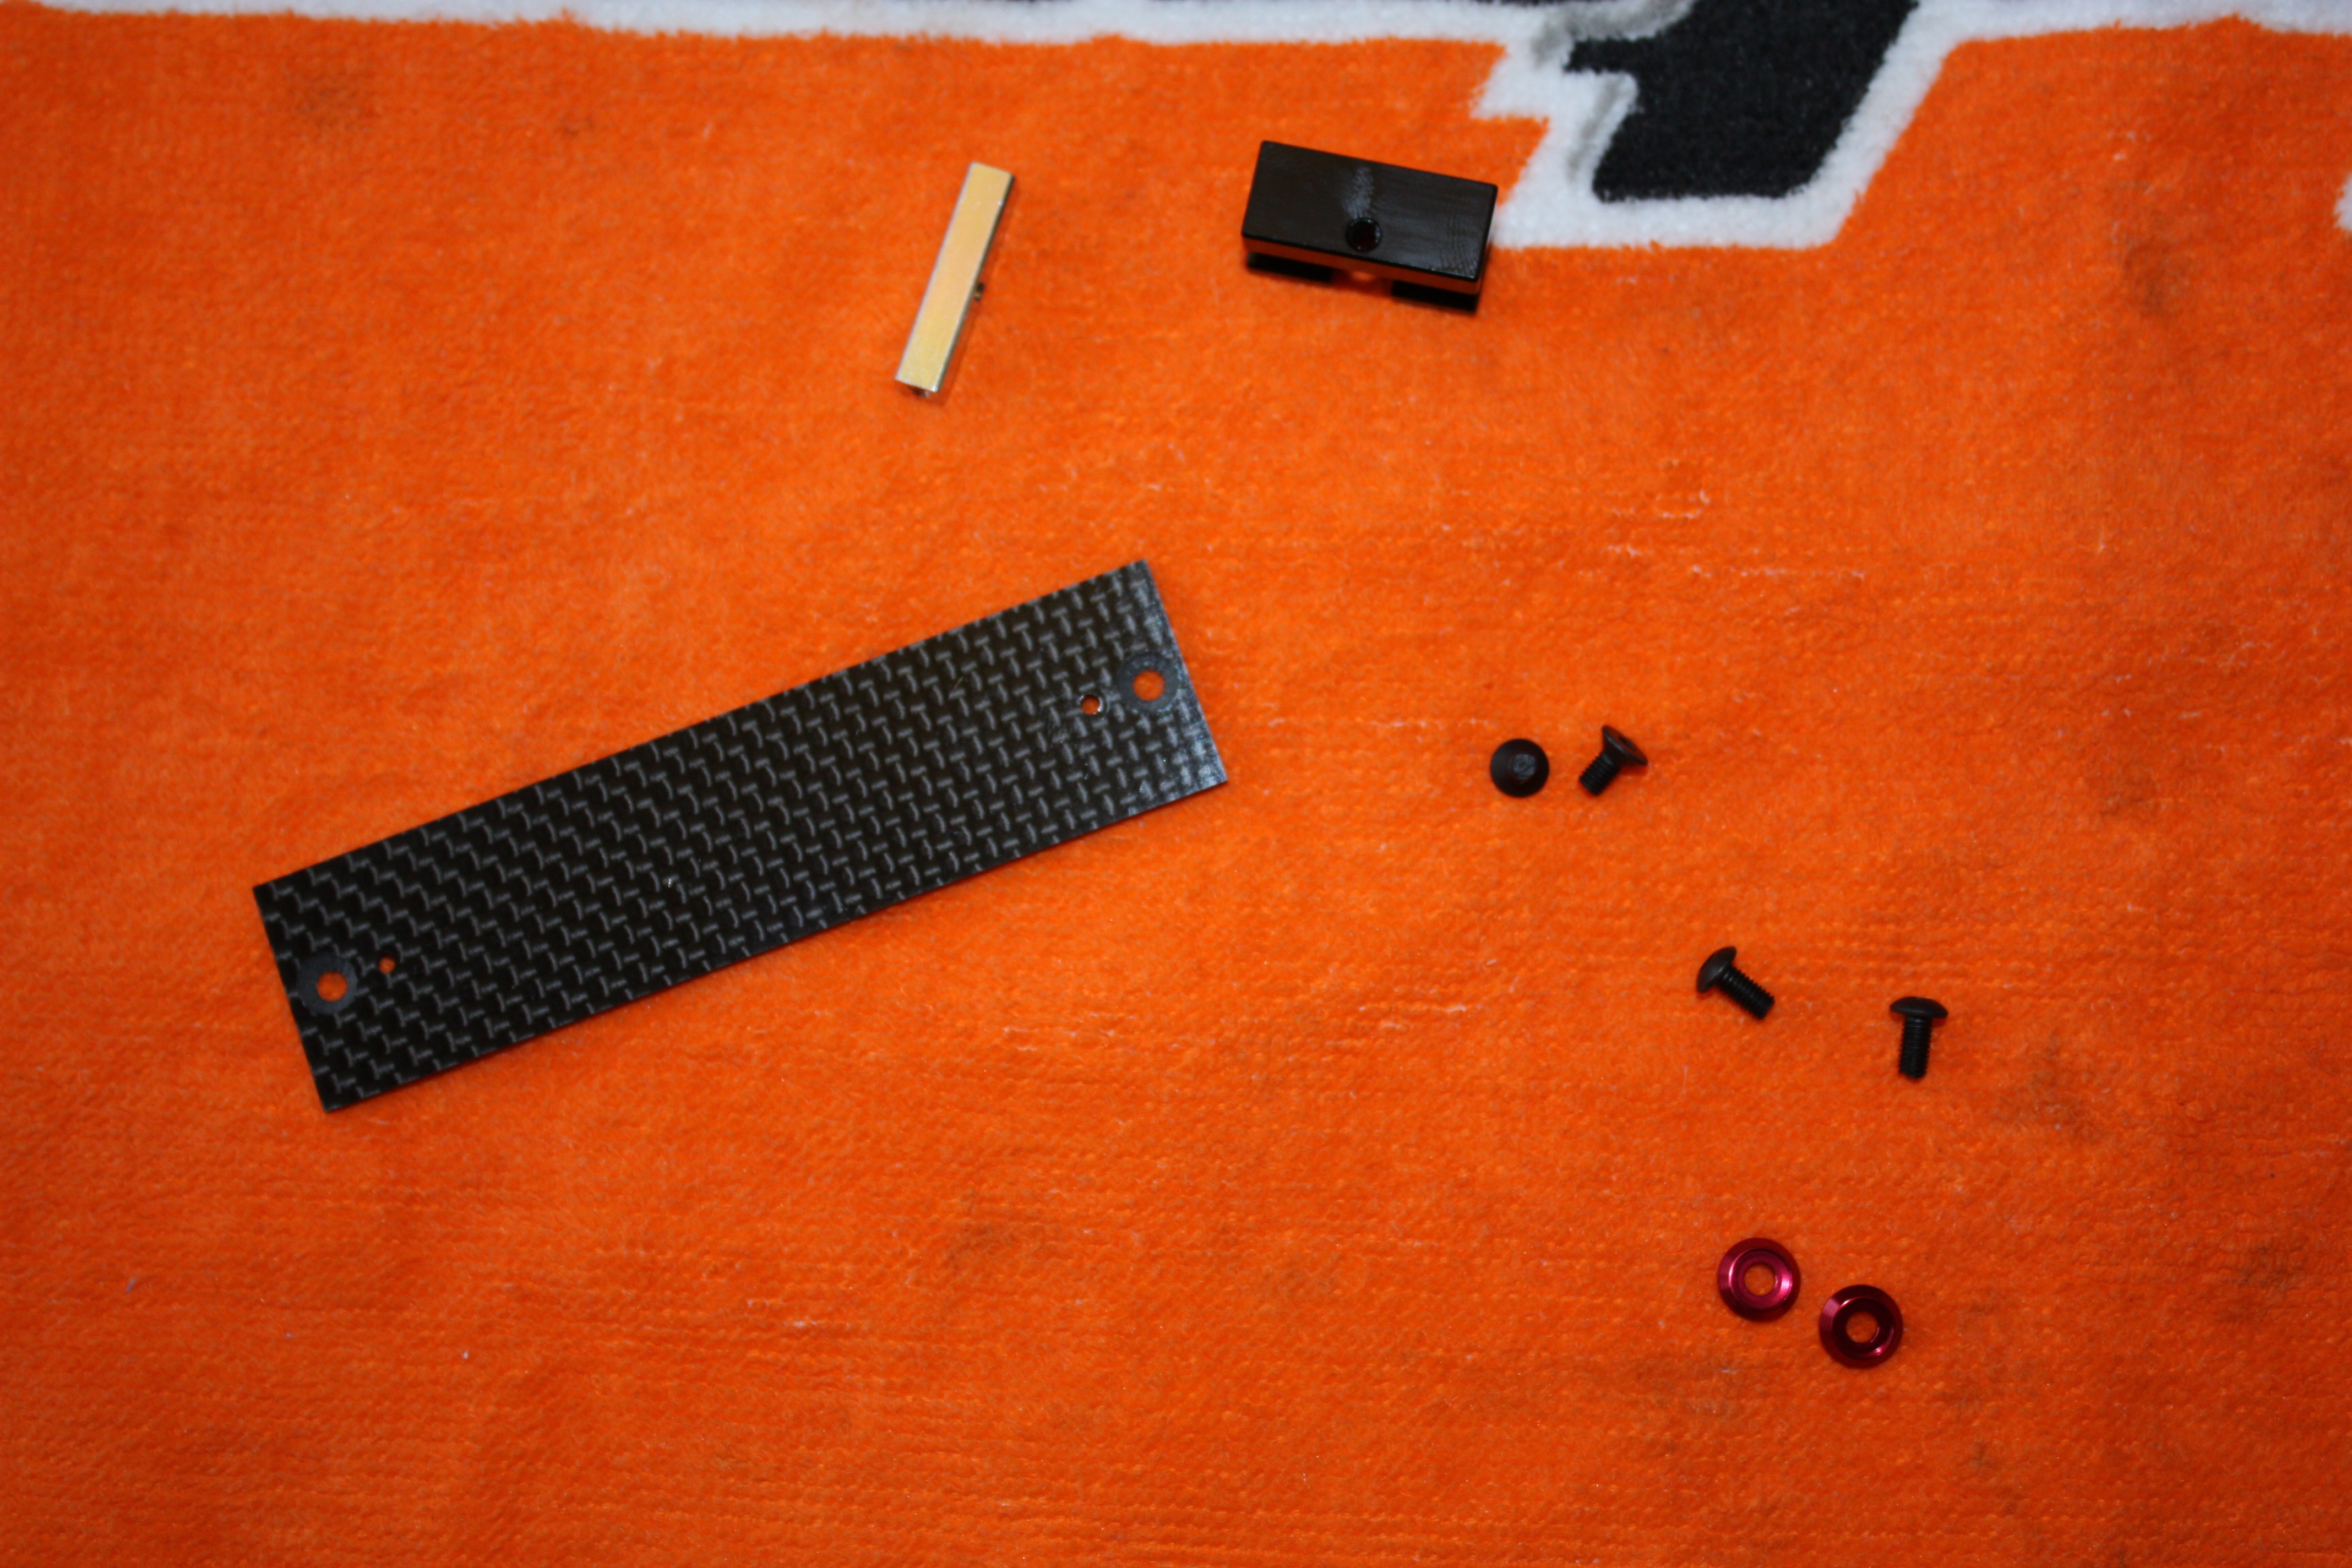

Next up is the battery slide plate. I was wondering what this was for when I was assembling the model, the quick change battery tray runs along this and the little black aluminium block at the end has a small hook on it to support the tray. The slot above the tray is for a battery strap to hold the pack and tray in tightly when ripping up the sky.

ESC support plate, this sits on top two square frame spacers and is held in place with to small countersunk screw leaving the top smooth and level for the ESC of your choice. I installed the super combo ESC and BEC combo from Gaui and even when I fly the helicopter as hard as I possibly can and it only gets warm. I’ve got no concerns over using the stock ESC in this helicopter.
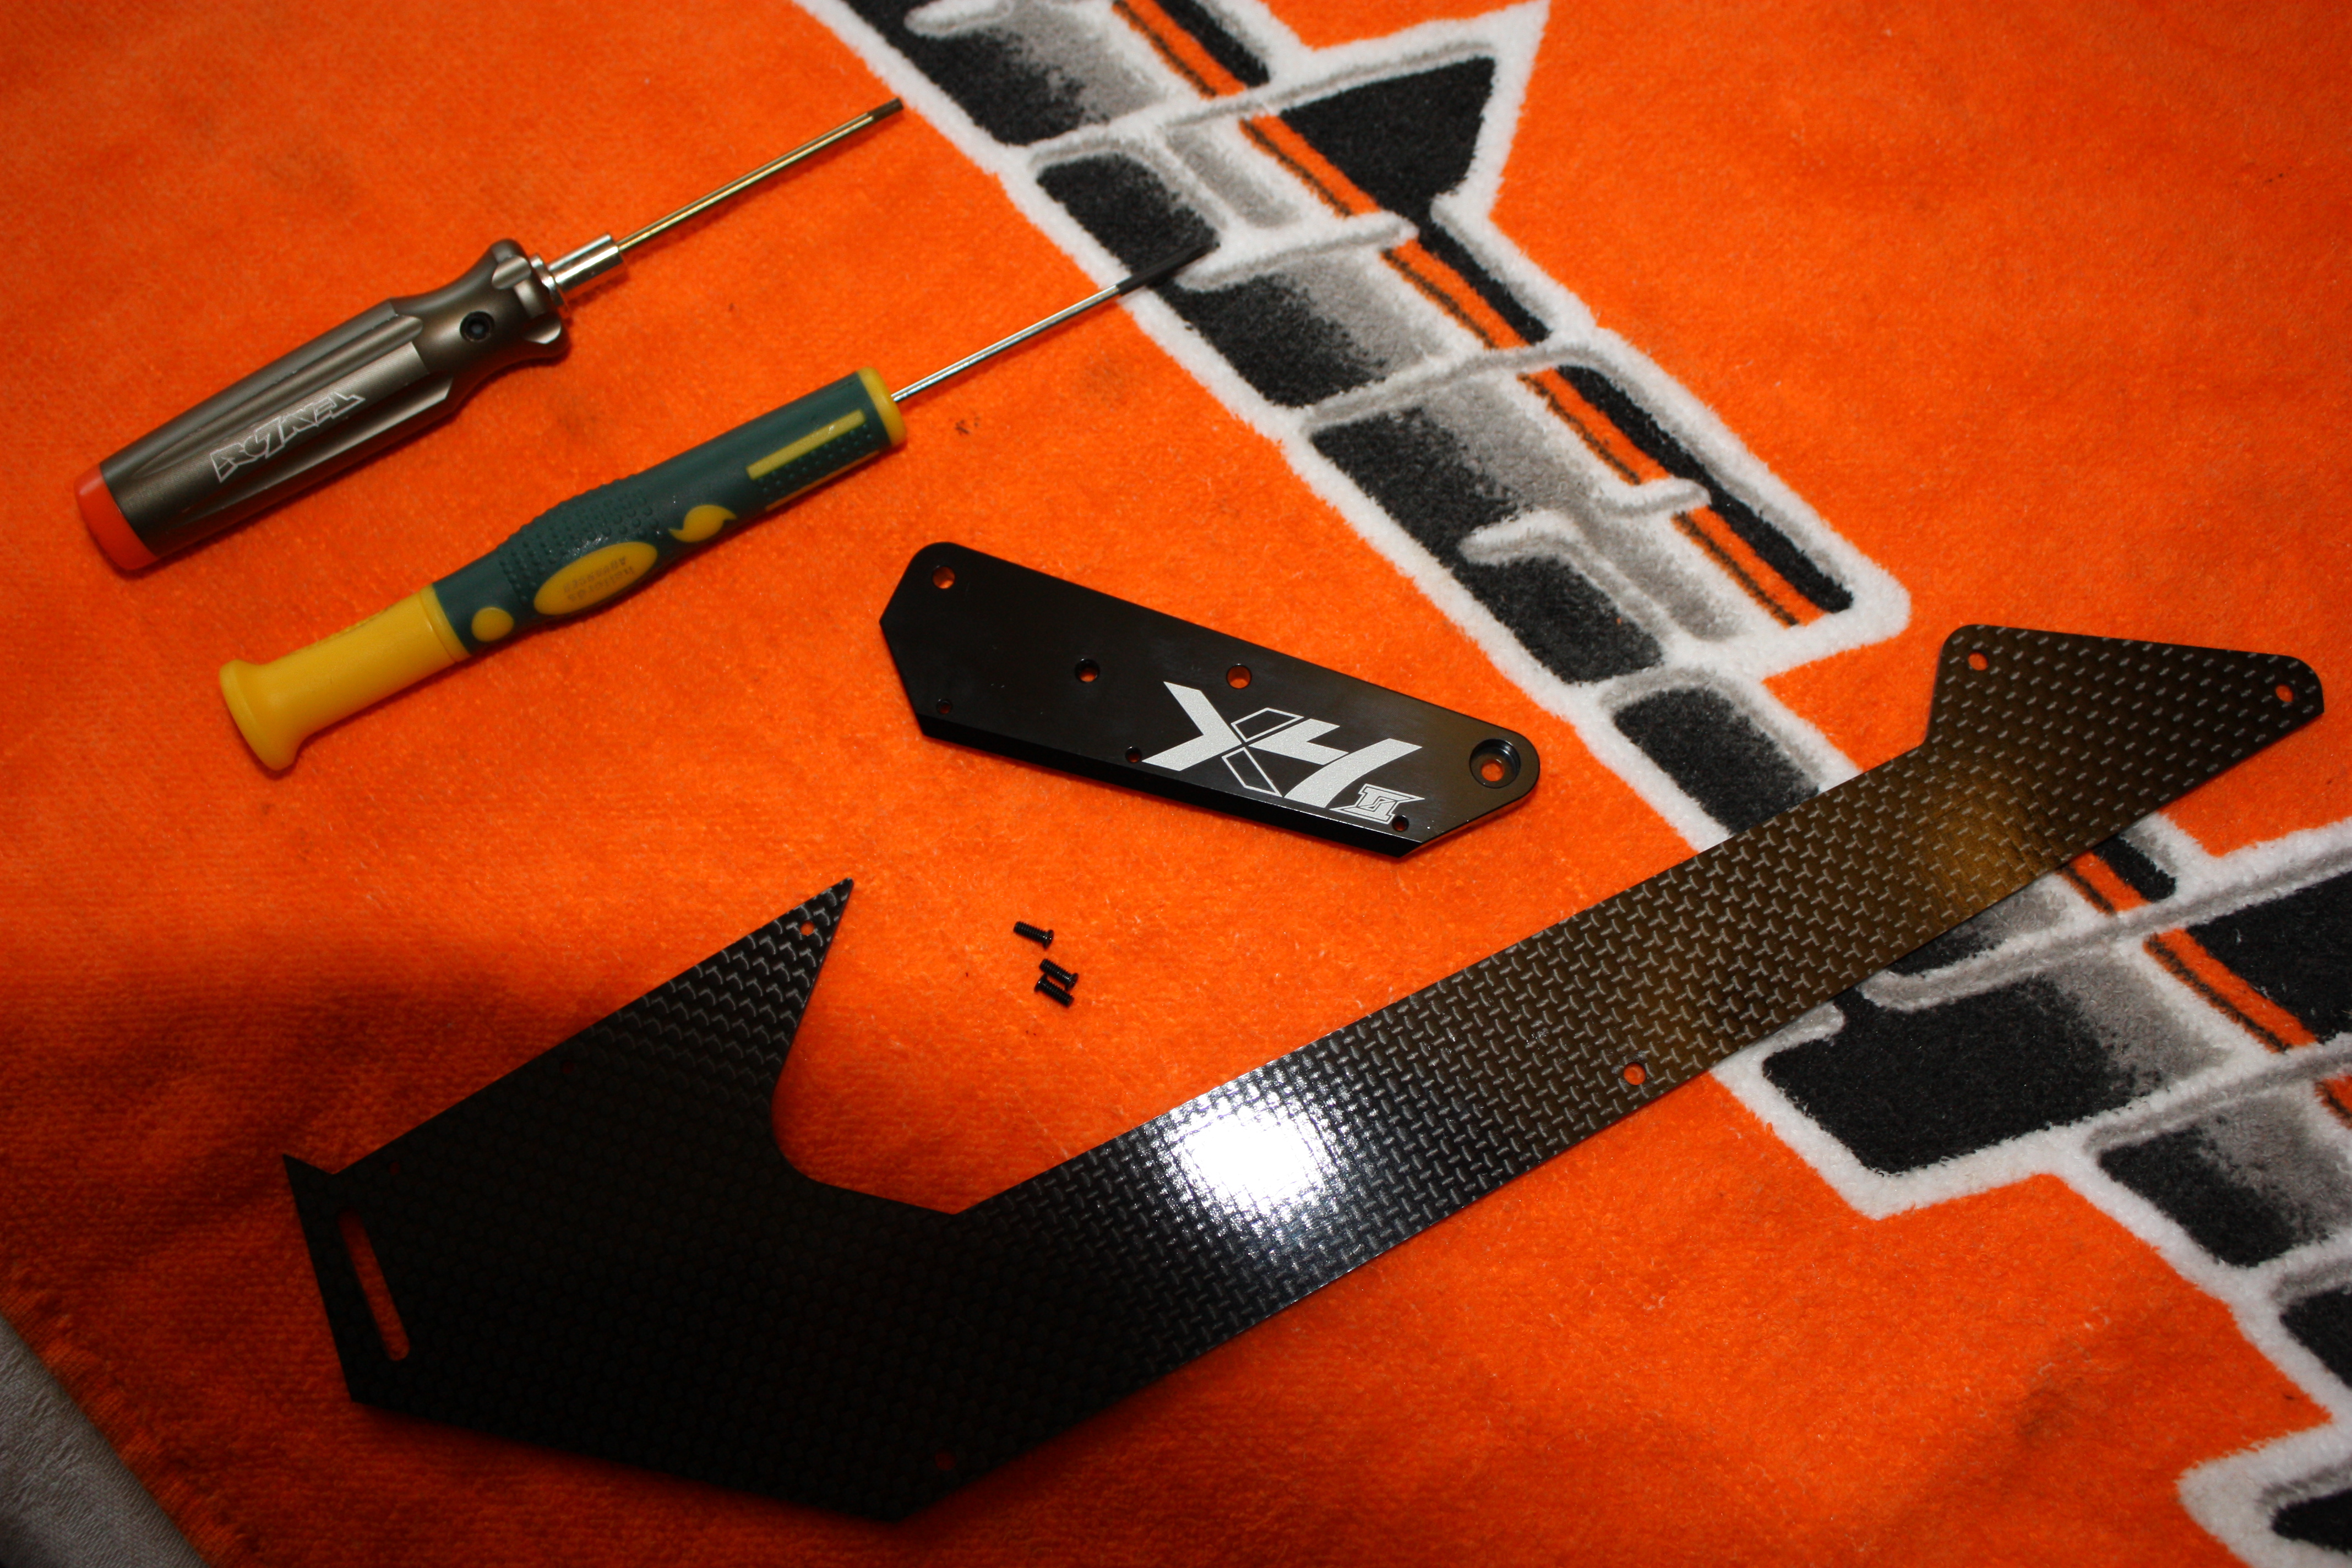
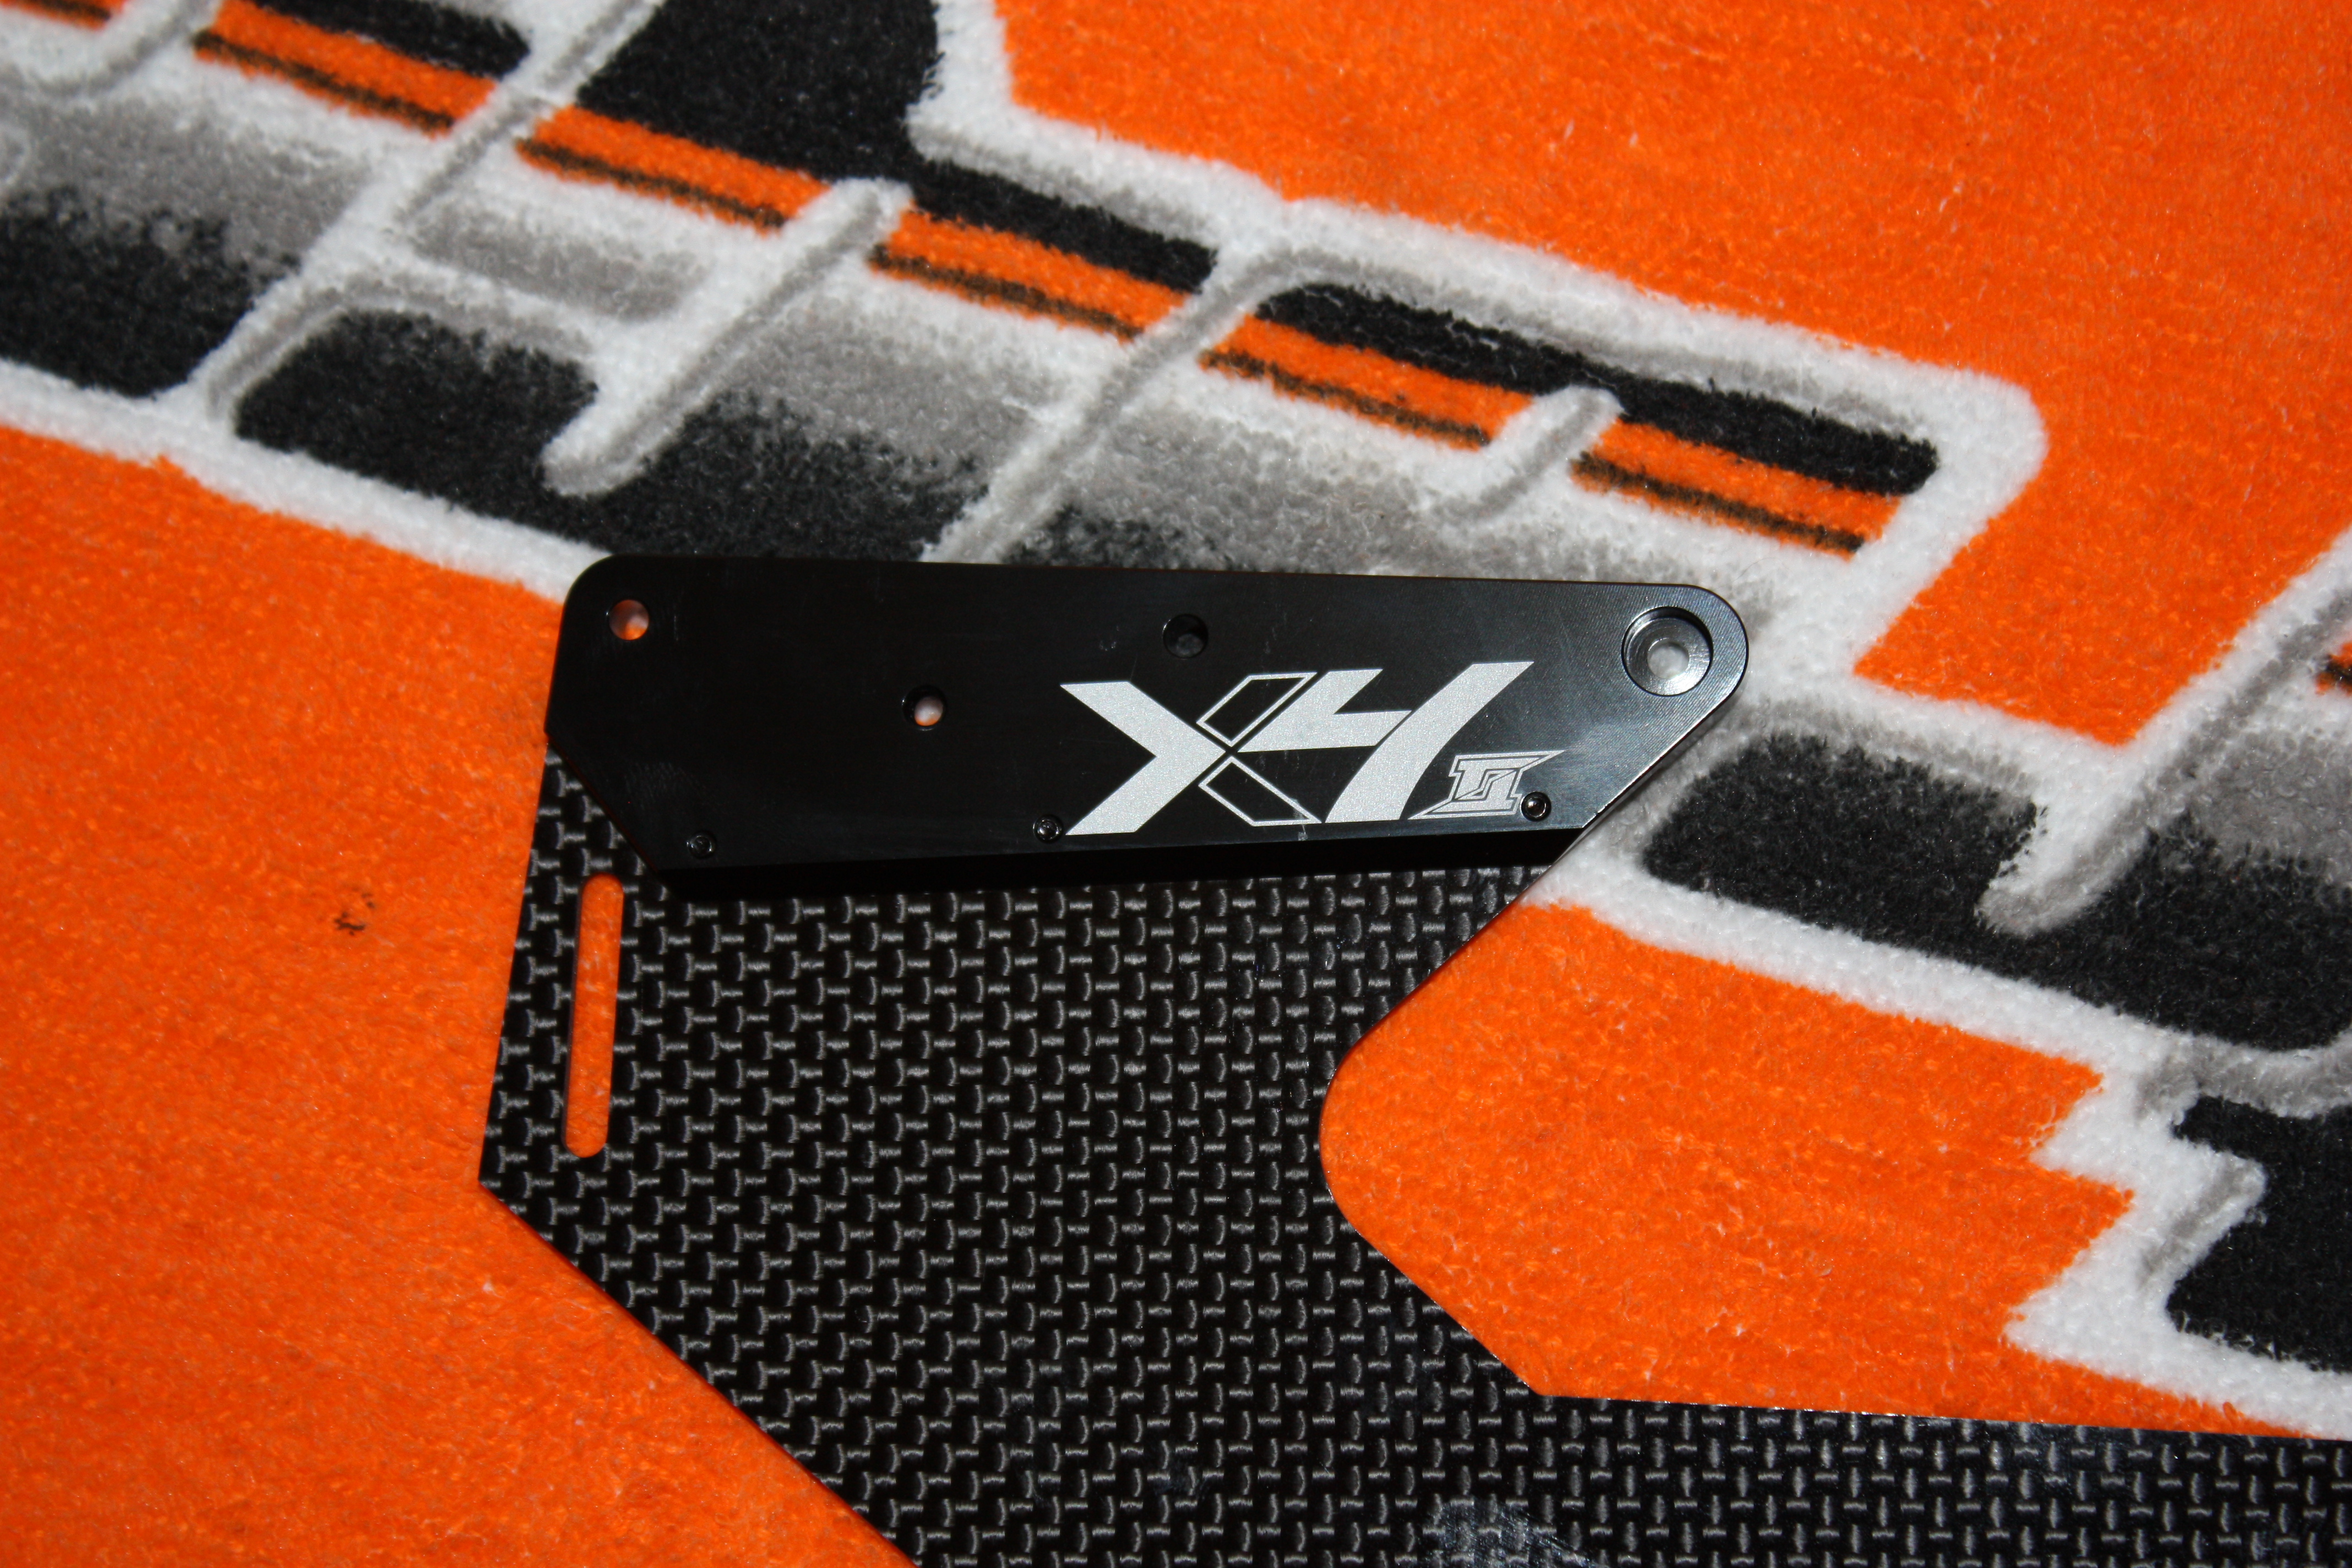
Next up on the orange towel is the first of the lower frames. the top part is machined from aluminium and is attached using three VERY small phillips screws. once again the fit was perfect and the silk screen printing is clear and crisp.


The lower frame fitted to the upper, there are two large plastic spacers one at the front and one at the rear to open out what will be the battery bay. Inside the frames are more spacers and you can just see the battery tray running slot under the upper frame in the second photo.

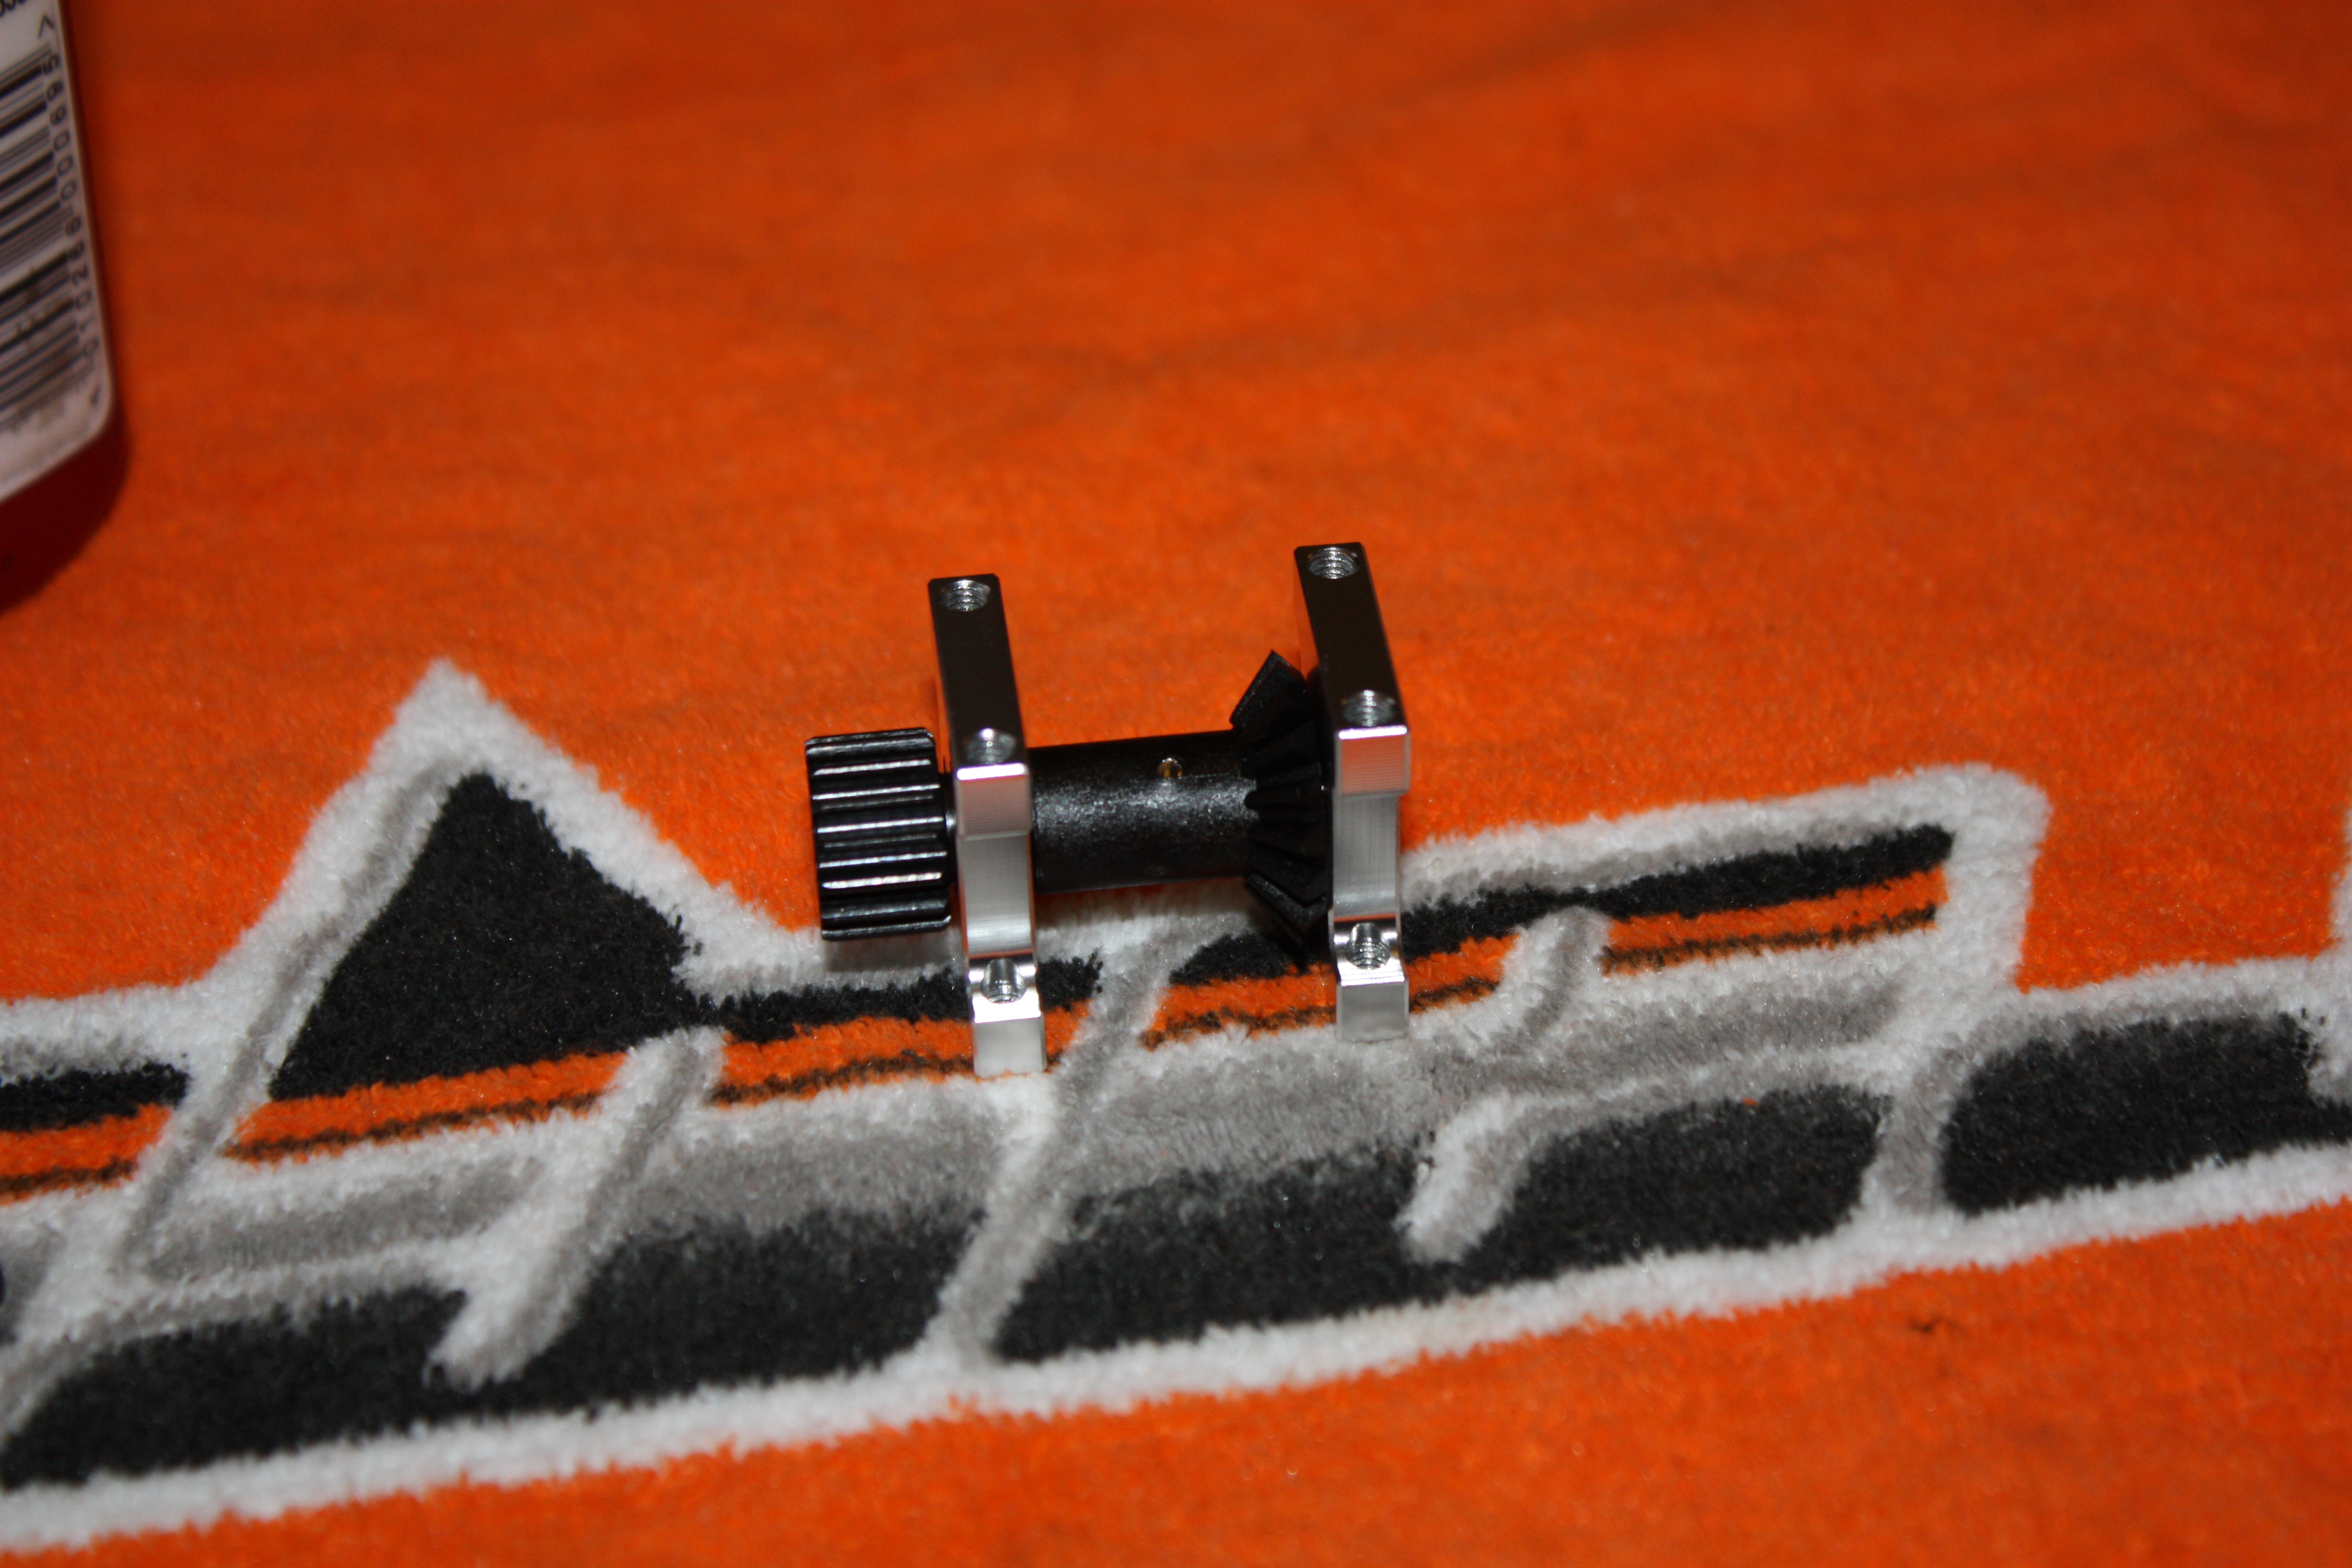
The tail drive gear box is a critical component in any helicopter, the X4 2 uses a small metal pinion as the take off drive and plastic bevel gears to move the drive onto the torque tube tail drive. I found the design a bit different with the bevel gears being mounted in two separate pieces. The first is shown above the second bevel gear is located inside the tail boom which sits in machined mounts. This system allows the front tail mesh to be adjusted without the use of shims. A nice touch for the more experienced modeler but it could spell disaster for the novice. Get the mesh wrong, to tight or to loose and you can kiss good night to your tail drive.
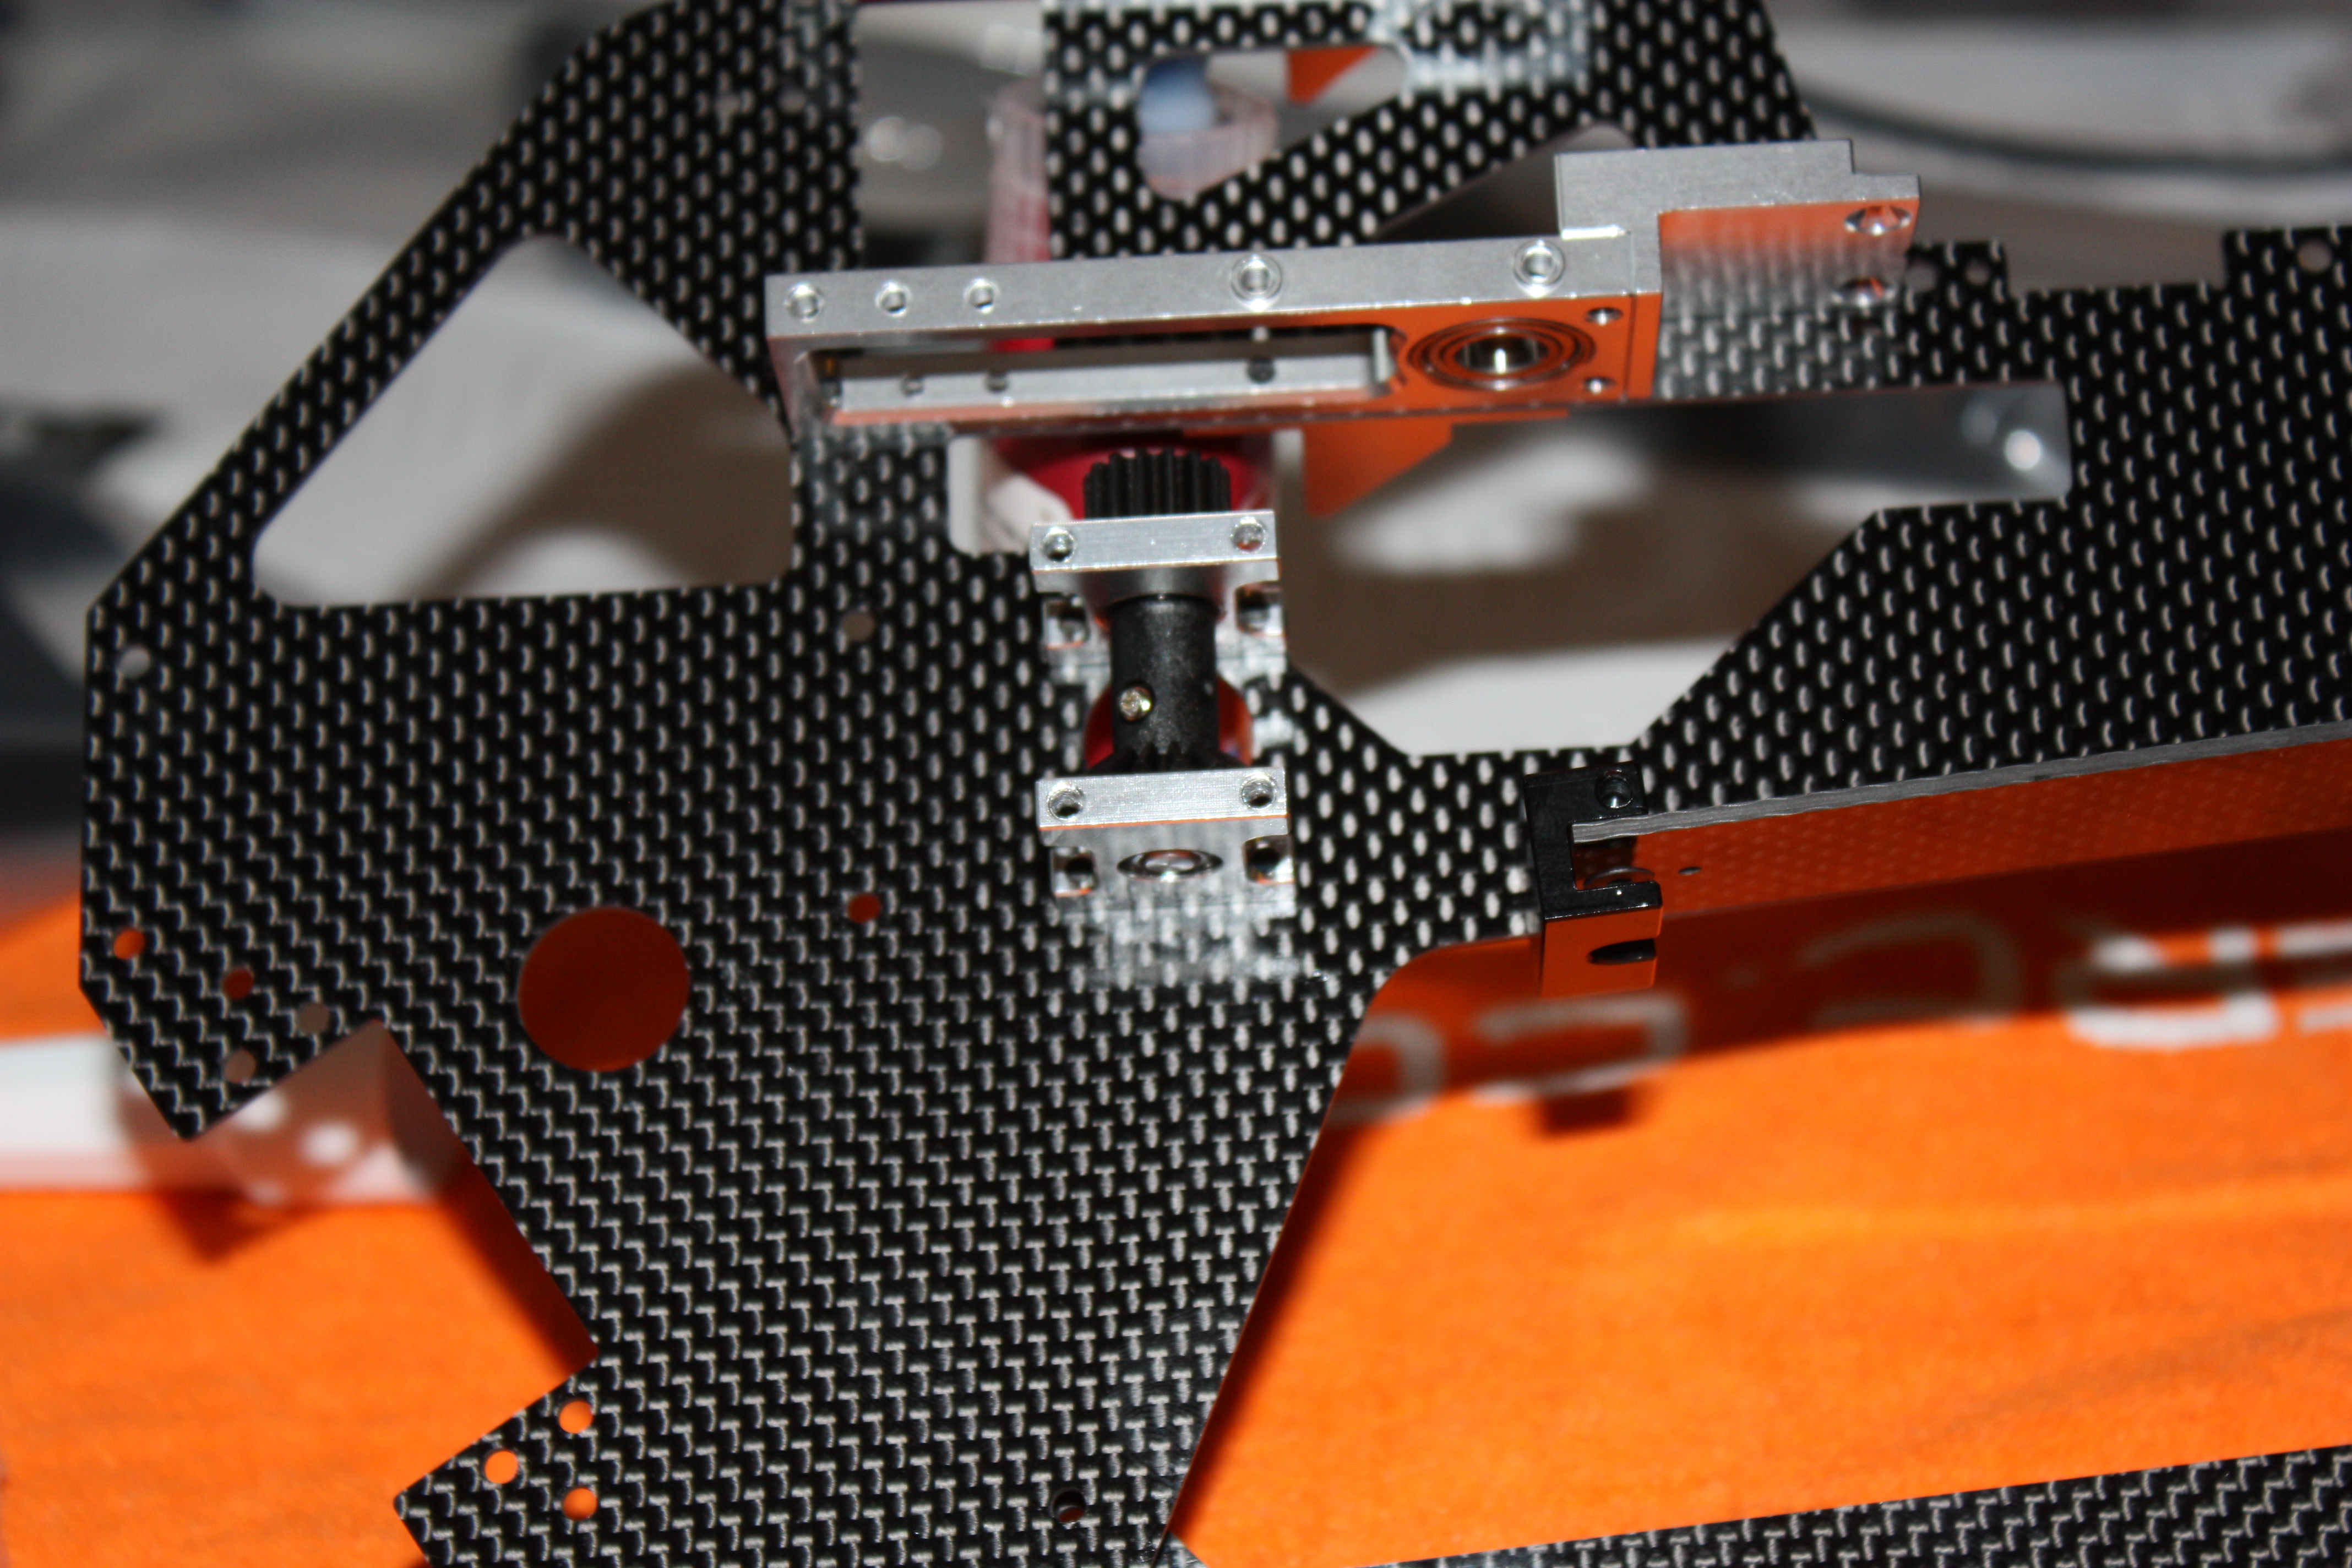
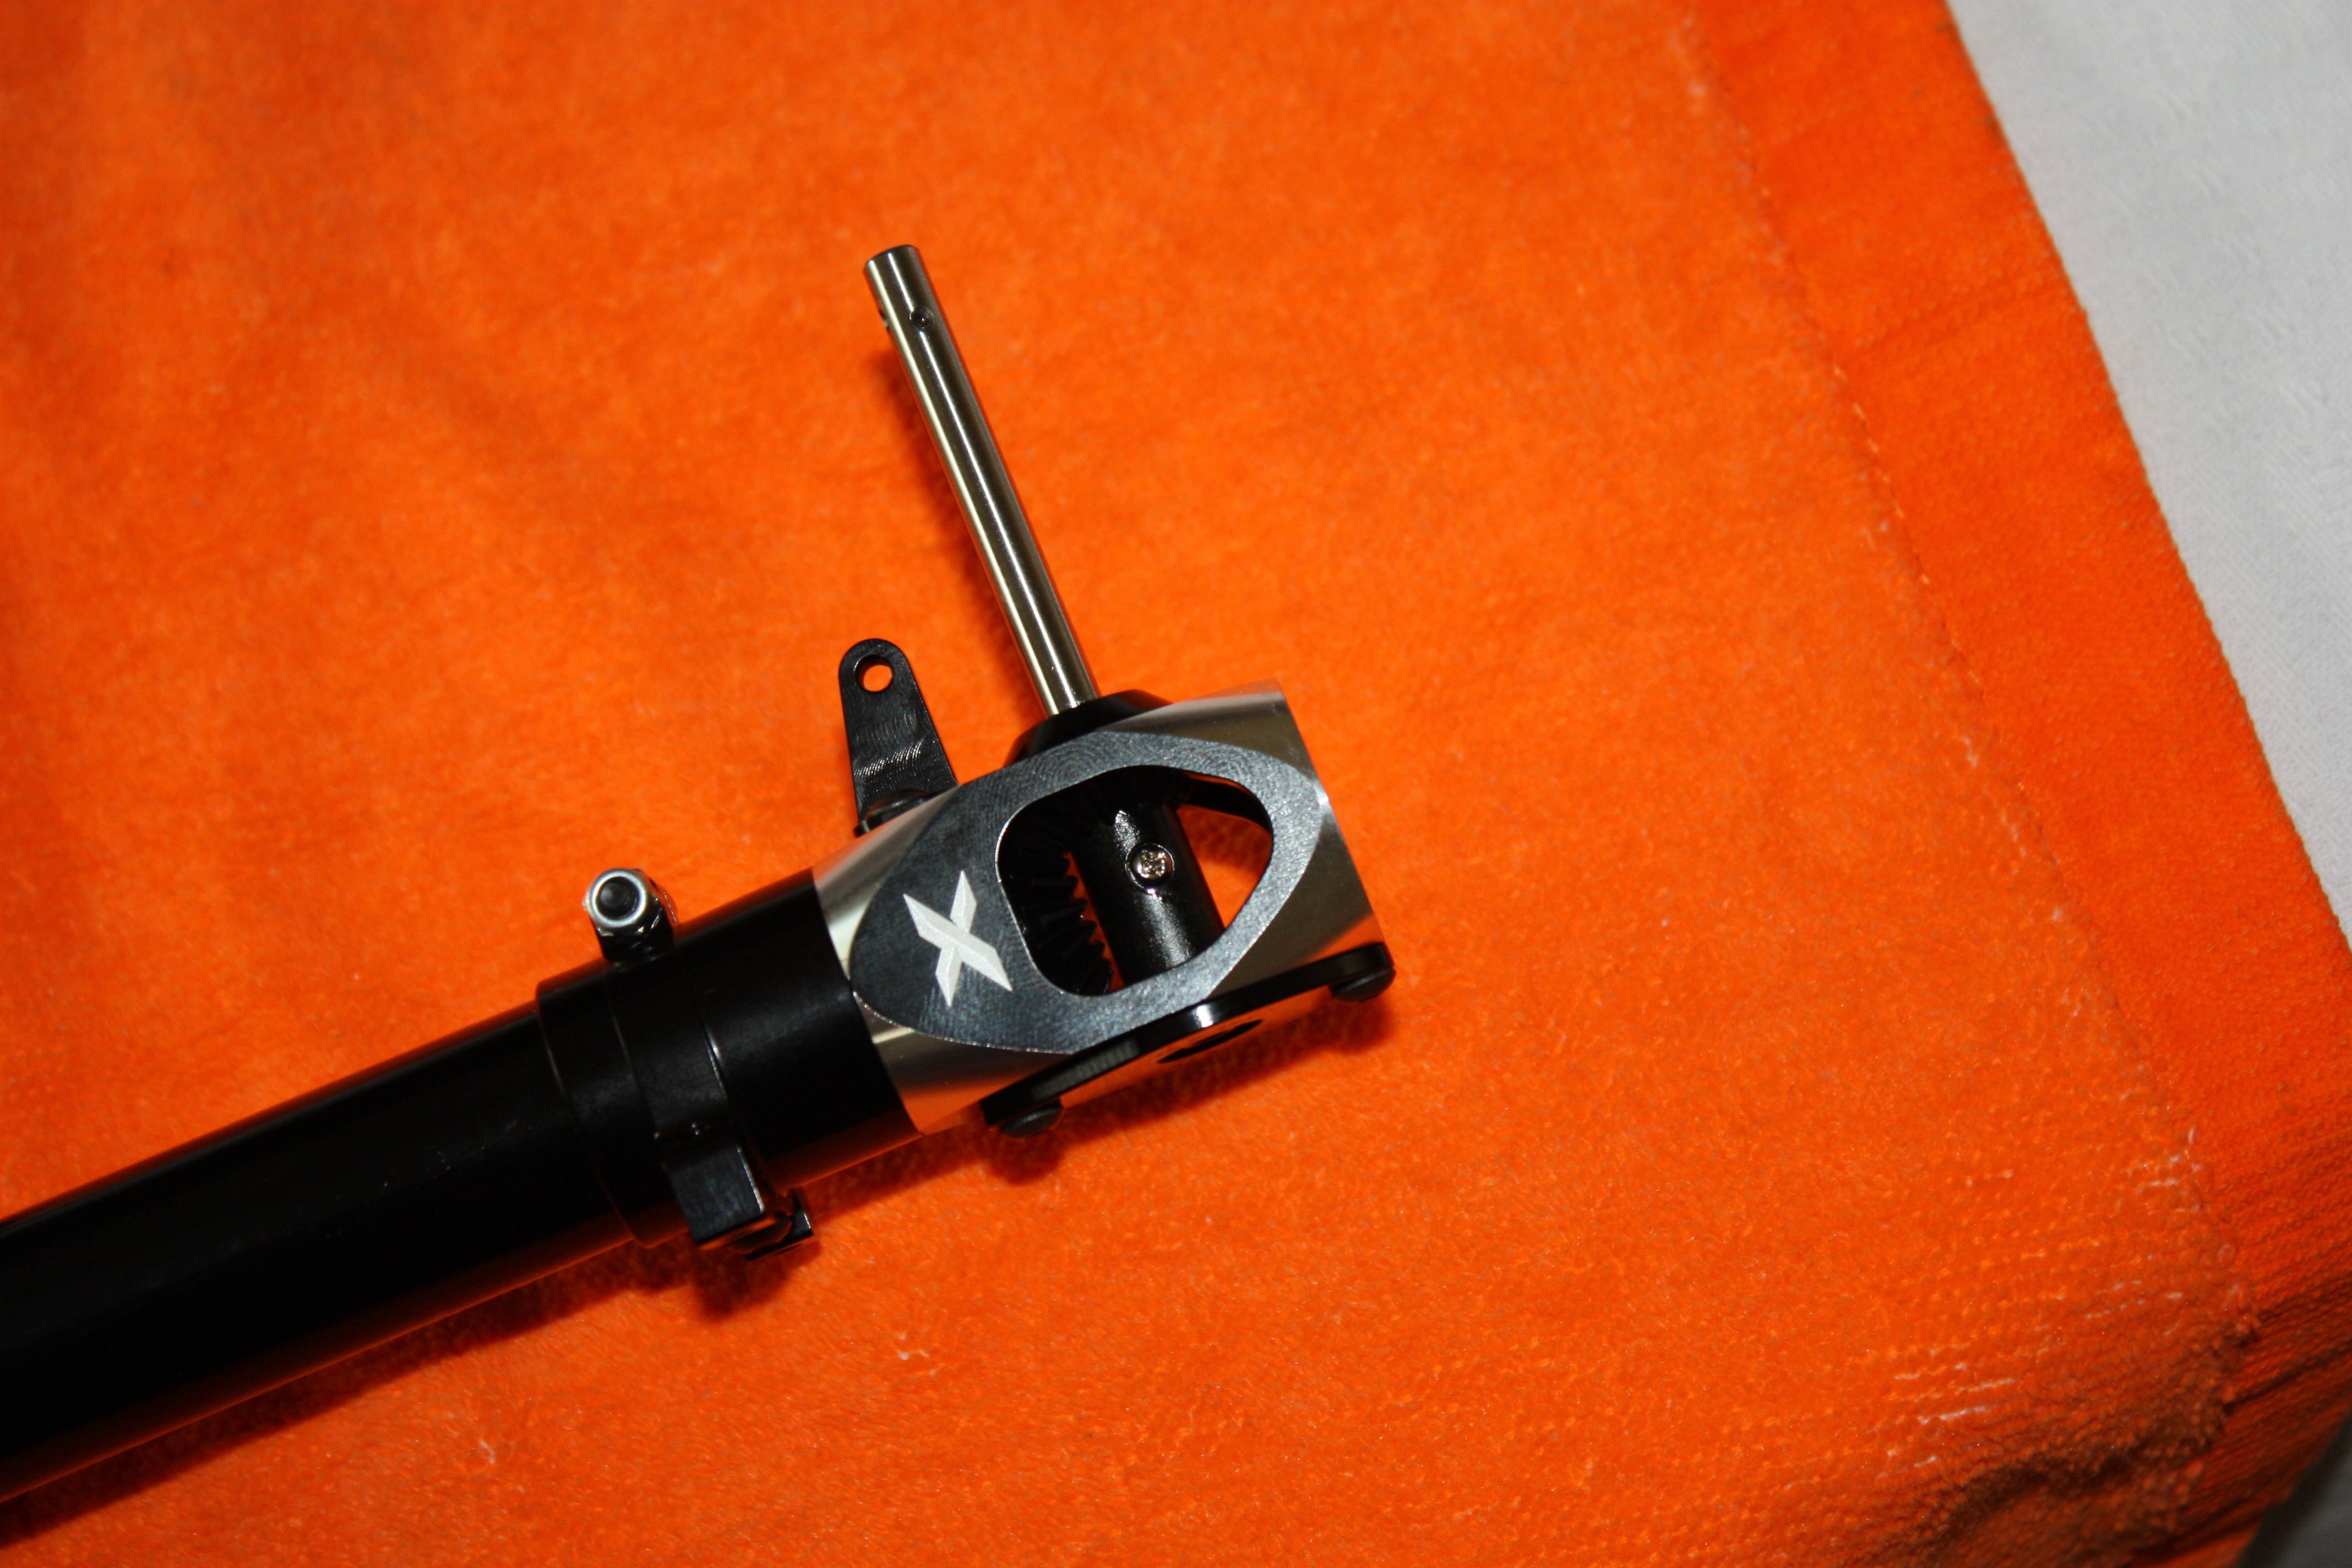
The first part of the front tail box installed on the frames, this is the fixed part. The adjustable gear is in the end of the tail boom.

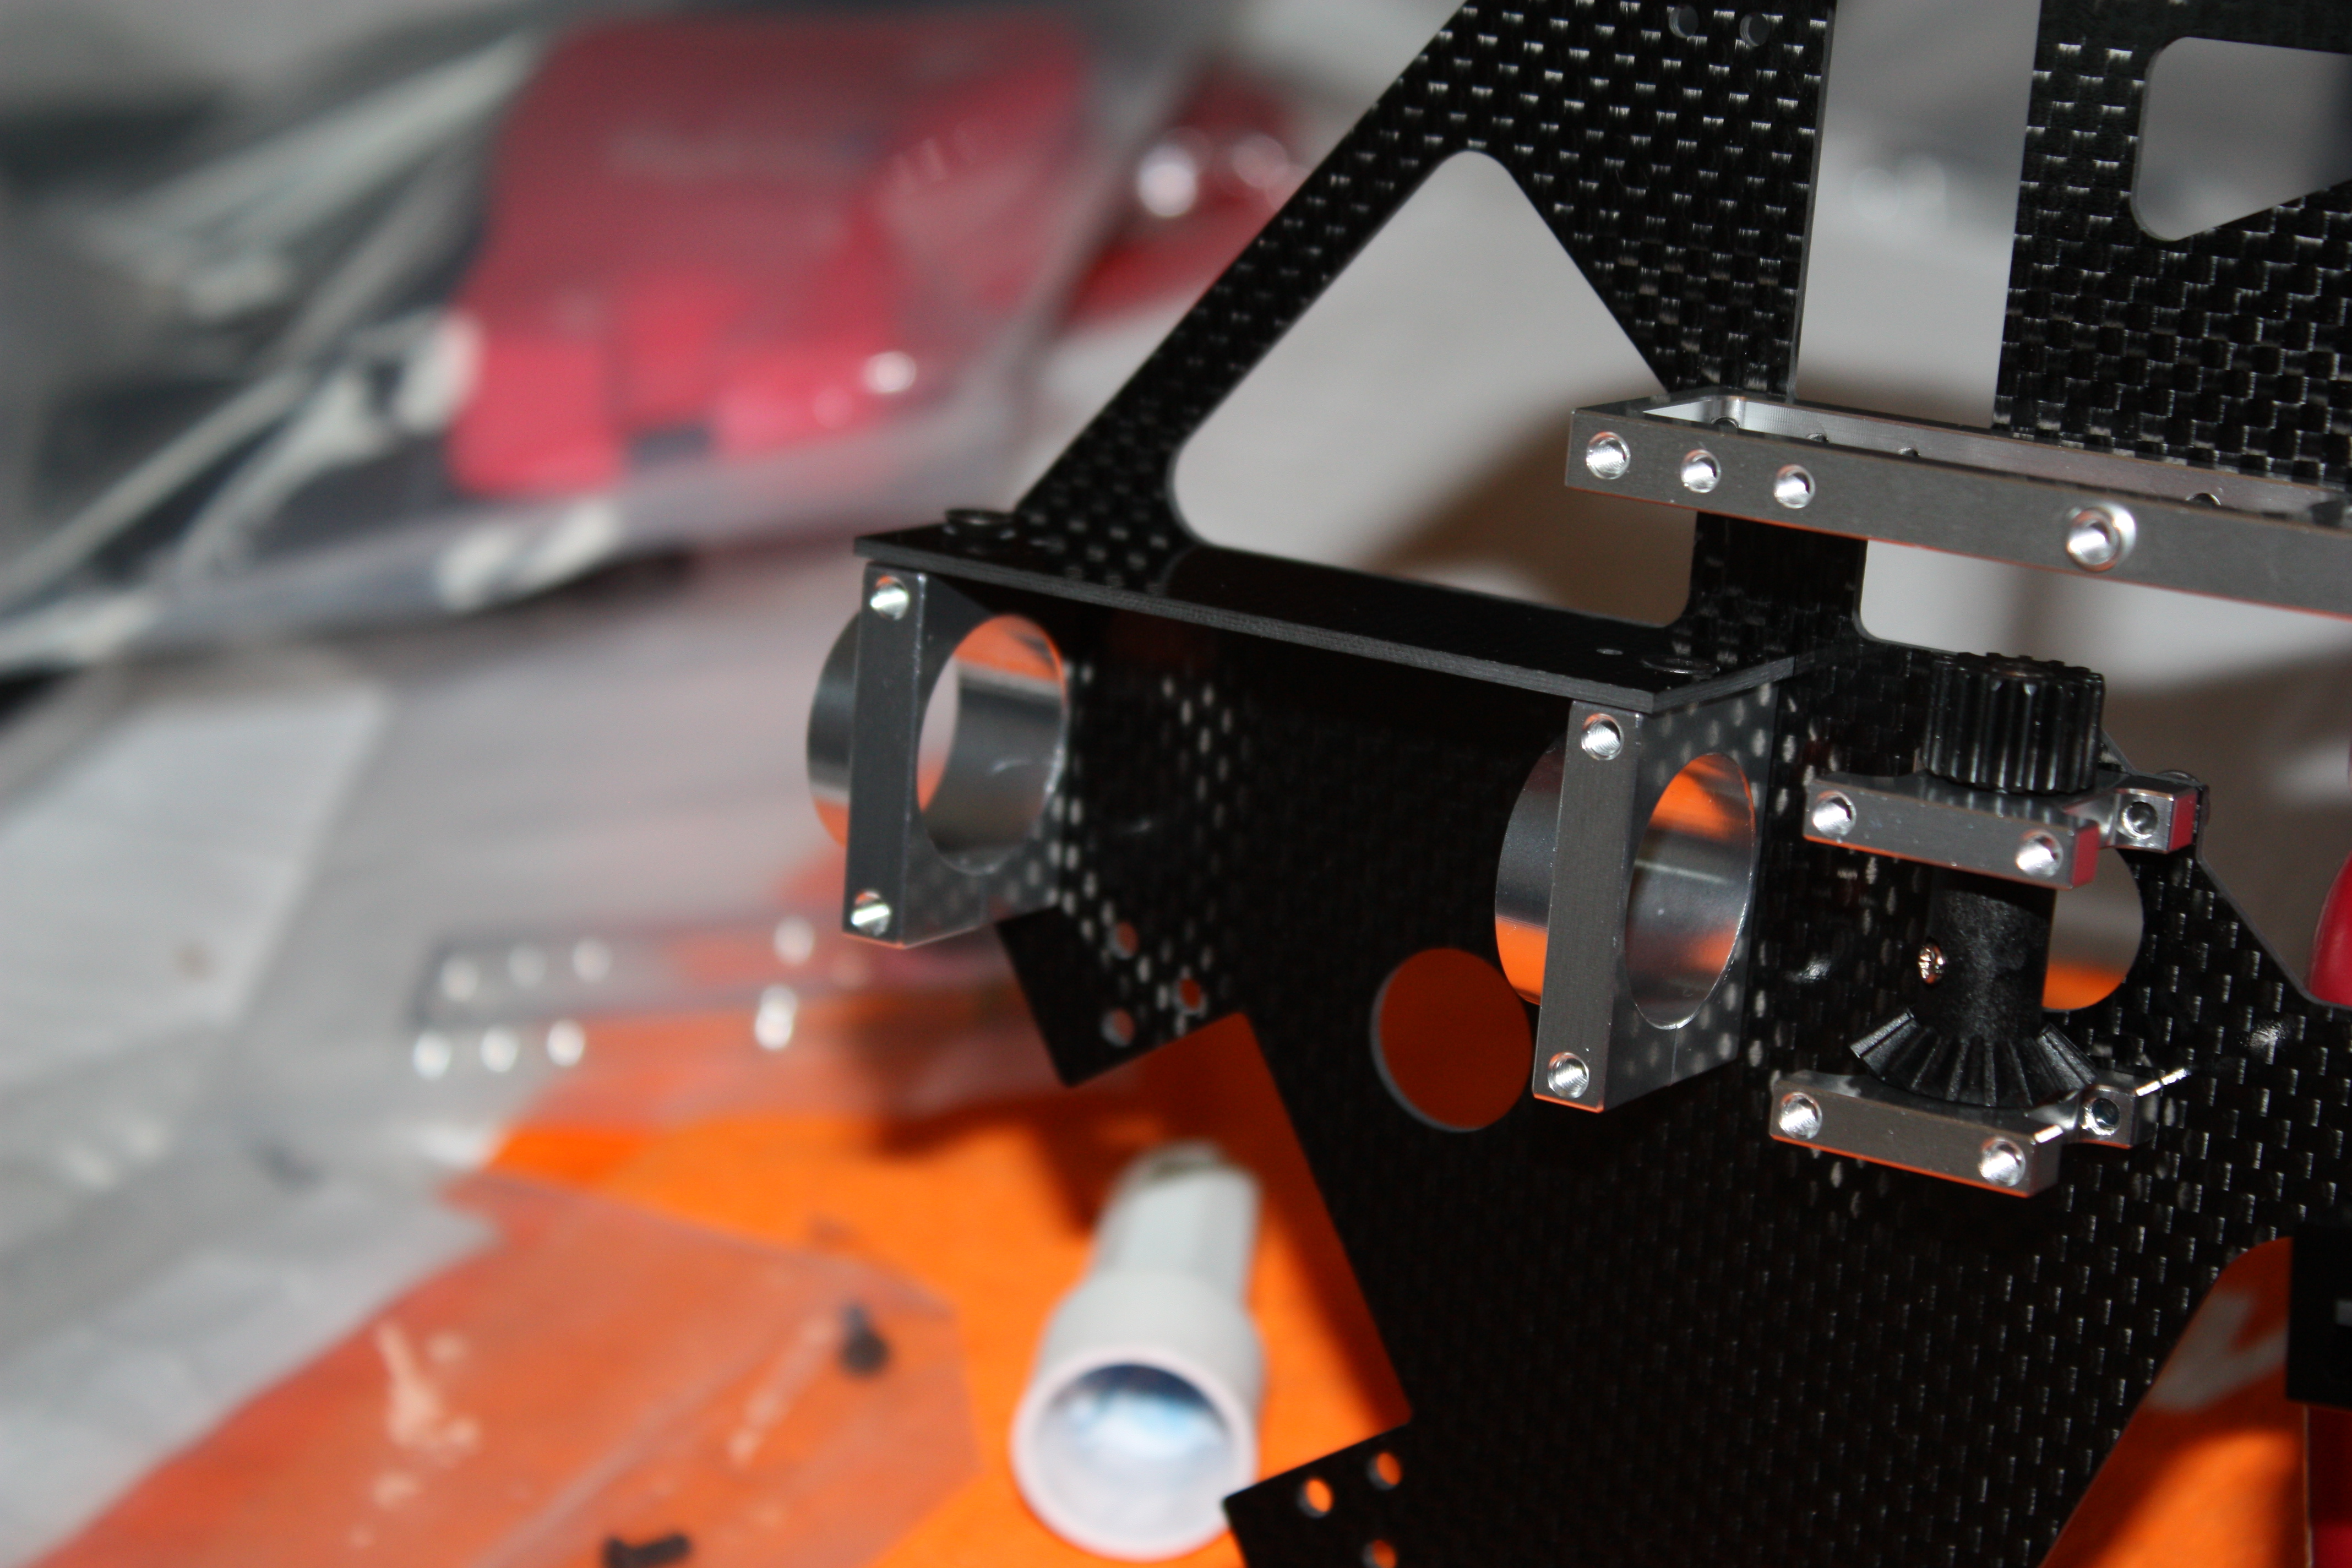
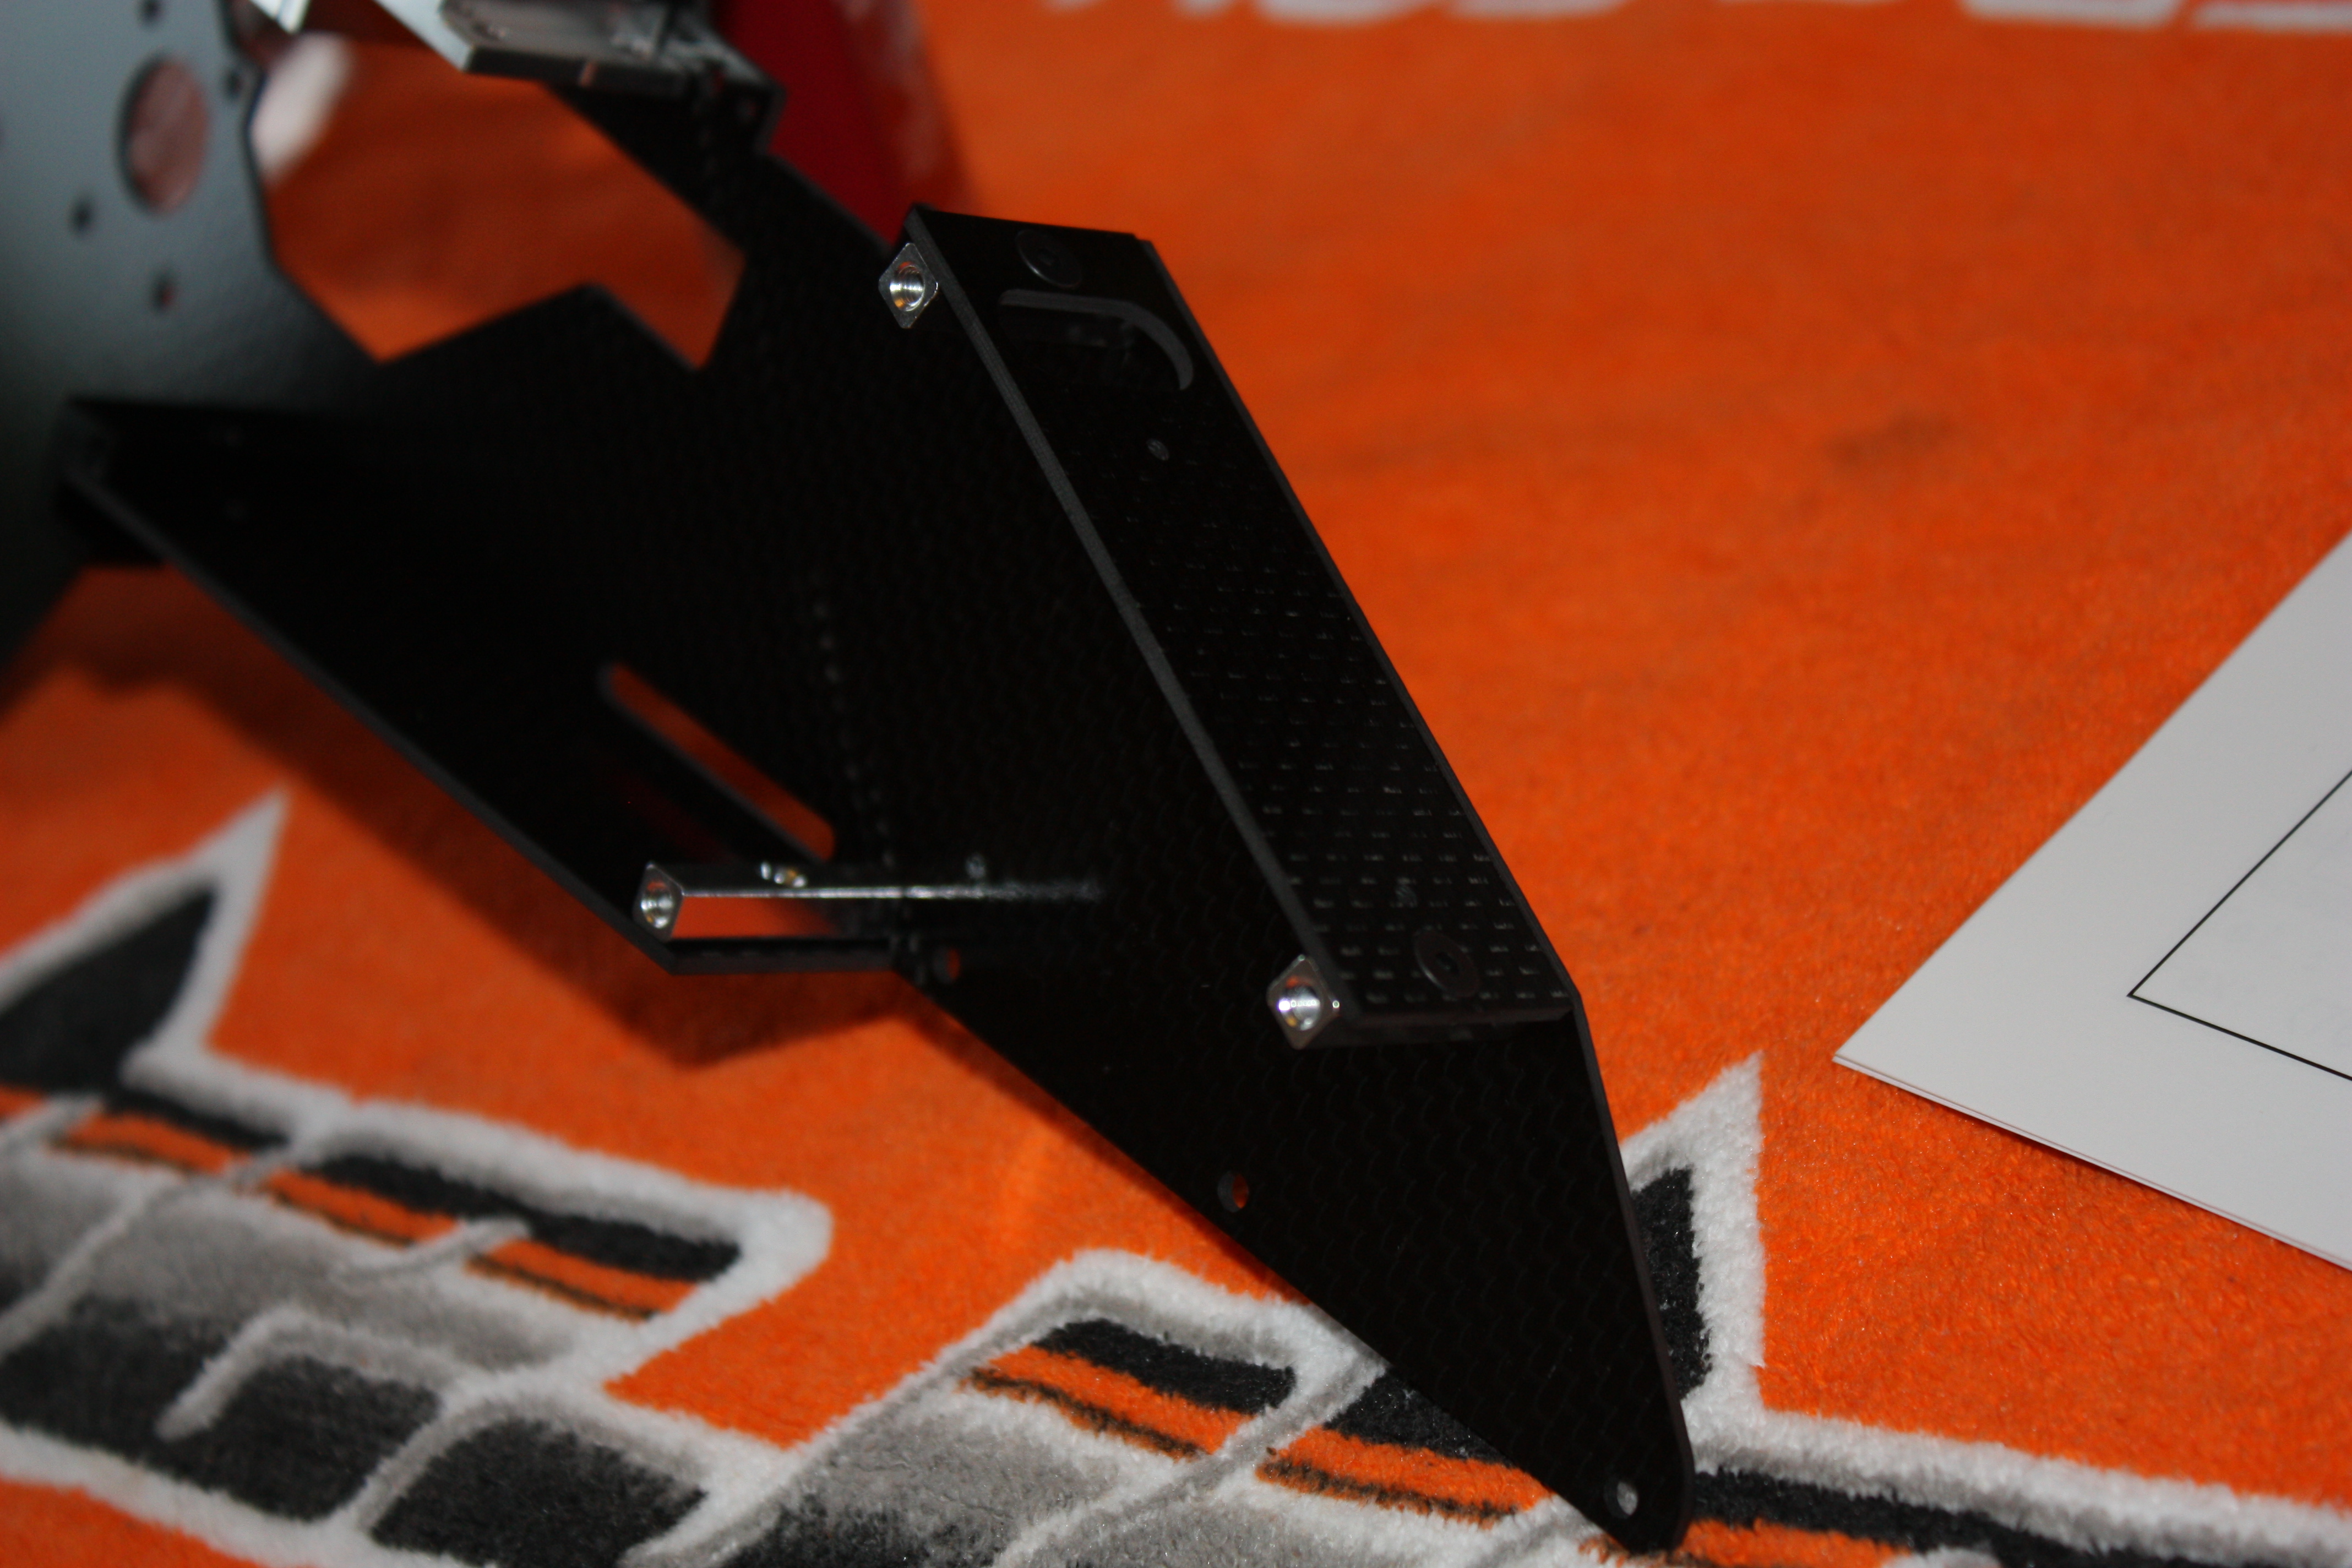
Tail boom clamps and the frame stiffening/radio plate, note the orientation of the supports. This is important to help prevent the boom collapsing from the in flight stresses placed on the joint between boom and frame.
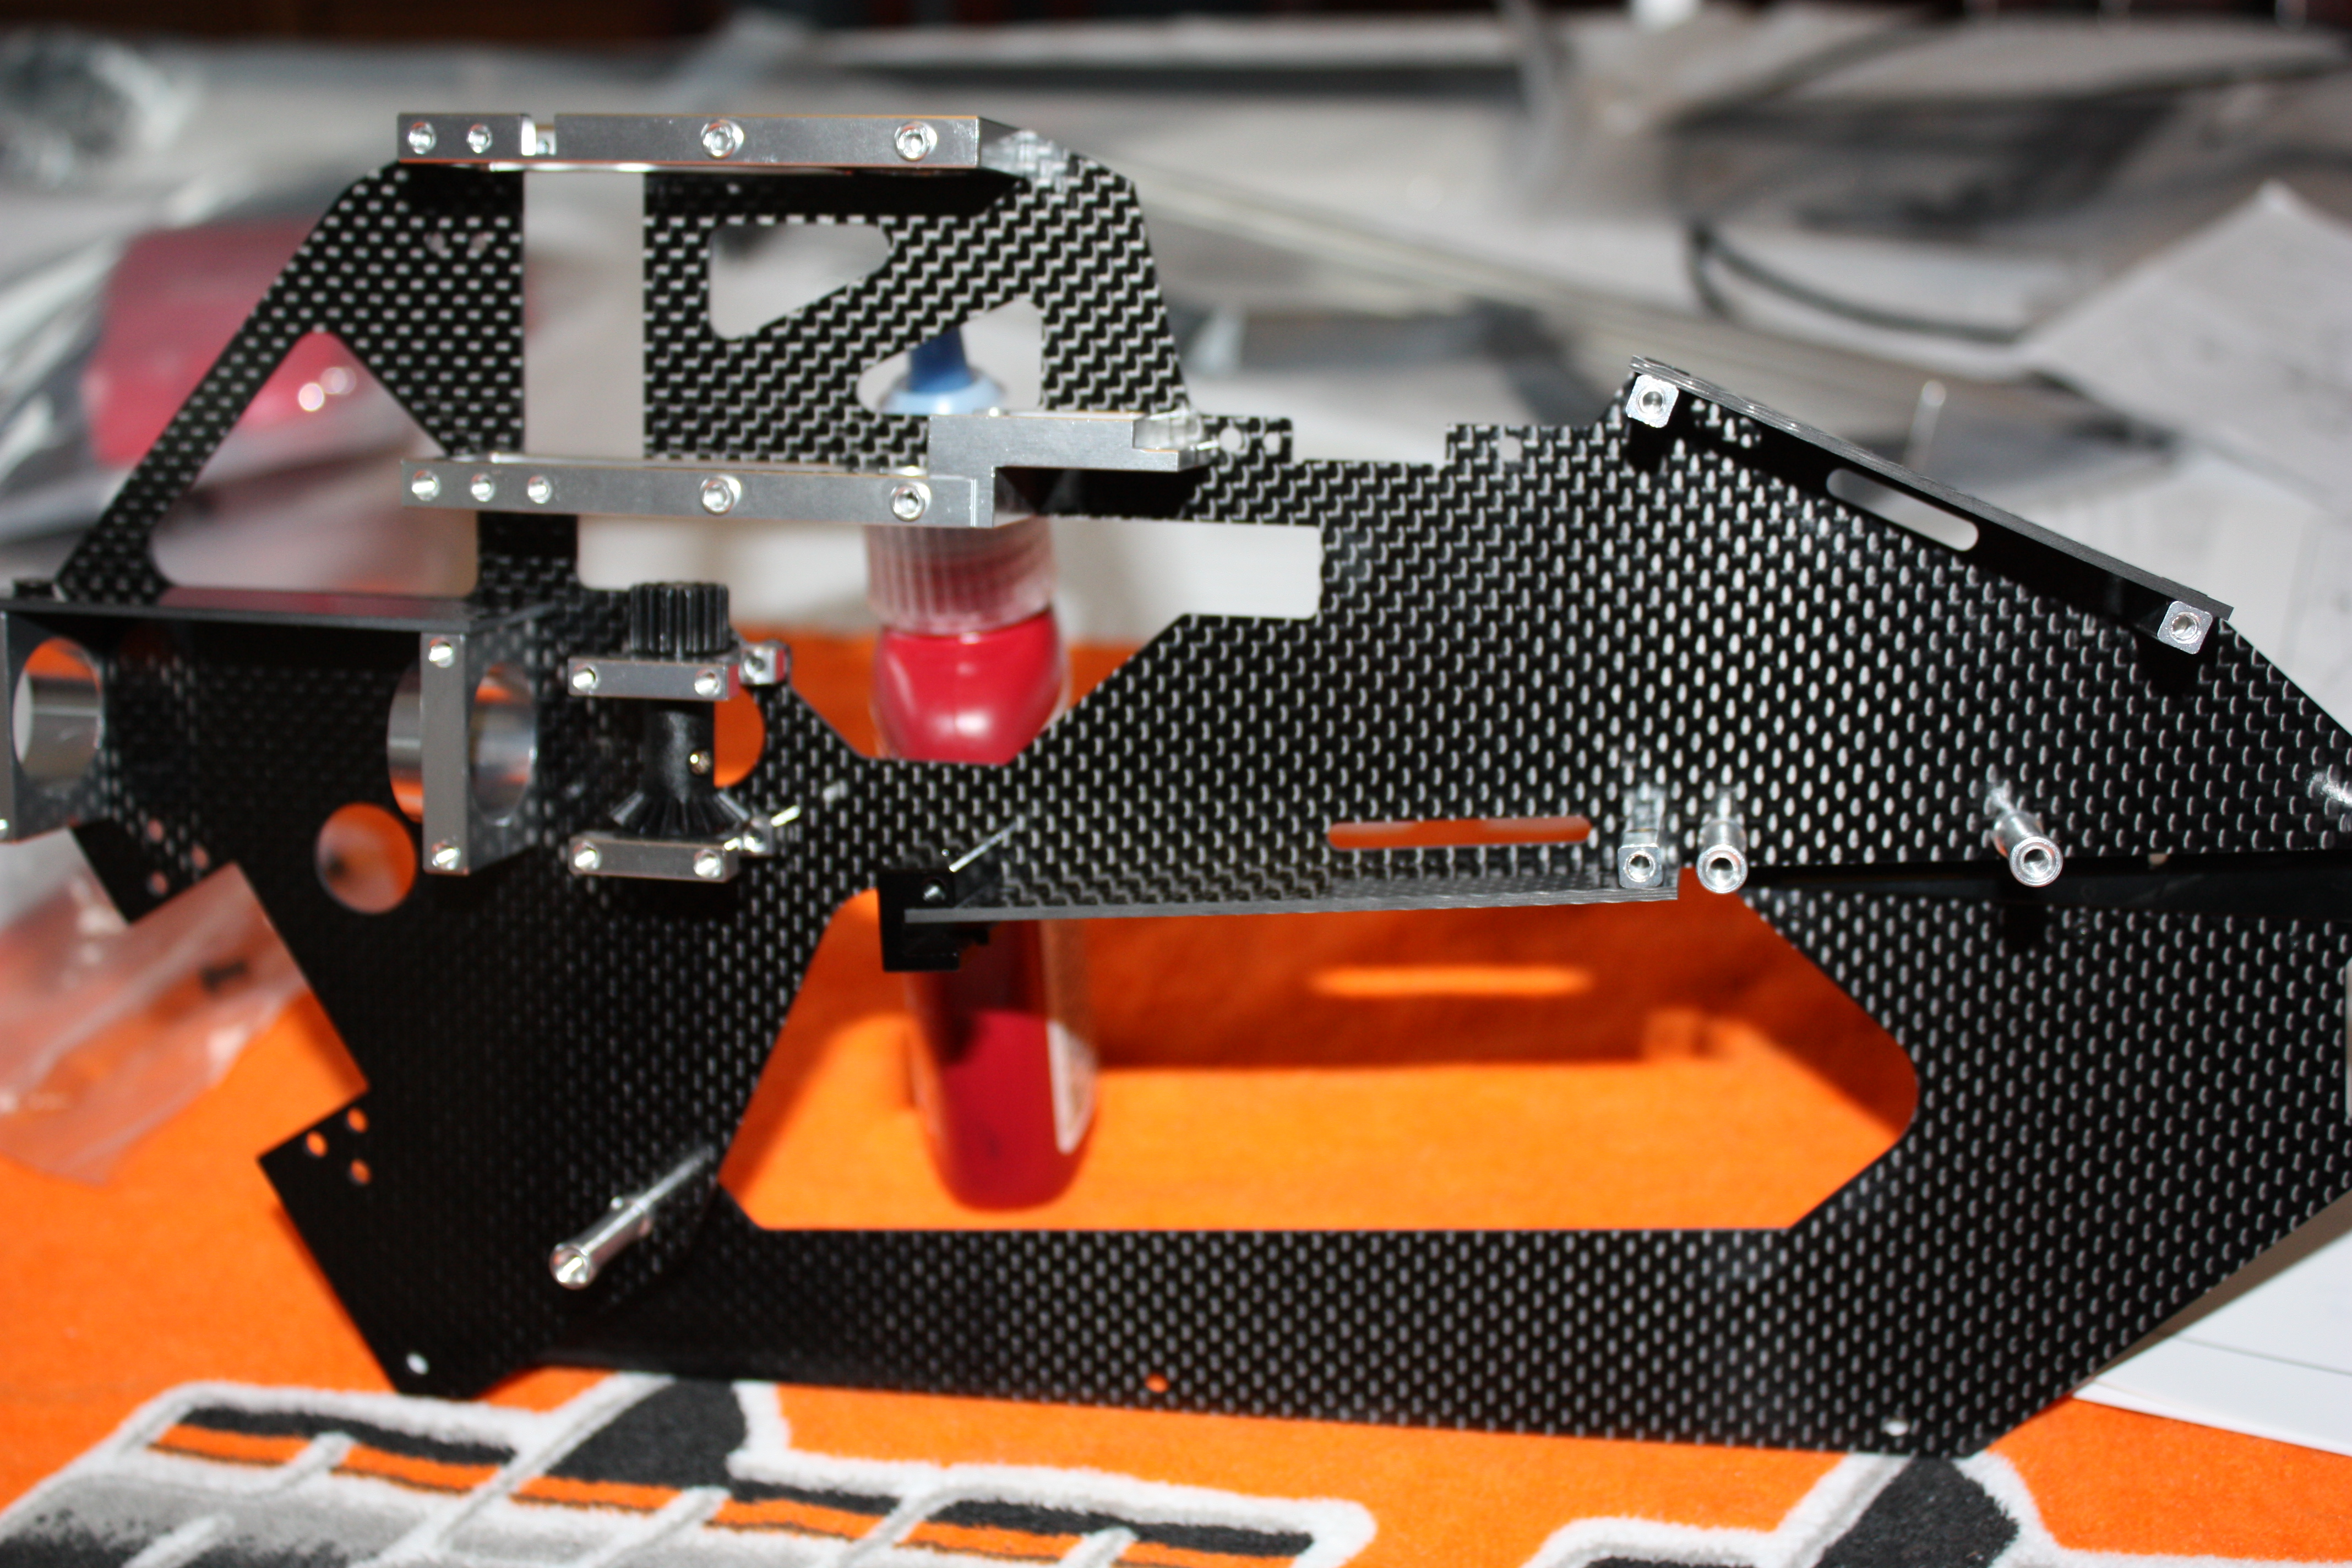
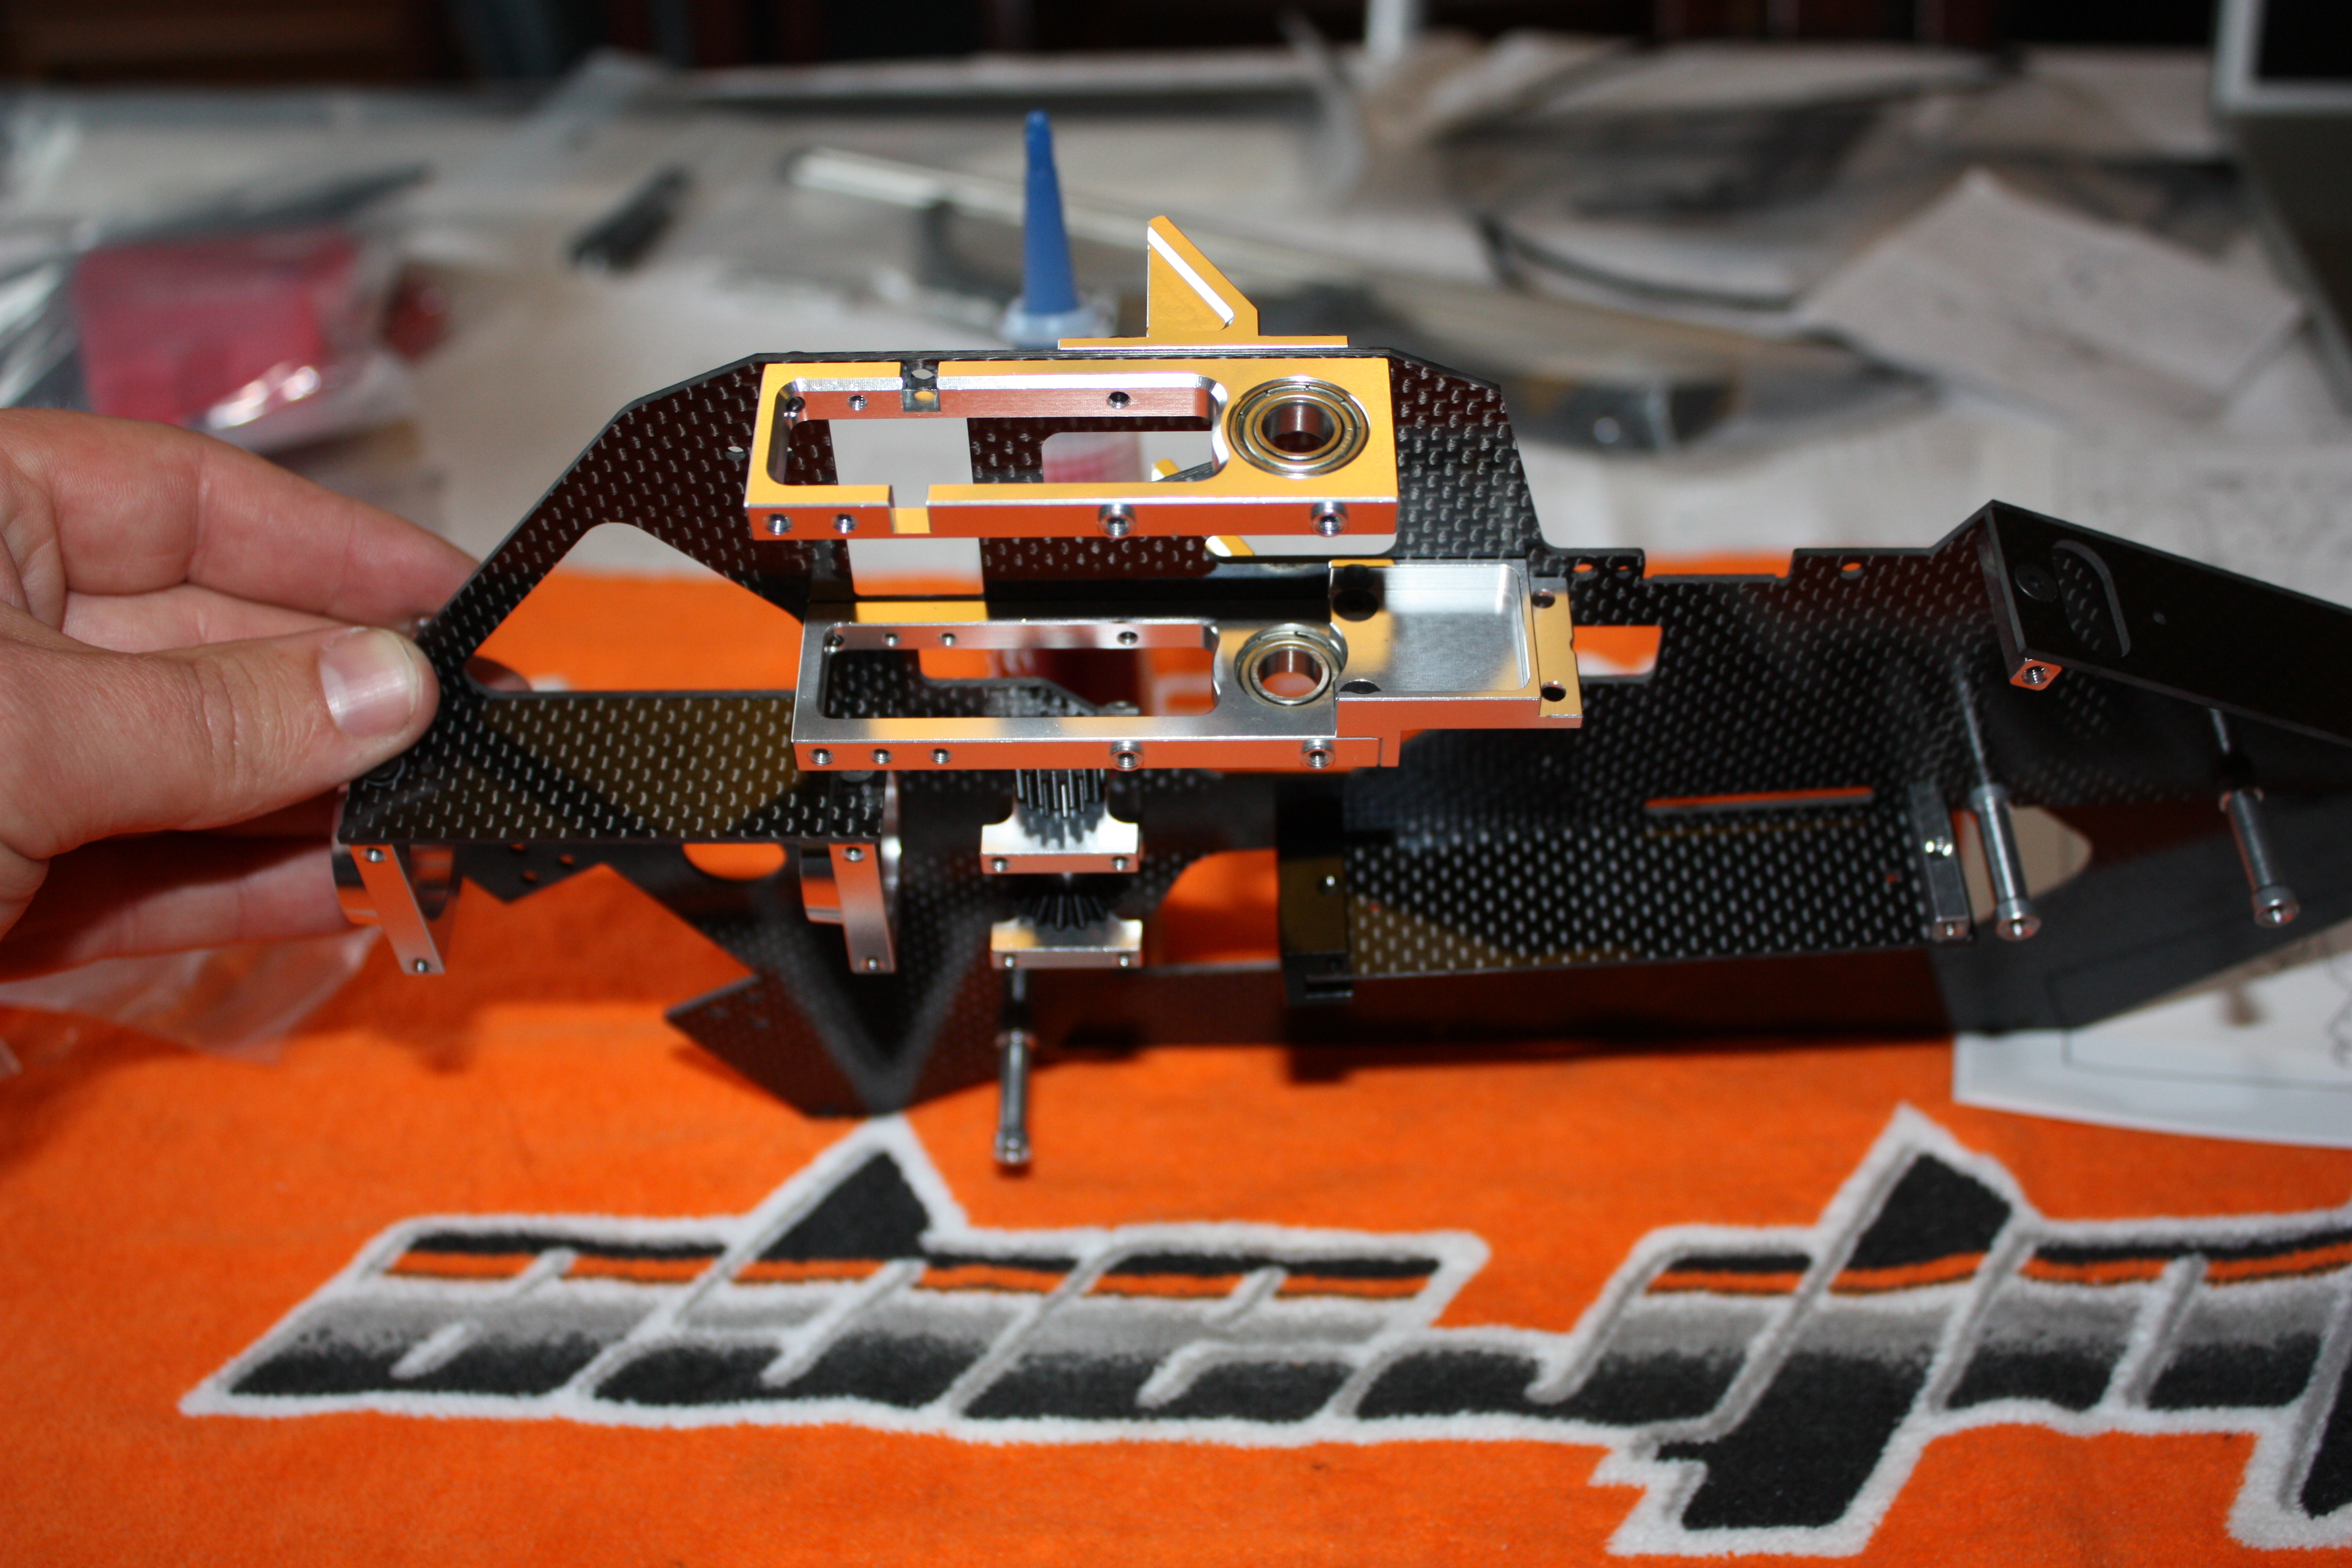
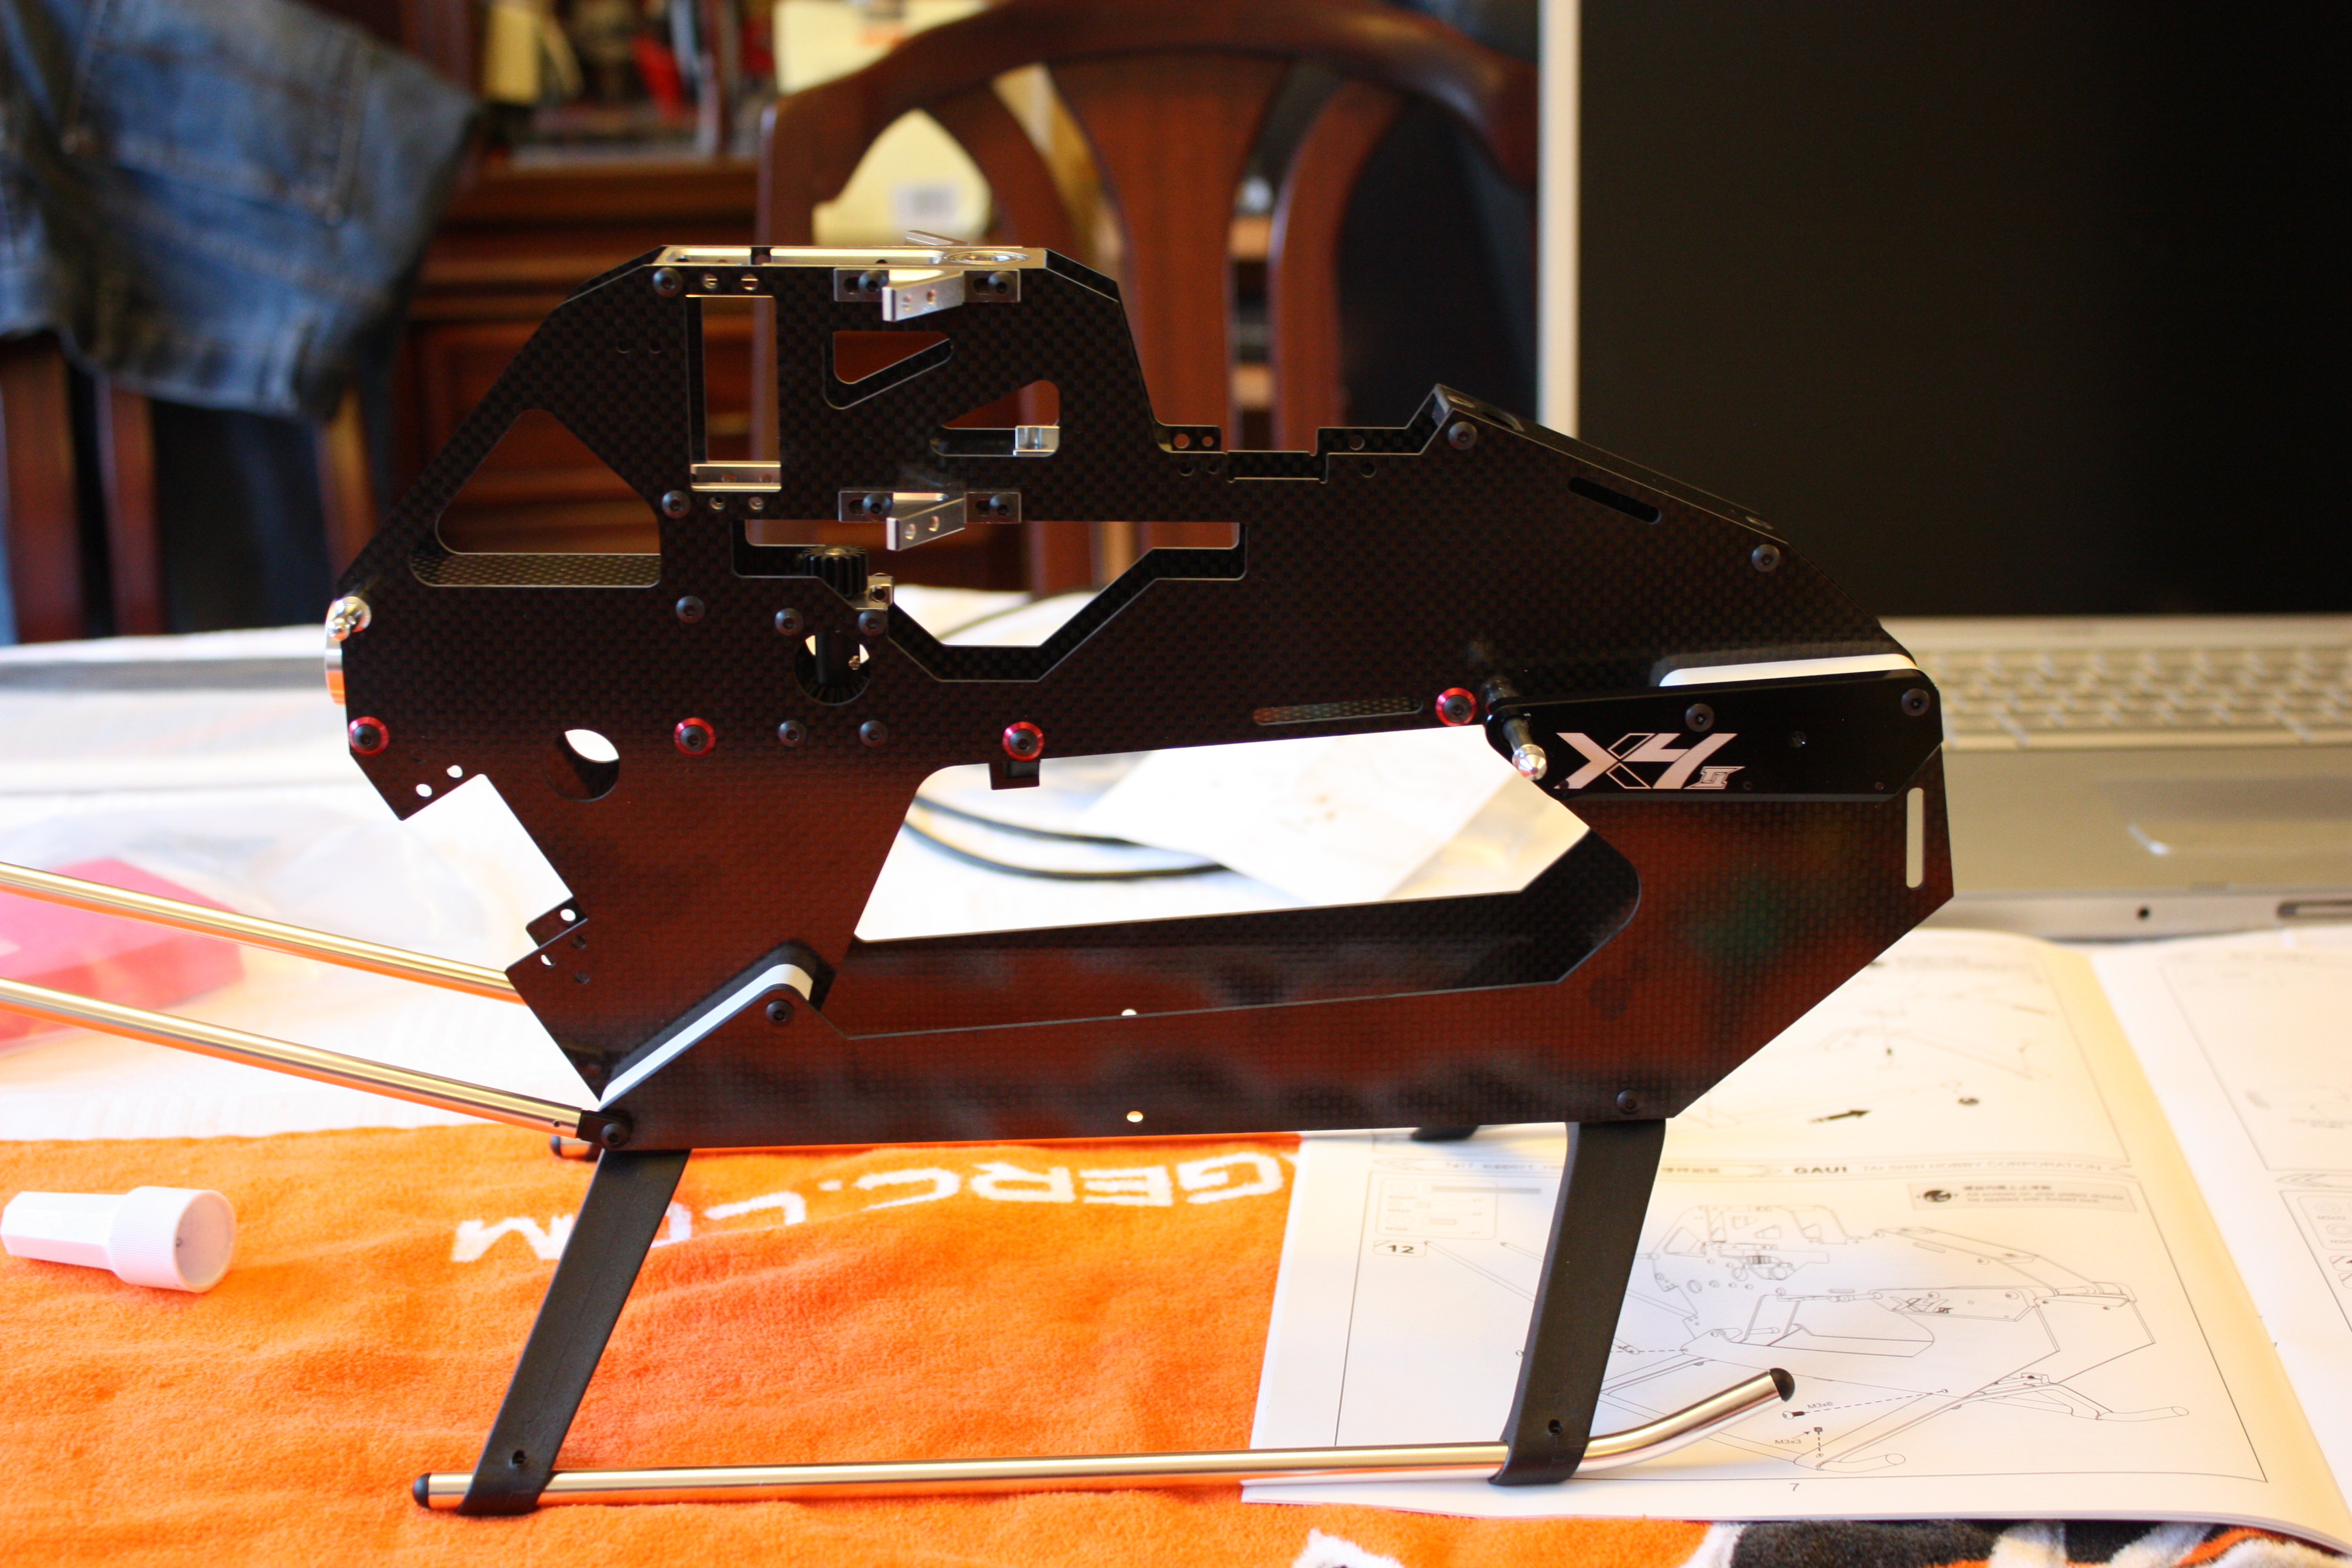
A couple of quick photos showing the fully populated side frames before buttoning on the other side of the helicopter. Again the silver aluminium just looks good. Theirs nothing else to say about it. The frame holes all lined up perfectly and the general finish and feel of the parts looks very good. The carbon is definitely high quality with no sign of of the weave being out of place anywhere, the surface is perfect with no pitting in the resin. All in all the a nice finish.

The other side frame in place, both upper and lower frames fitted perfect. The second picture shows the lower frame spacing at 50mm, apparently the frames can take a 6s 5000mAh pack but I’ve never tried. I use 6s 3300mAh and these tend make the model feel a little on the heavy side.
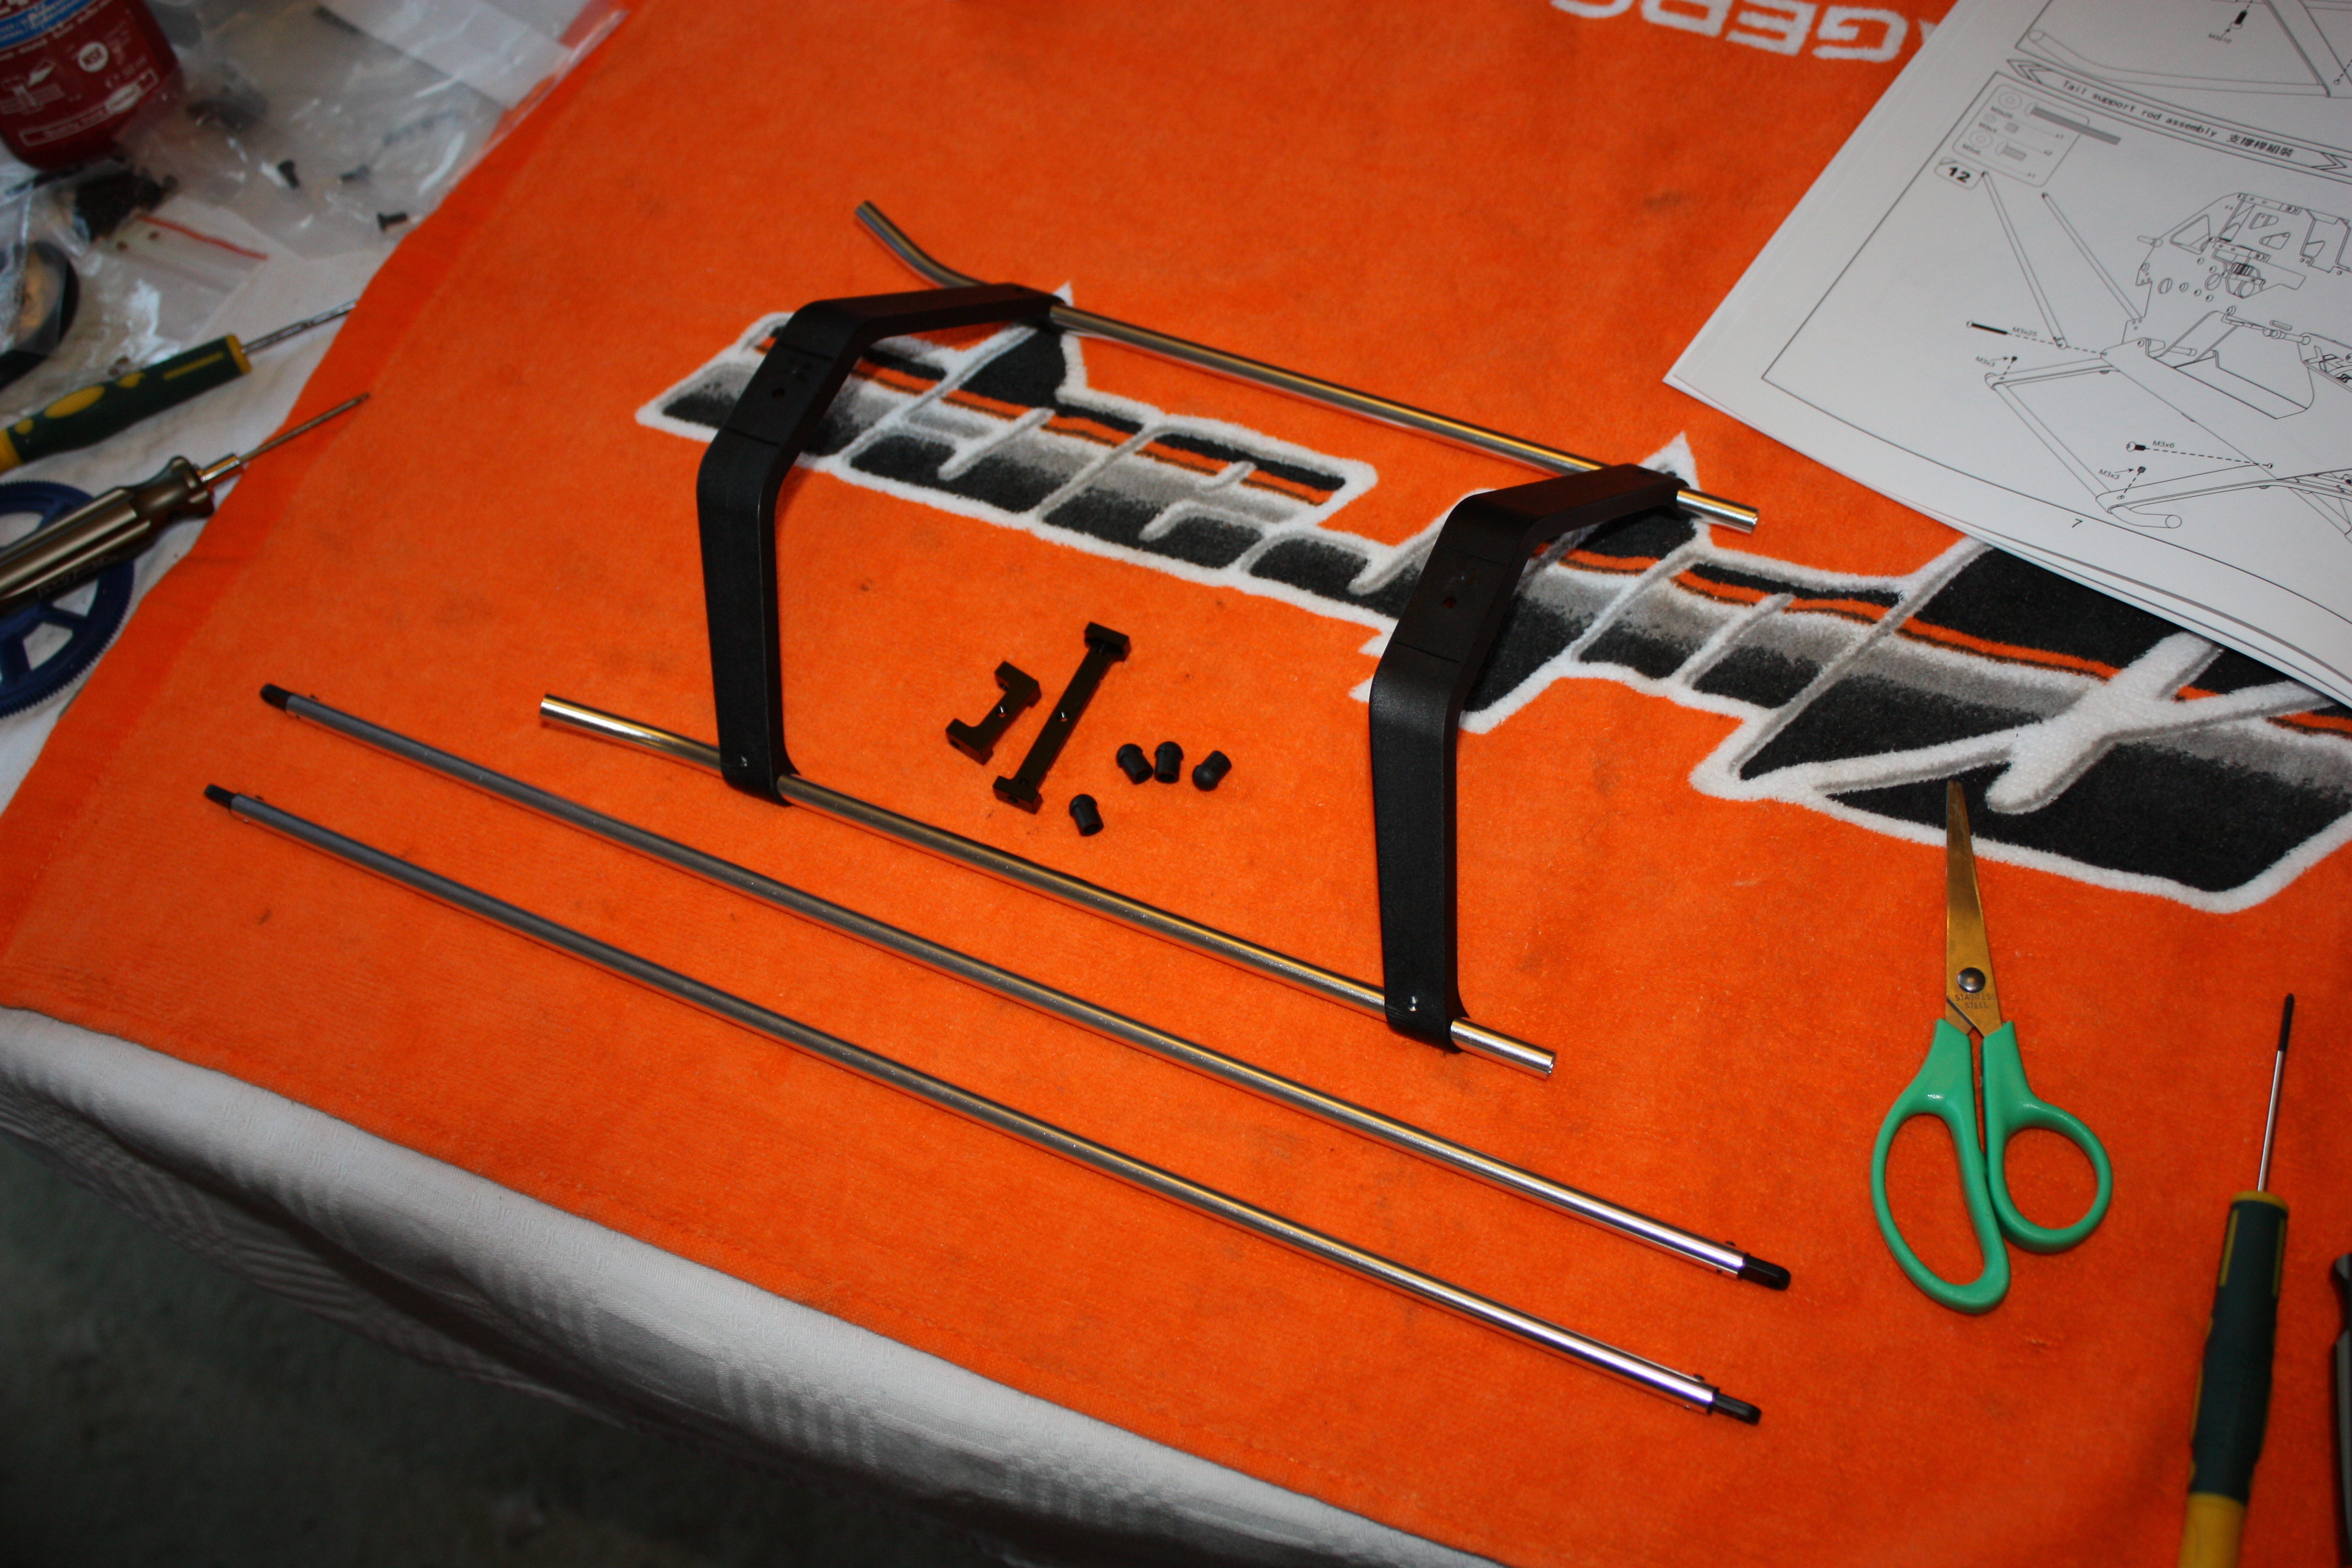
Under carriage and boom supports, these are pretty much standard fare with the supports being aluminium tube with plastic ends. The skid supports face backwards on purpose this is to stop the model tipping up when there’s no pack installed.
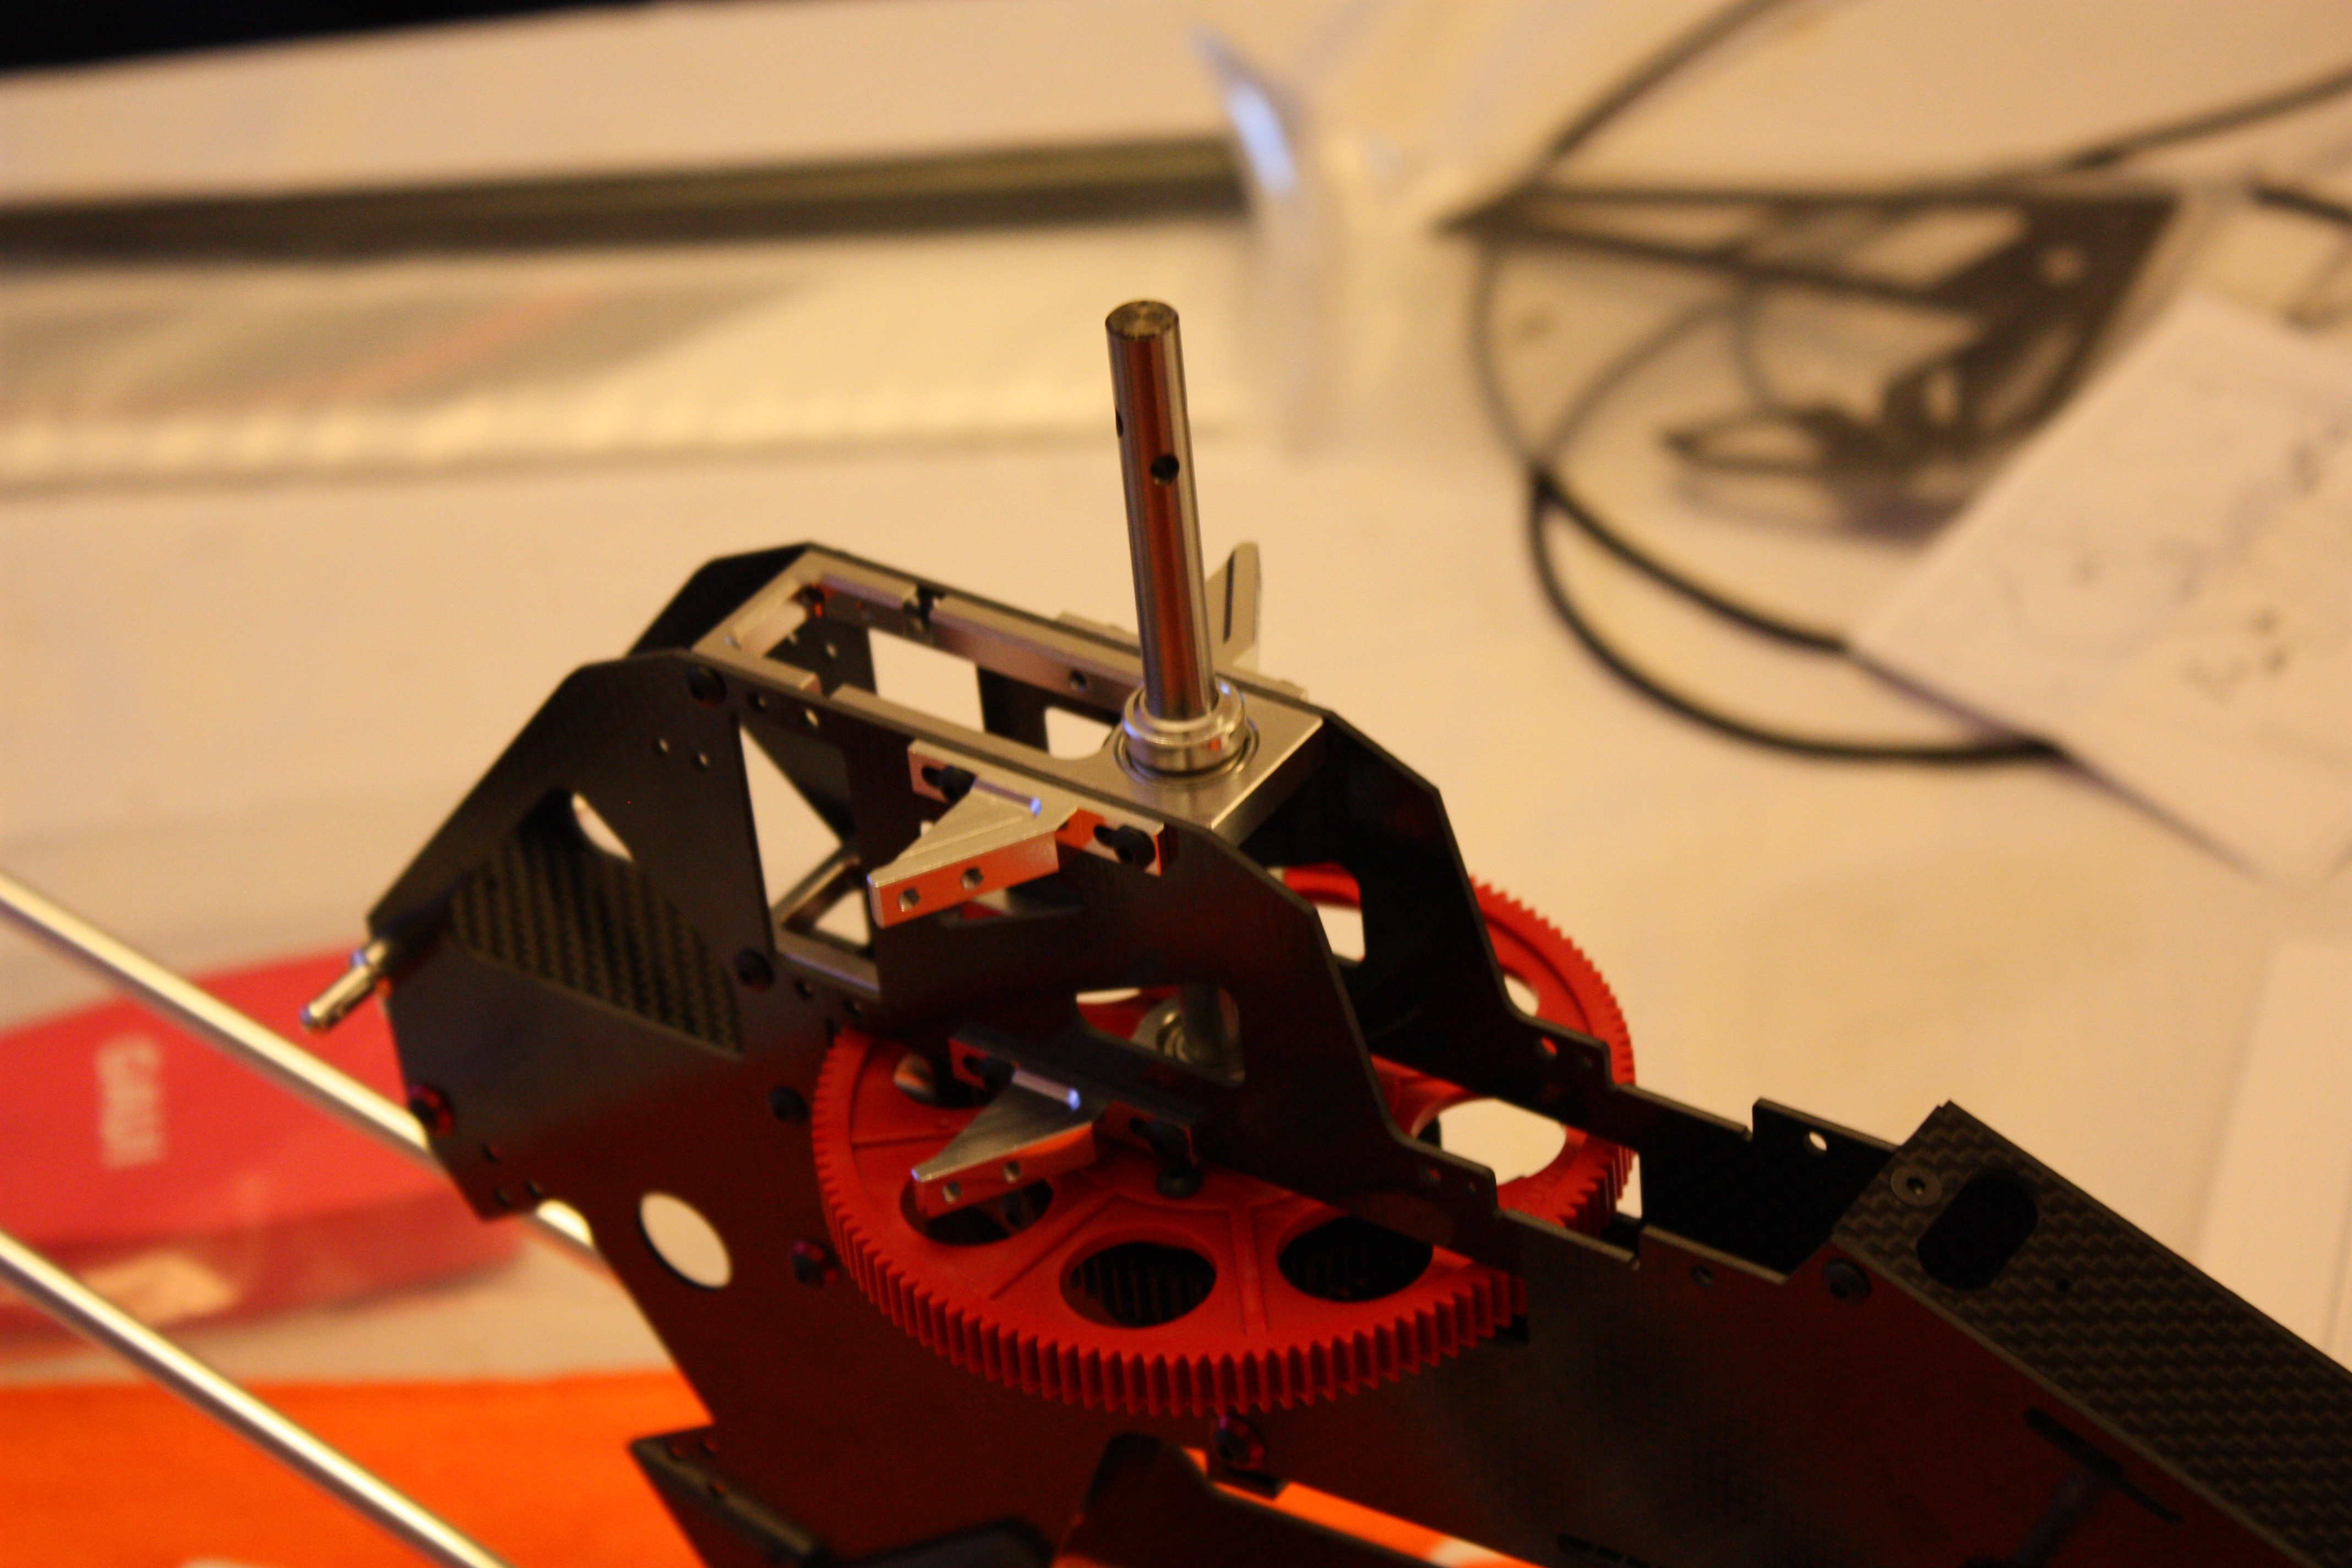
Main gear and main shaft installed, the gear and one way are taken from the larger X5. They should cope with anything you can throw at them, mine have got a few flights on them now and are still working perfectly. Even my botched bailouts don’t seem the phase it.
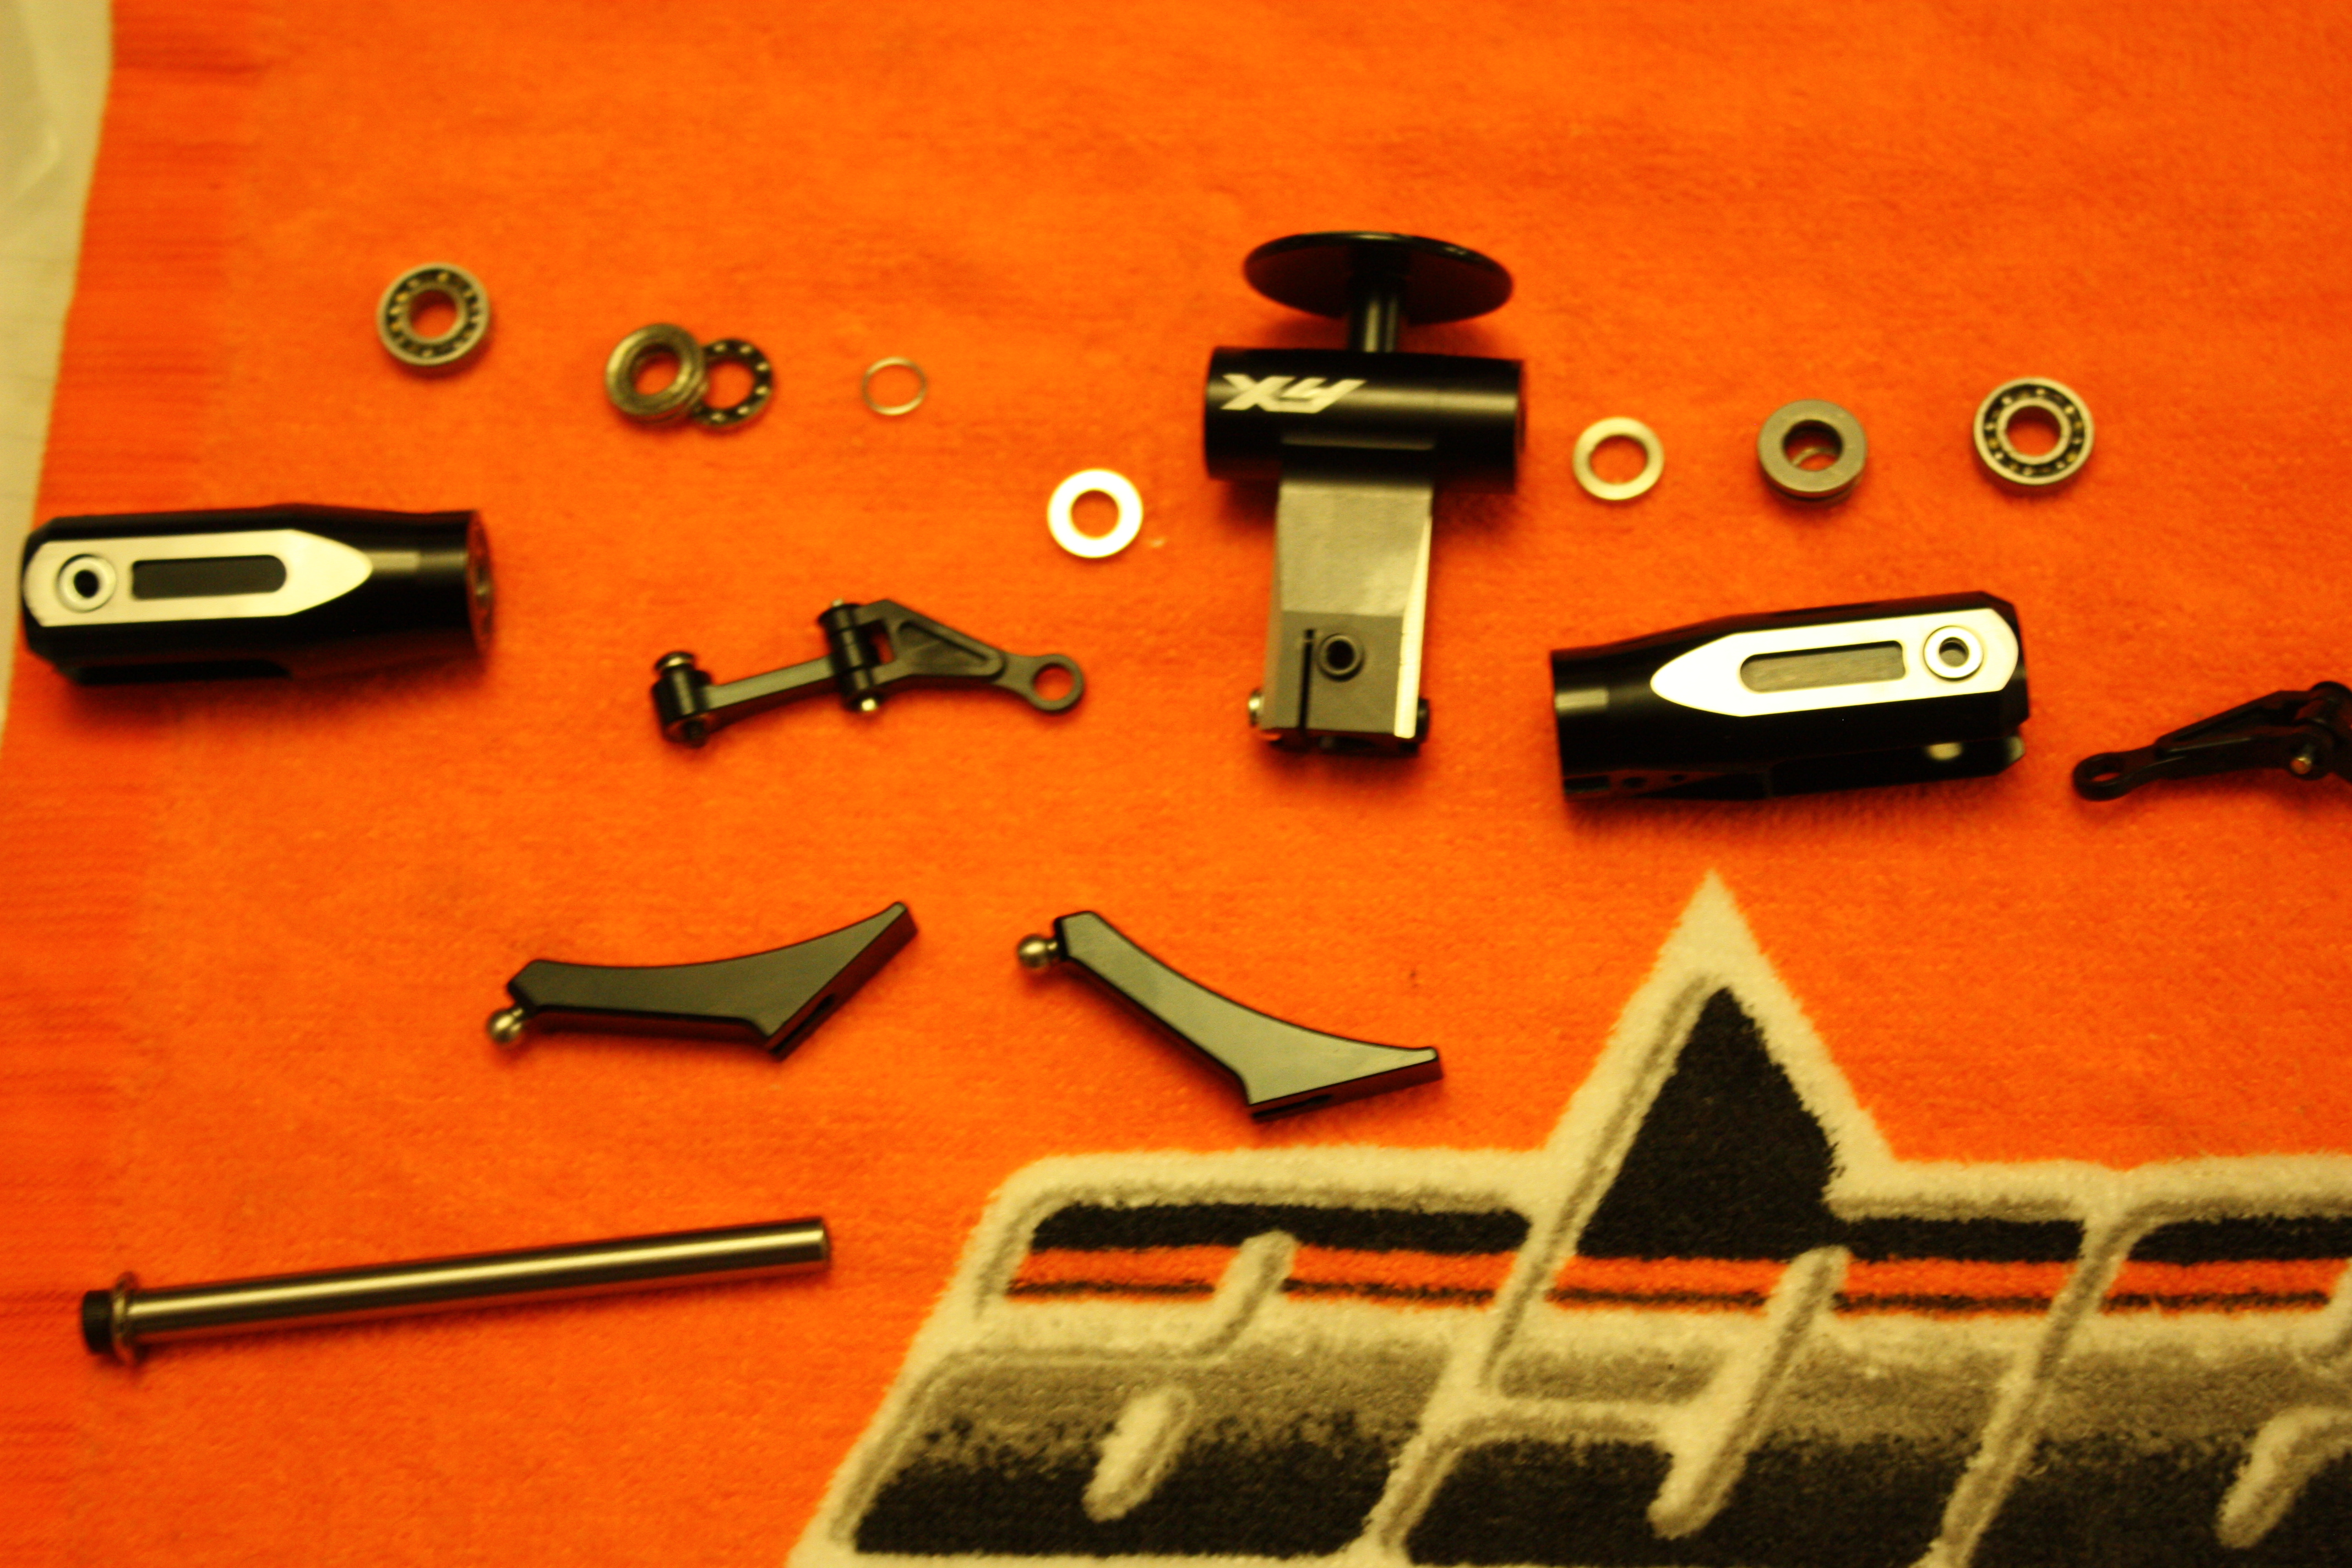

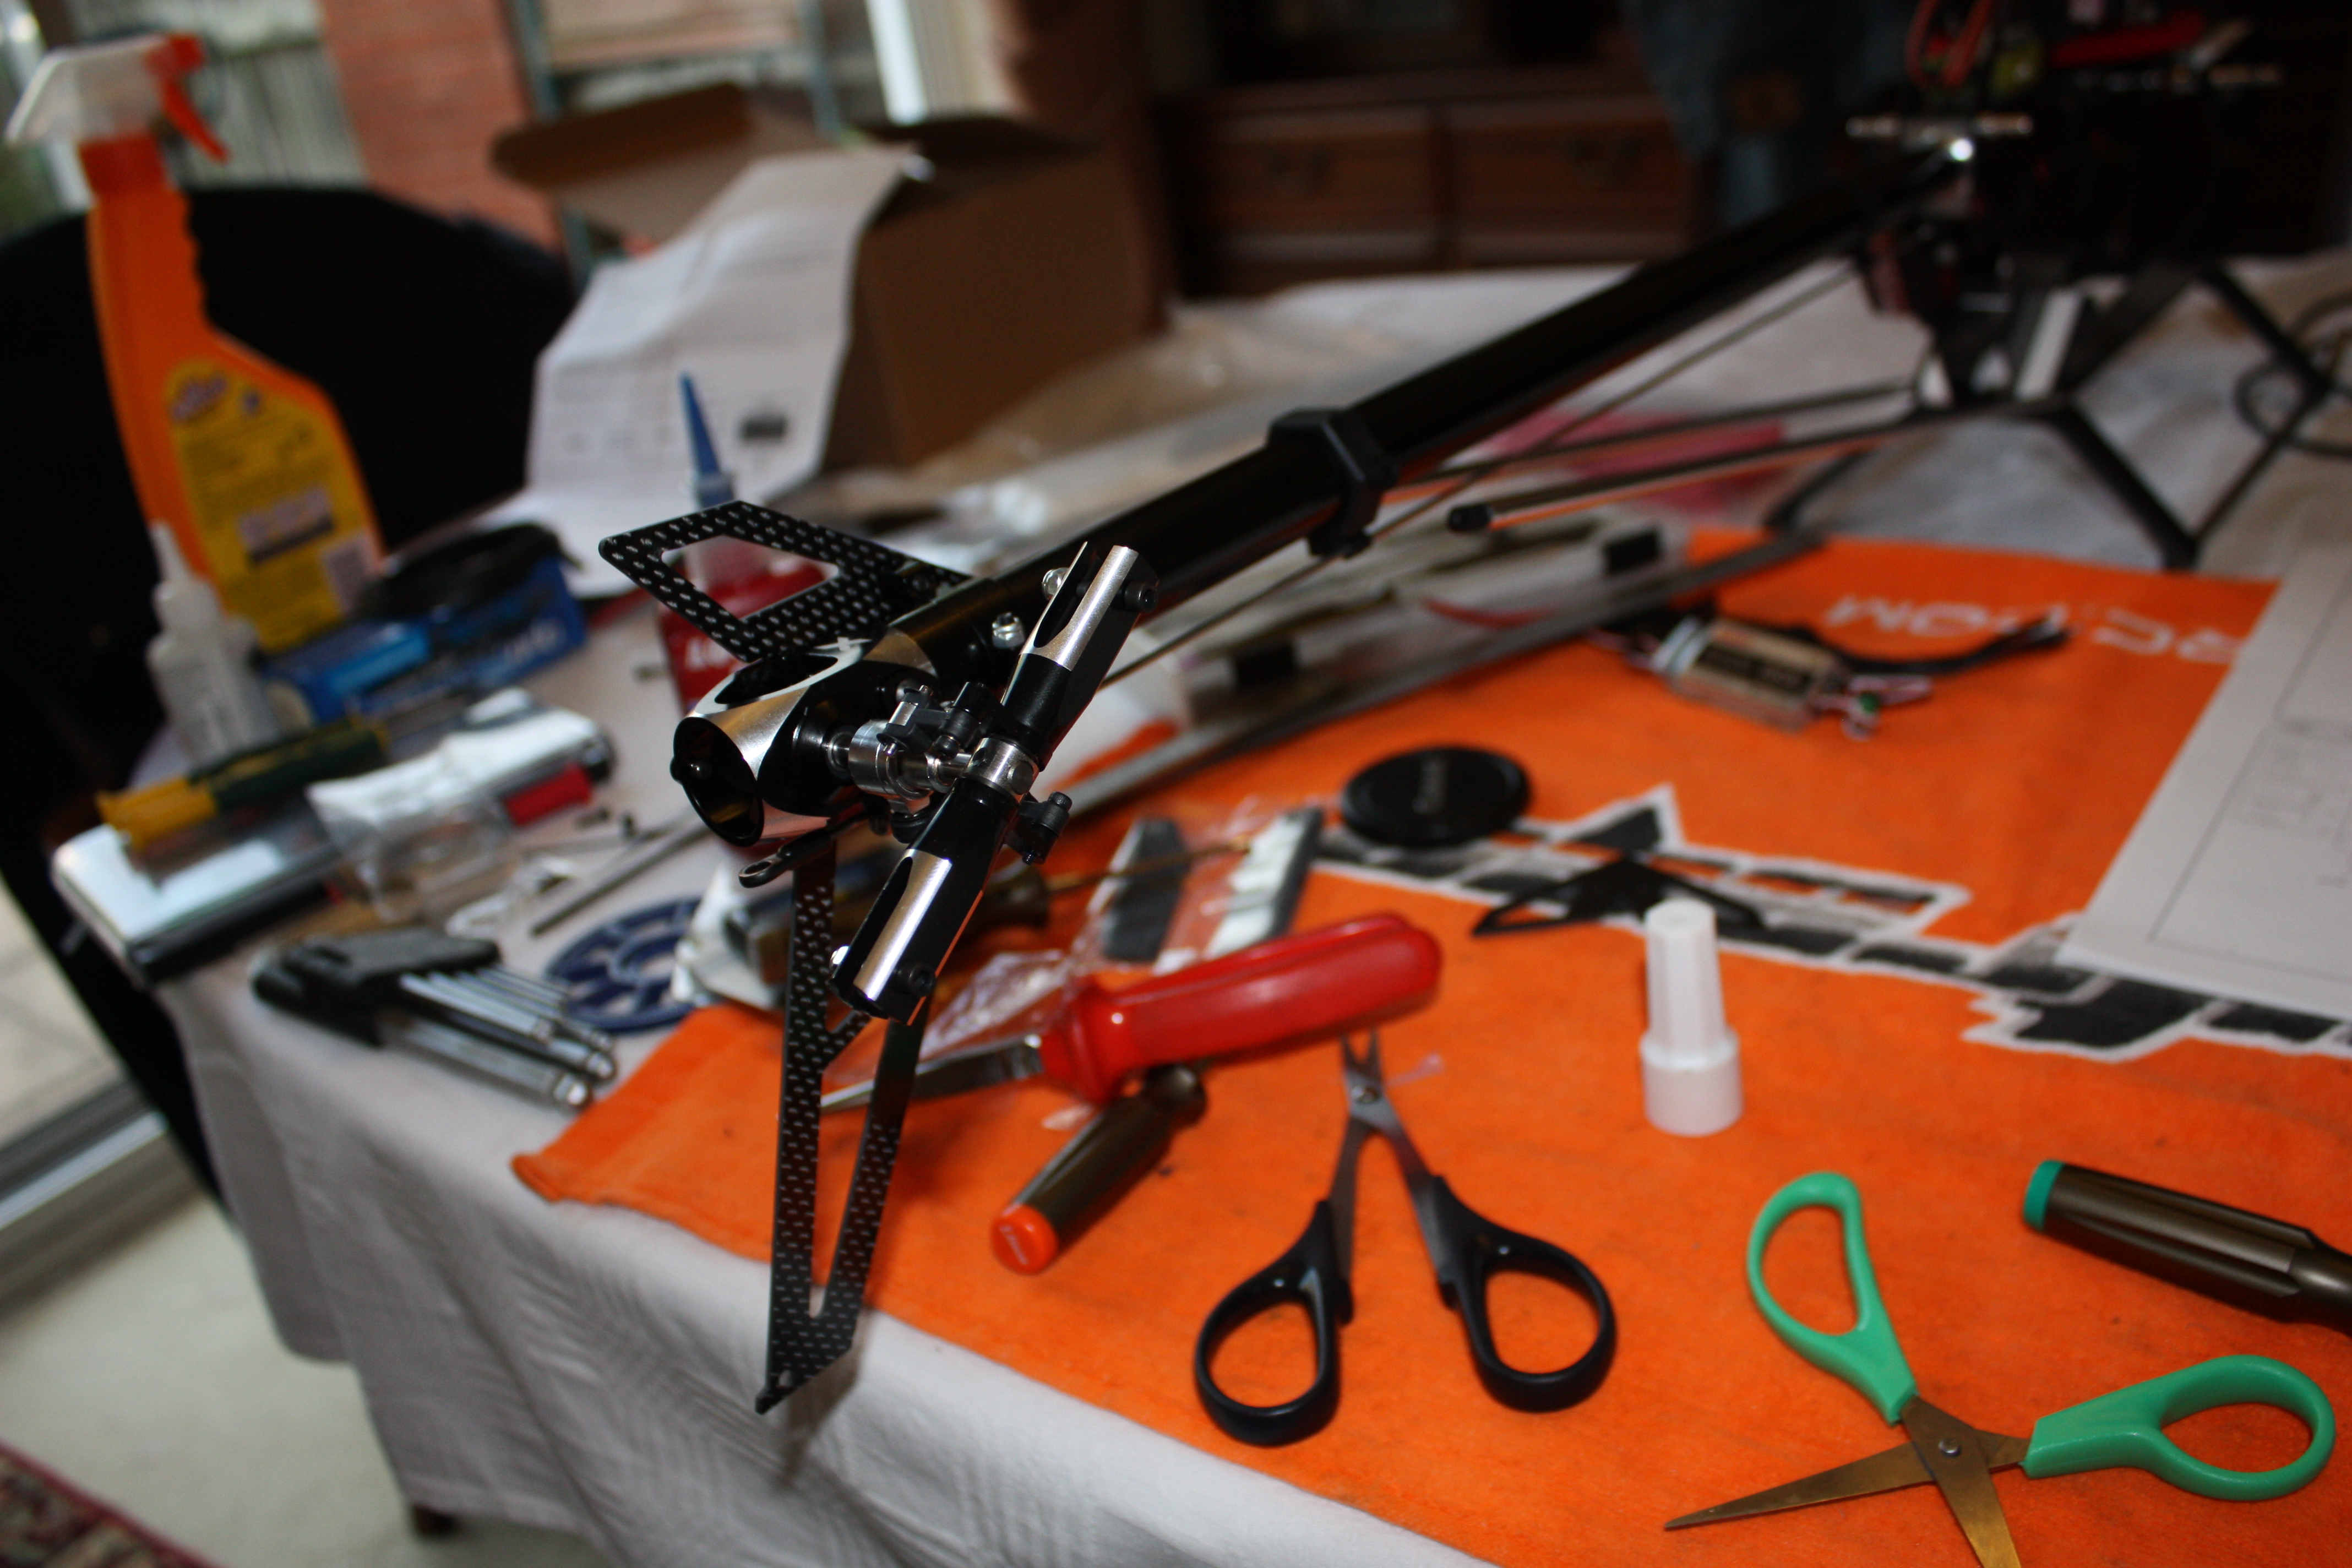
The head comes assembled from the factory and it was thread locked (with industrial adhesive as I had to use a vise and impact gun to get the feathering bolts out) I disassembled to show the components. The parts are machined nicely and the thrust bearings had plenty of grease in them, the parts go together tightly and there was no need for extra shims in the head.
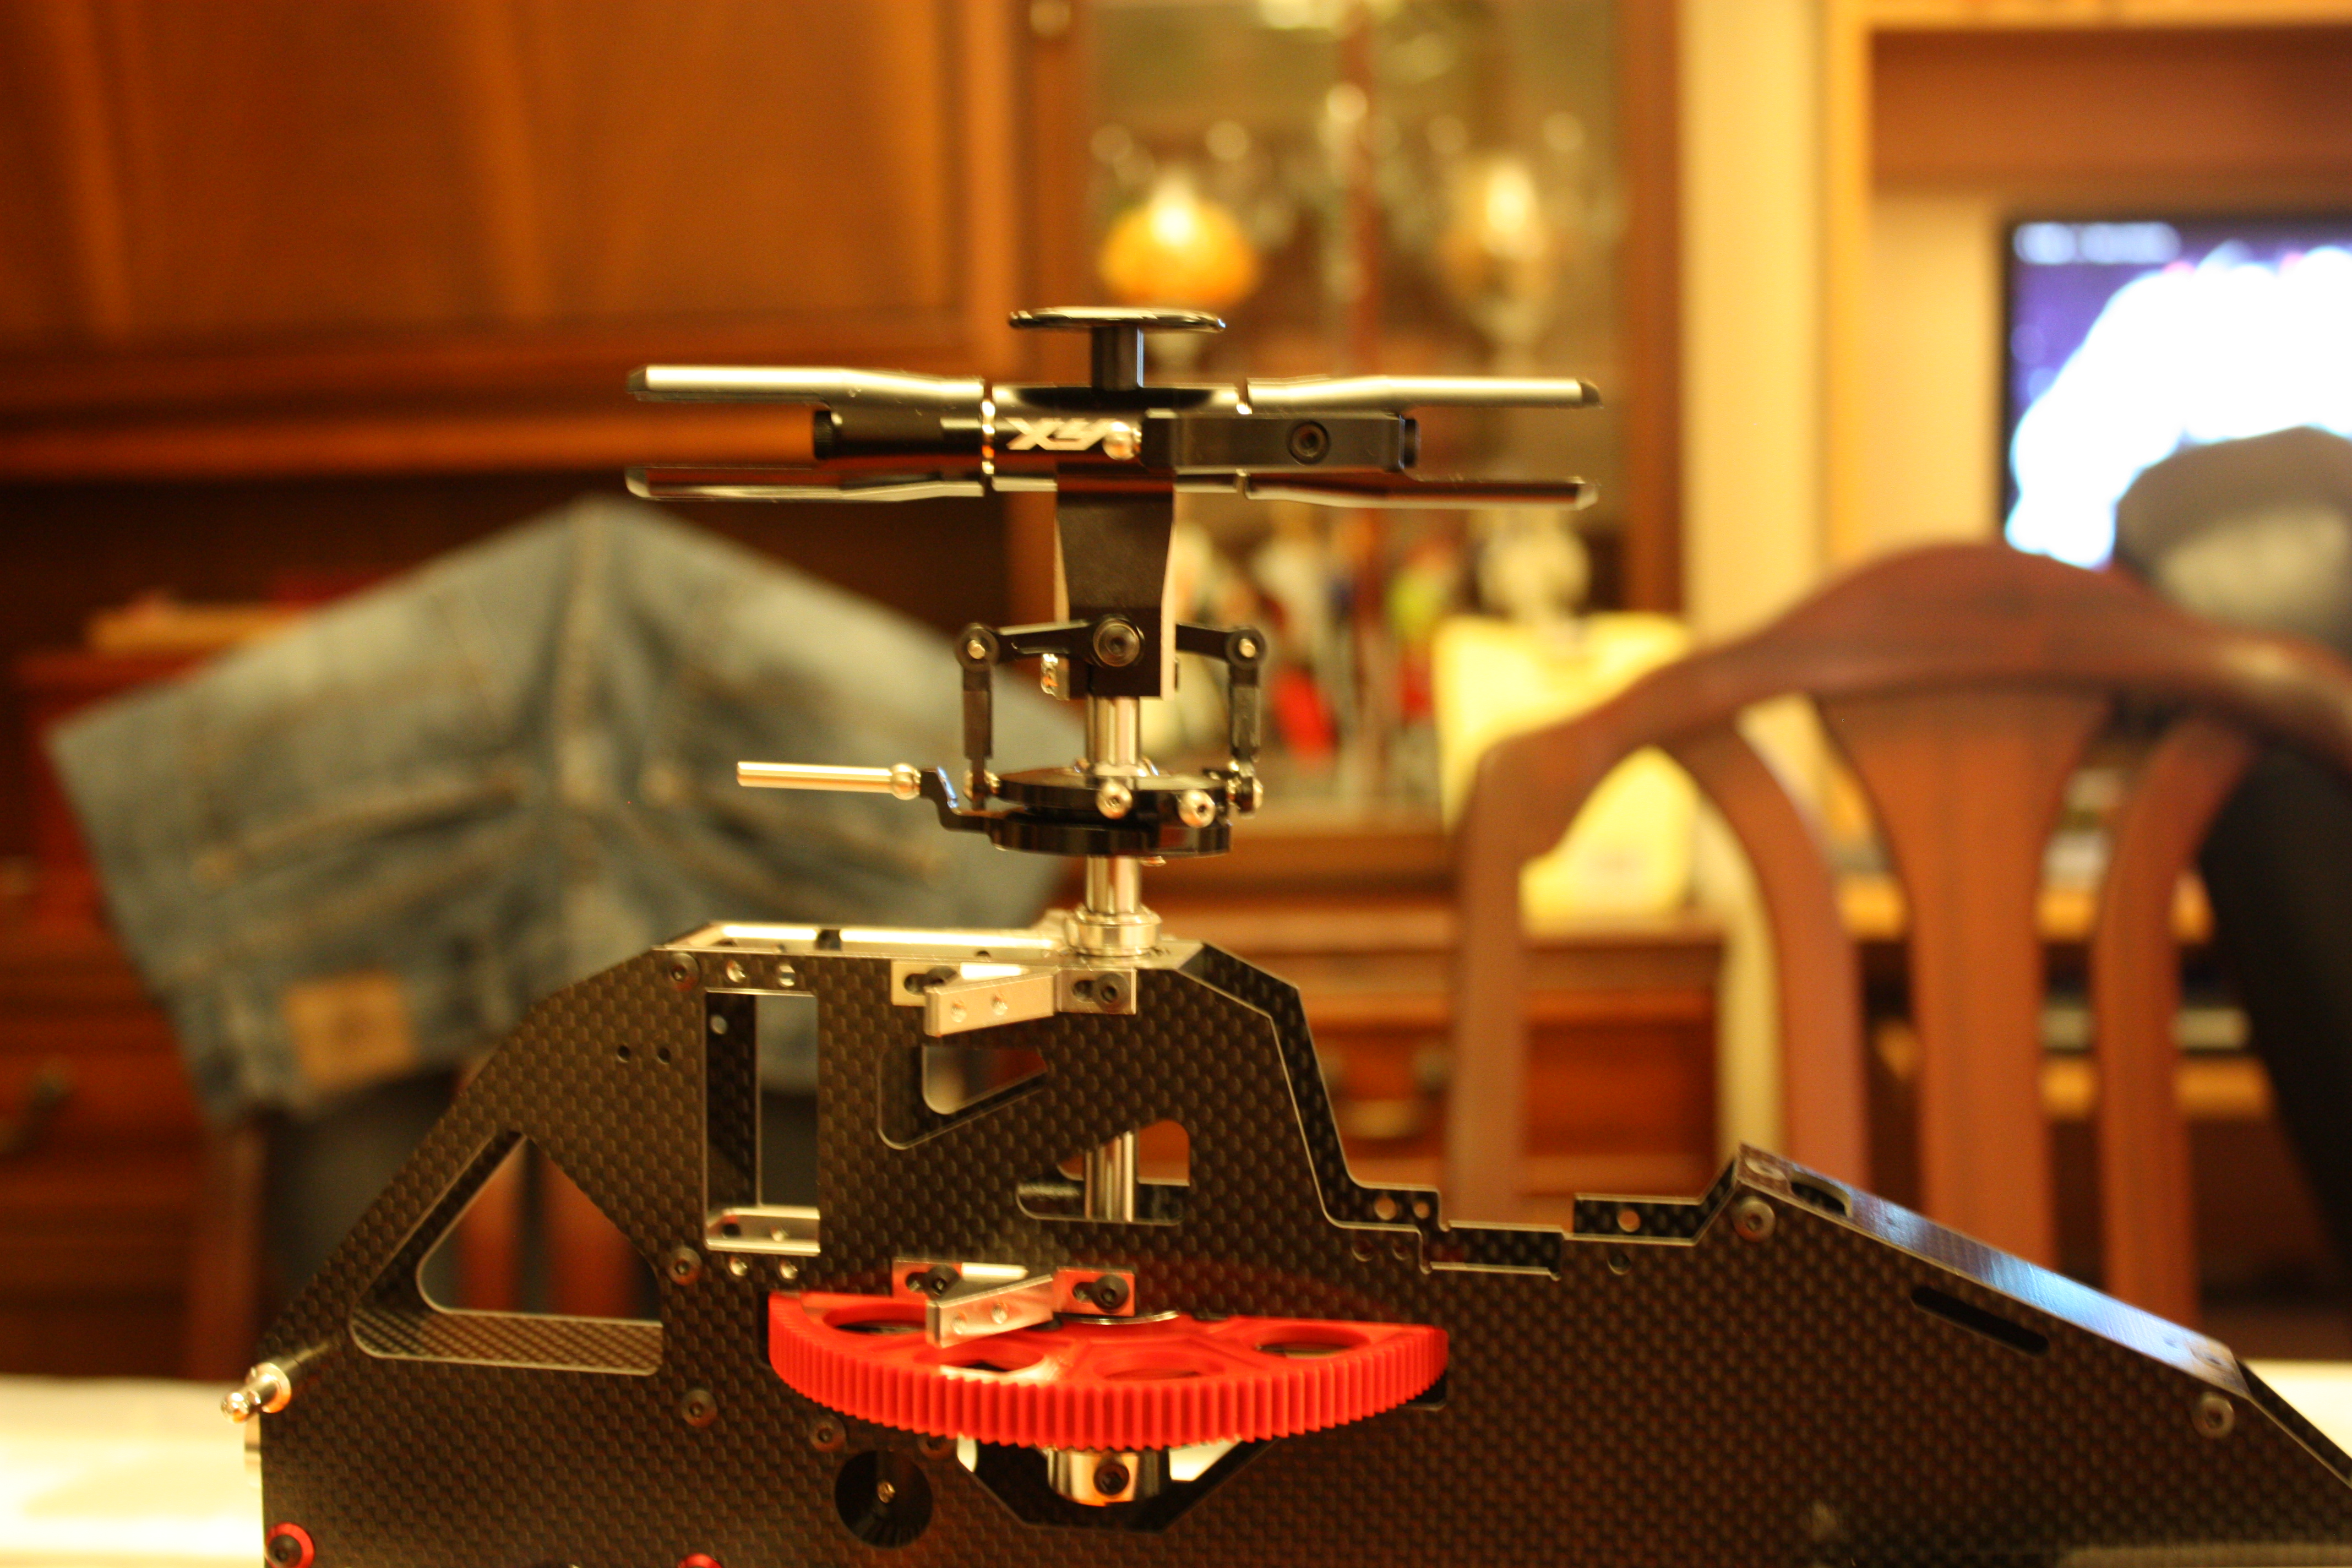
The head and swash plate fitted to the heli. No play in anything even after 50 or so flights on the model.

The tail boom and rear tail box. The rear tail box is very chunky and again has been taken from the X5. The gears are beefy and there’s no doubt that the box is very strong. The tail box is clamped and pinned to stop twisting and slipping in flight.
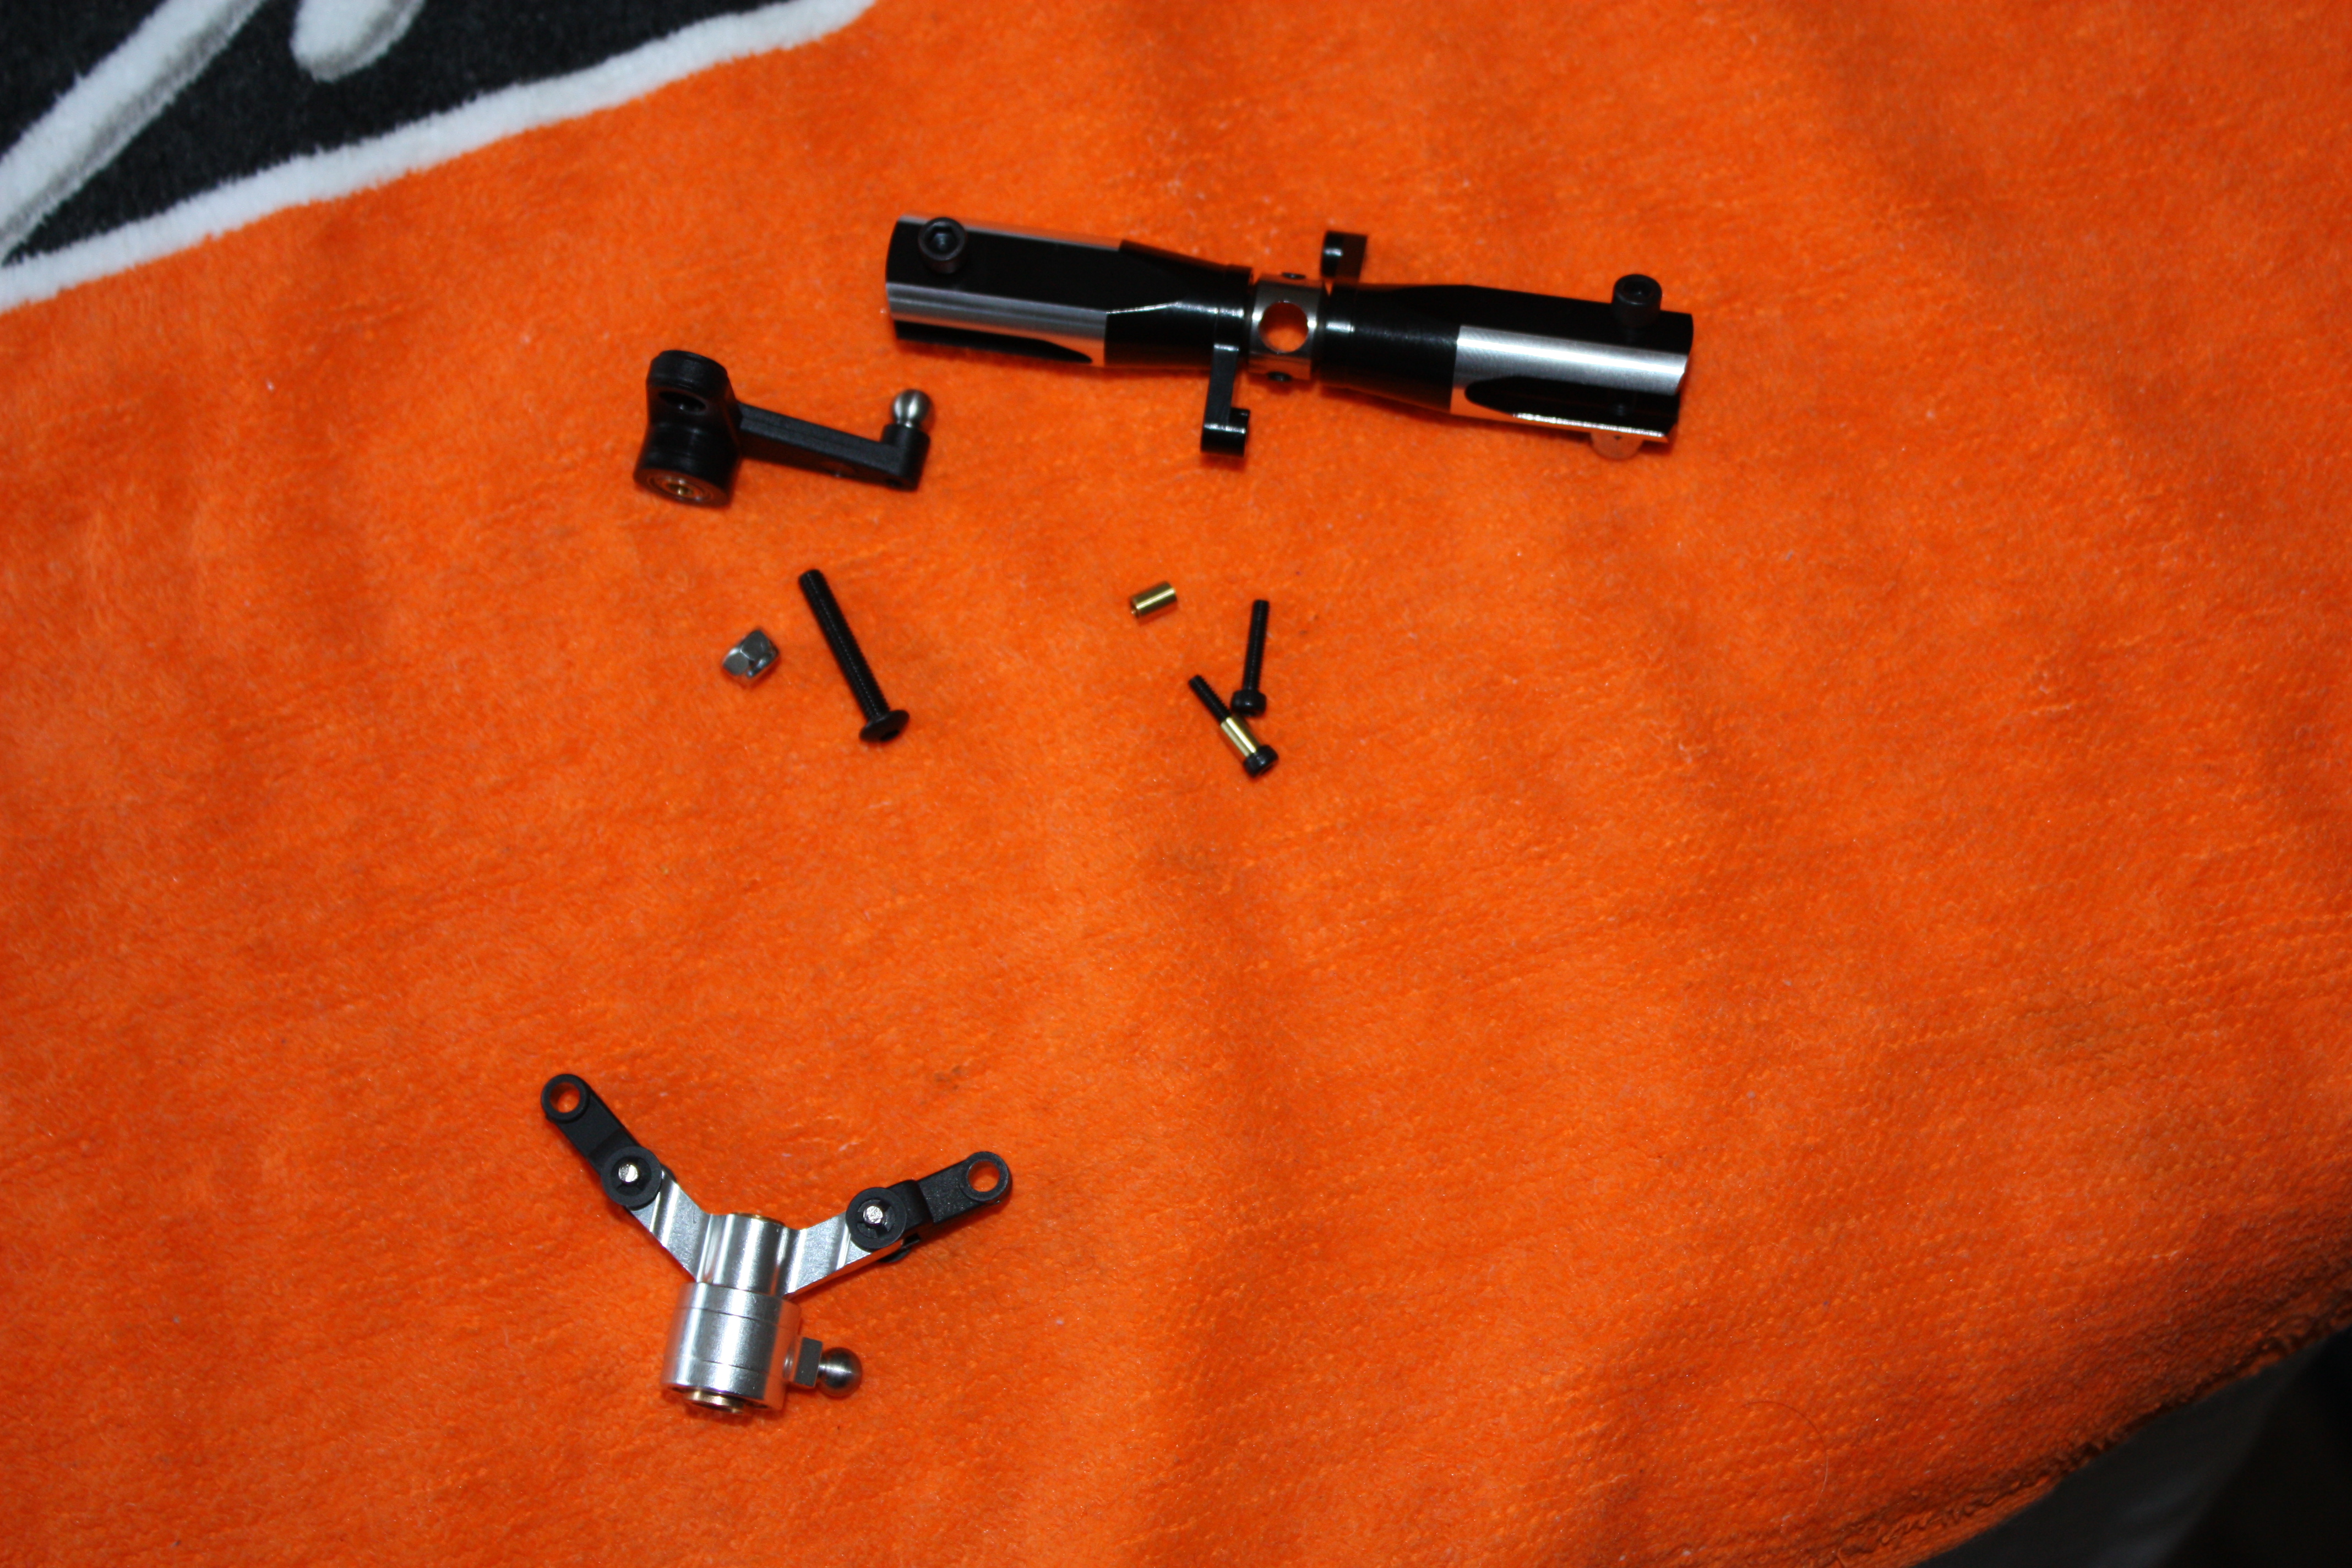
The tail blade holders and pitch slider assembly are once again from the x5, they look huge for a 500 size heli. The tail was smooth and only needed a quick rub to remove a tight spot inside the pitch slider. I use a piece of wet and dry wrapped around a 2mm hex driver to remove the high spots, a tail should fall under its own weight to be any good and this was nearly there out the factory so a thumbs up on this one.
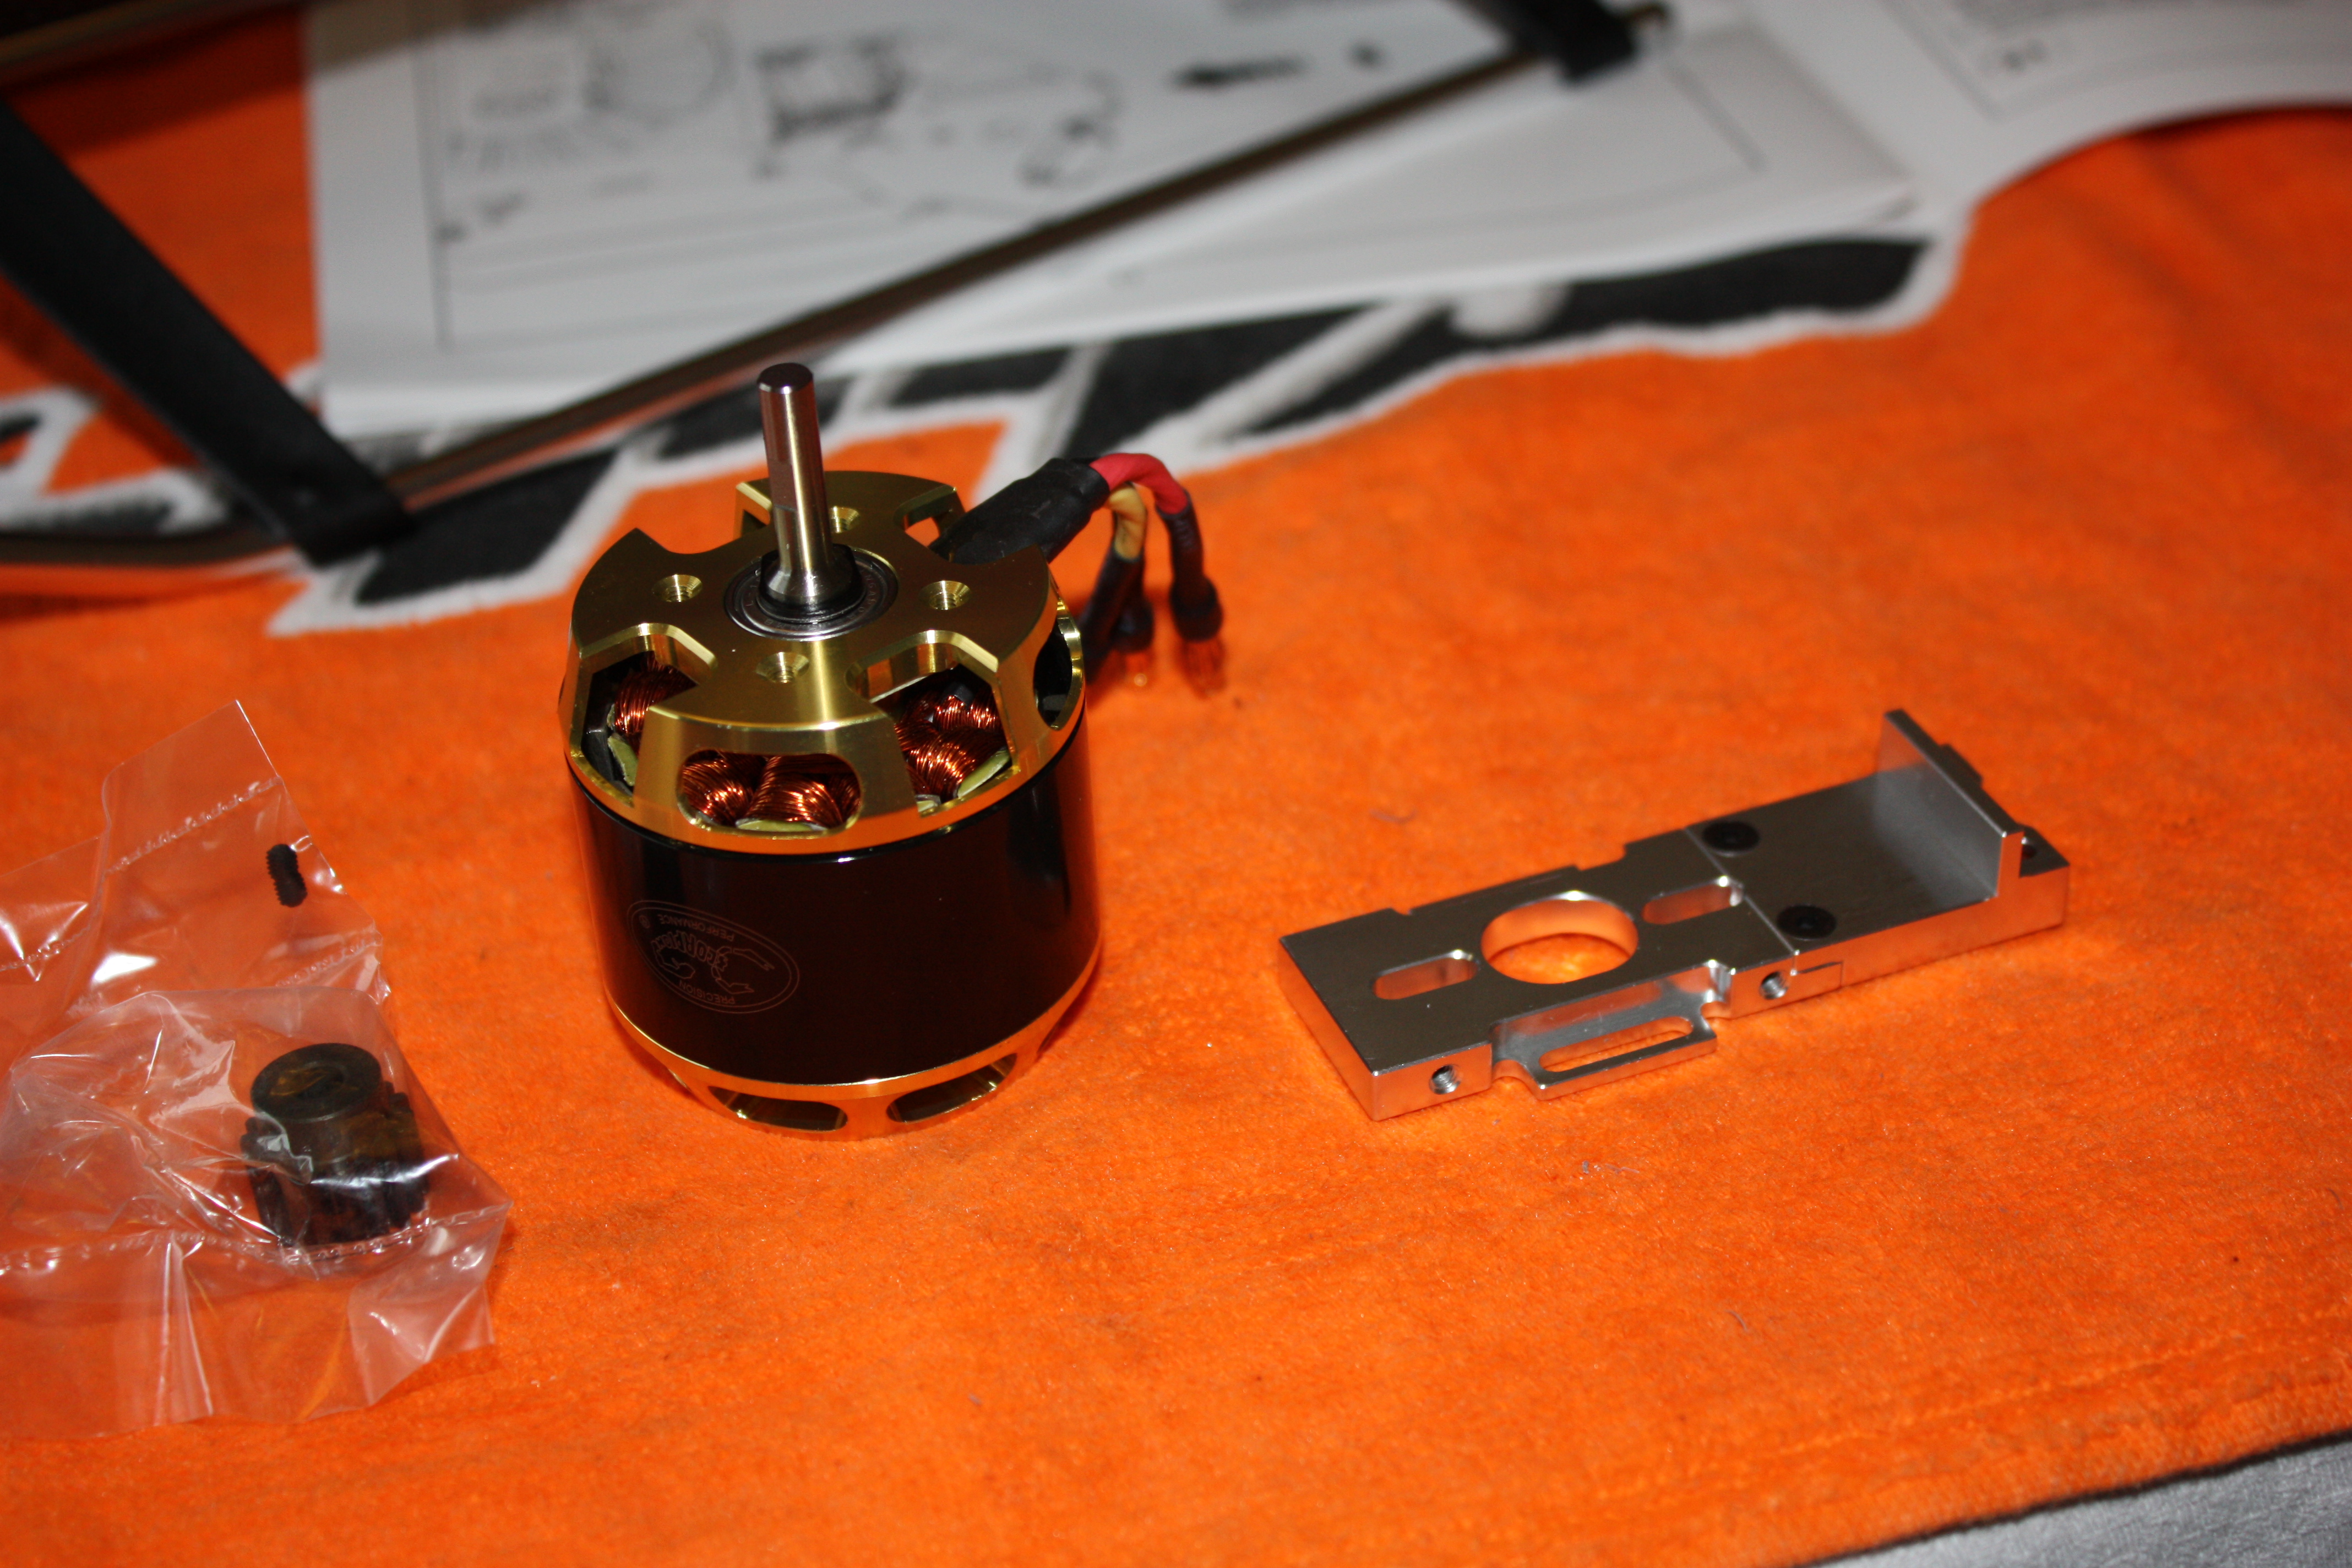
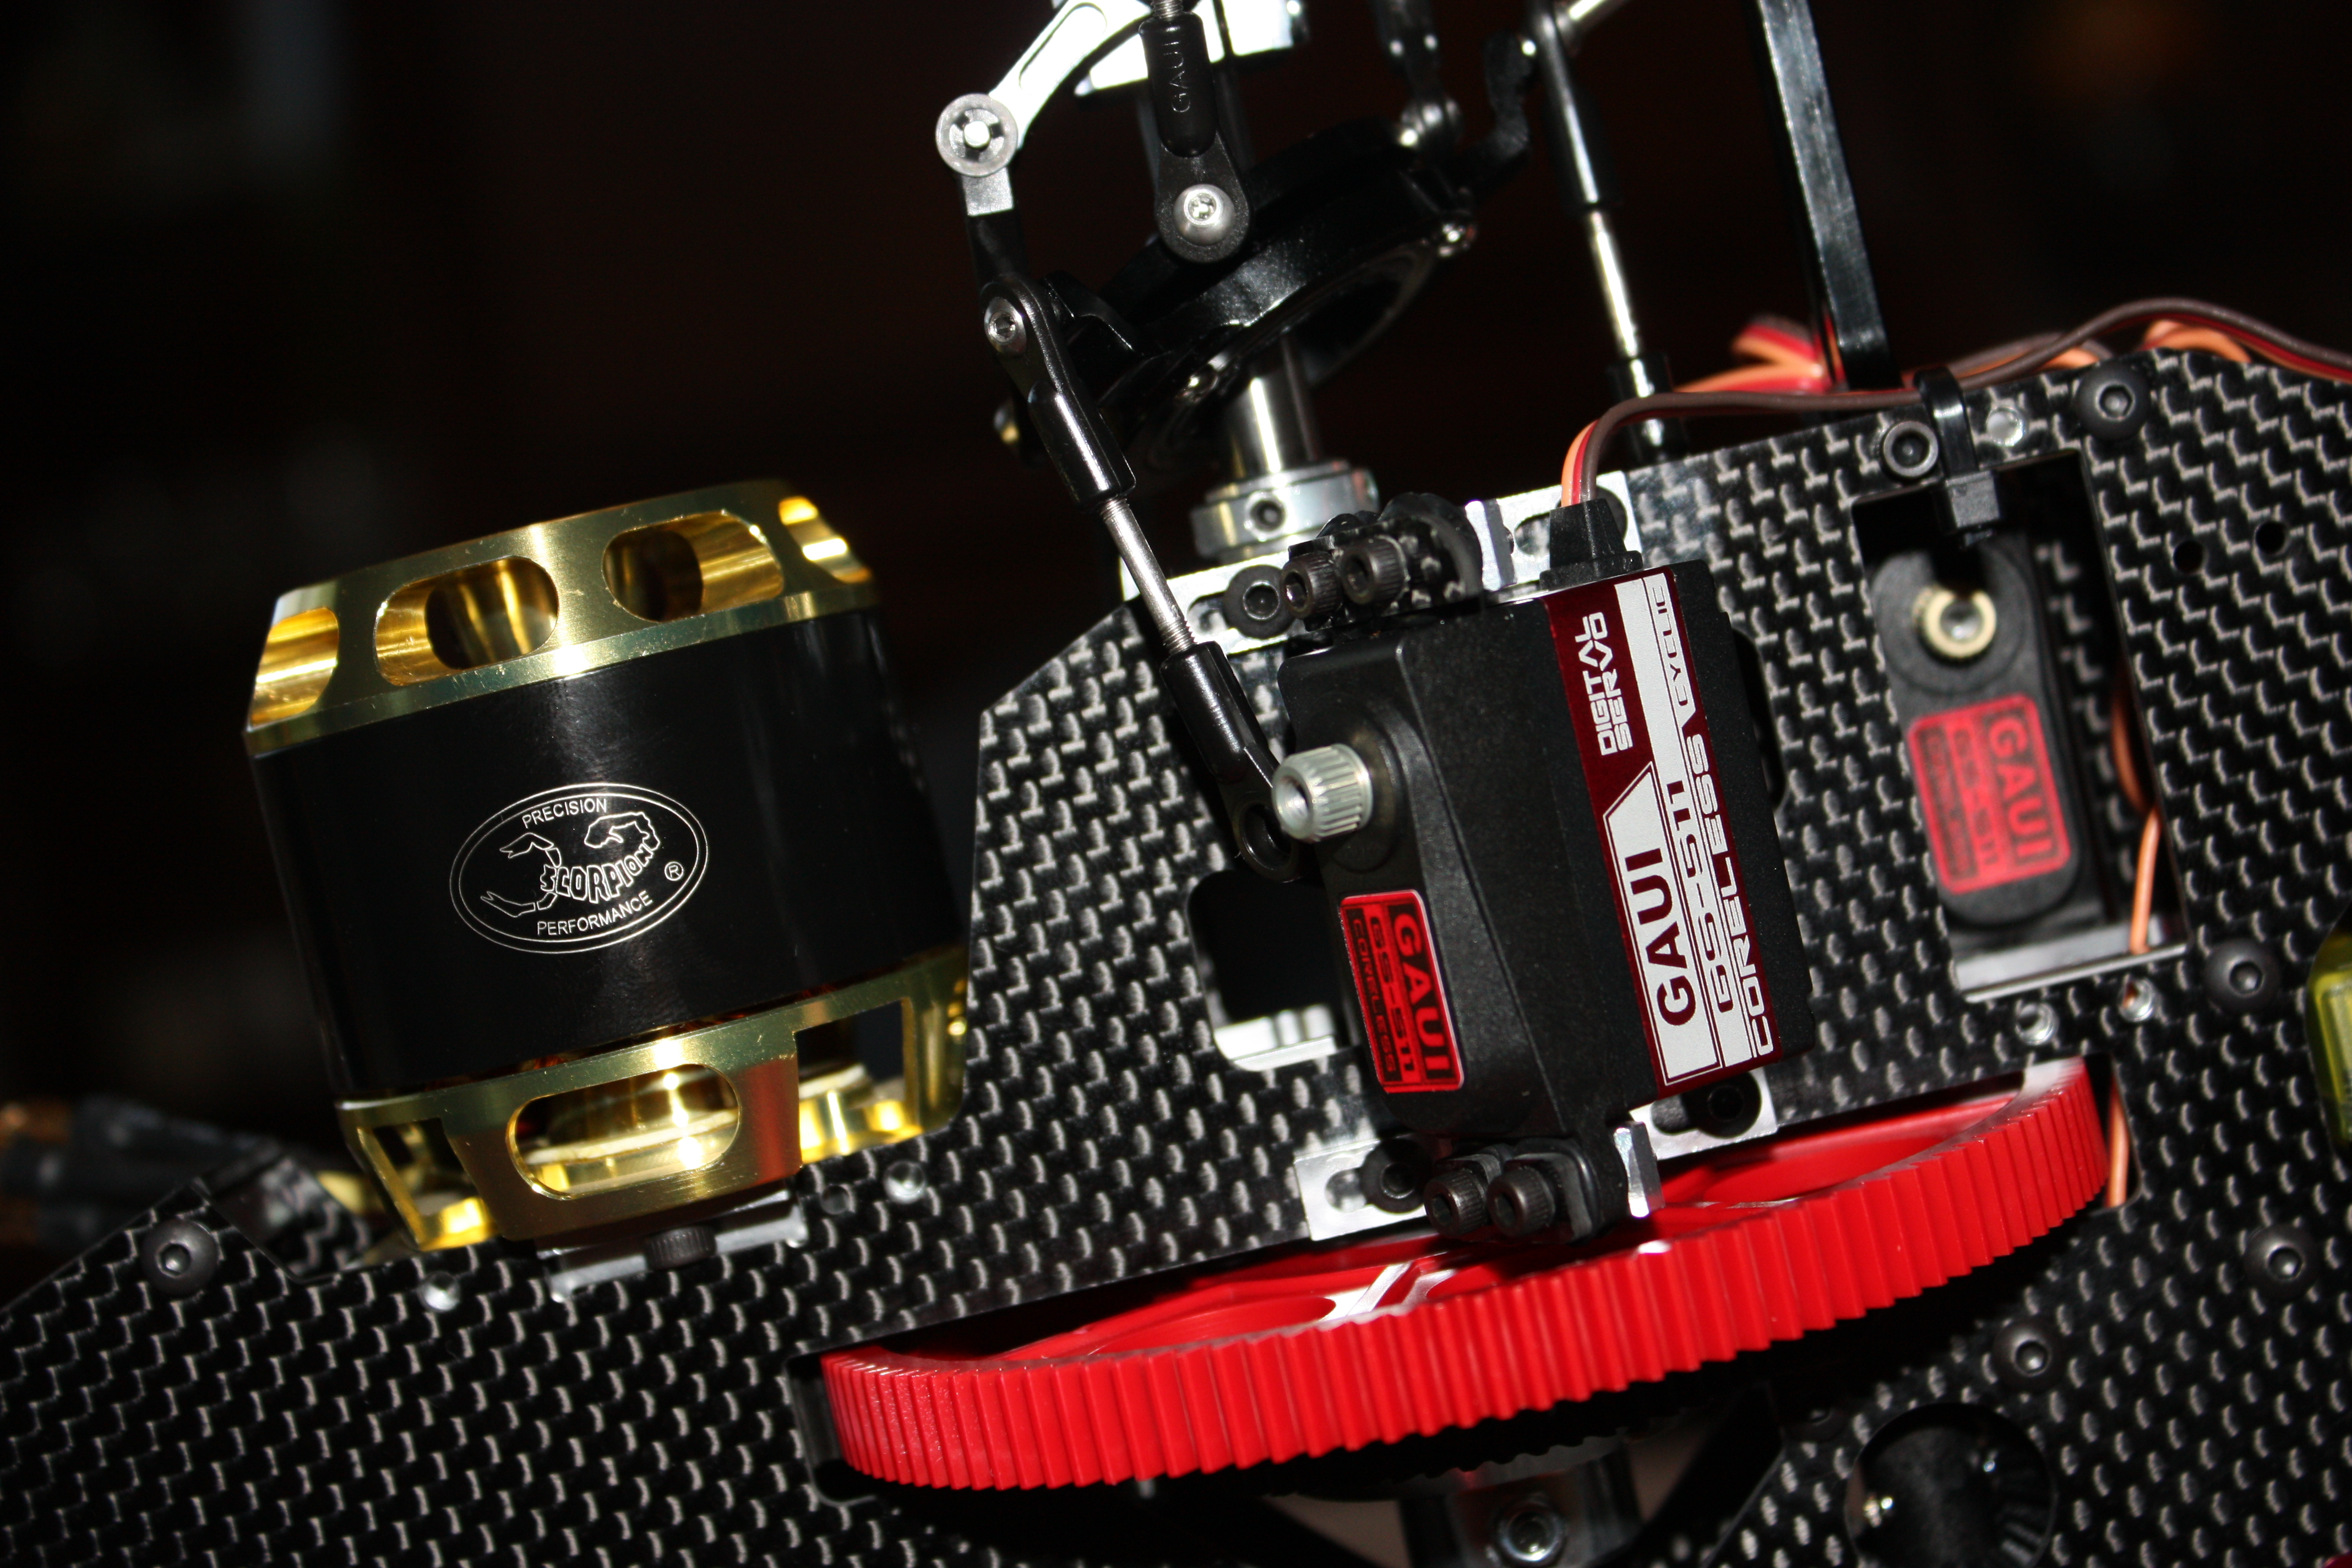
The last part was the motor mount, If you’ve never done one of these before they are a real pain on the X4 2. There is no way to access the motor mount screws from the underside, the only way the fit the motor is to tighten the screws down just enough to keep the motor firm but still allow movement. You then slide the motor till the mesh is perfect and remove the motor and mount as one, tighten down the bolts, refit and retry the mesh. I got mine on the second attempt but some people might find it difficult to set the mesh. The second photo shows the swash servos mounted on the adjustable mounts. These mounts are a great little feature, they slide back and forth so you can get the linkage alignment perfect for your servo. Again I went with the super combo servos, these appear to be re-badged savox servos. They have been very good in service and work well with the mini Vbar.
I’ve ran out of photos so I’ll grab some more and post a flight report with finished pics in another post.
Cheers
Joe
